
This topics contains the following instructions.
Manually create a log file with reports / trace files in Settings Editor
Download a log file from Settings Editor
Create a log file on control panel
Export a log file to USB device from control panel
Create a log file from PRISMAremote Manager / PRISMAsync Remote Manager
The log file names are composed of several parts depending on the contents.
|
<hostname>_TraceData_<yyyymmdd>_<hhmmss> |
Reports / trace file manually created by a user at specified time on the specified system. |
|
<hostname>_Reports_ <yyyymmdd>_<hhmmss> |
Reports file manually created by a user at specified time on the specified system. |
|
<hostname>_TraceData_ <printer error code>_<yyyymmdd>_<hhmmss> |
Reports / trace file created by the specified system for a printer error at specified time. |
To create the log file with reports / trace files, you use the [Create log file with report / trace files] option. Create this log file immediately after a print error occurs.
Only create the alternative log file, using the [Create log file with report files] option, on request of the Service organization.
Open the Settings Editor and go to: .
 [Troubleshooting] tab
In the [Logging and reports] option group, click [Create log file with report / trace files].

In the [Log file with report / trace files (create and download)] dialog box, click [Create log file with report / trace files] to create a new log file.
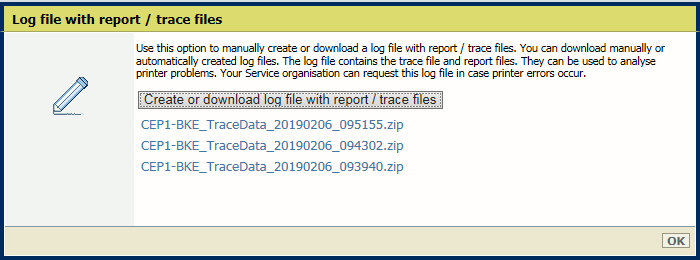 Create a log file with report / trace files
Click [OK].
Log files can be created manually or automatically by the printer when an error occurred.
Open the Settings Editor and go to: .
[Troubleshooting] tabIn the [Logging and reports] option group, click [Create log file with report / trace files].
In the dialog box, click the required log file to download the file.
Create or download log file with report / trace filesStore the log file on an external location.
Click [OK].
To create the log file with reports / trace files, you use the [Create log file with report / trace files] option. Create this log file immediately after a print error occurs.
Only create the alternative log file, using the [Create log file with report files] option, on request of the Service organization.
On the control panel touch: .
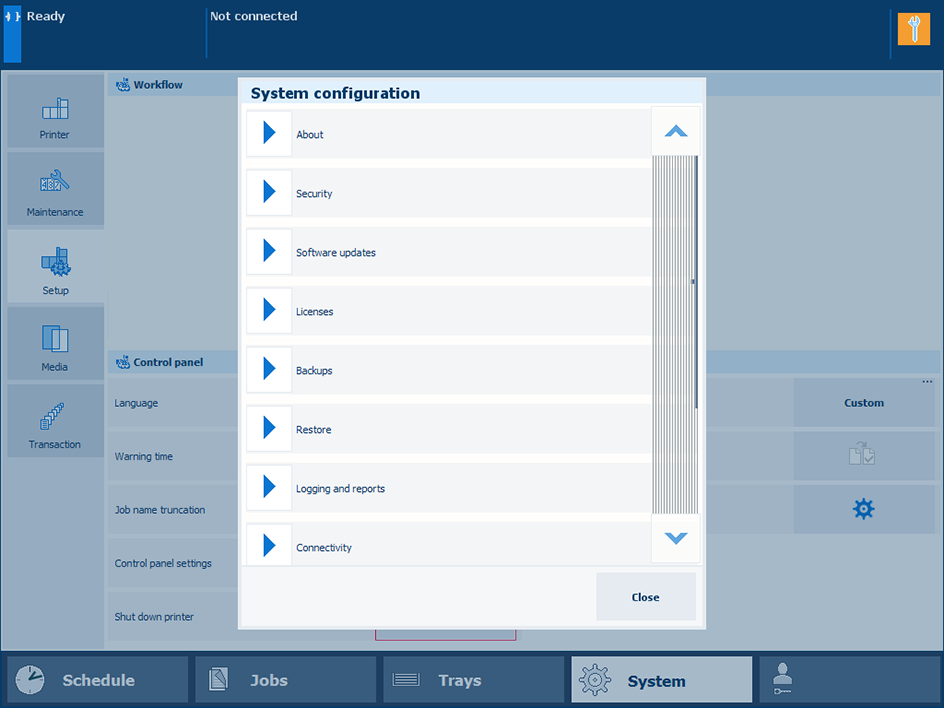 System configuration
You can also touch [System configuration] at the start screen of the control panel and touch [System configuration].
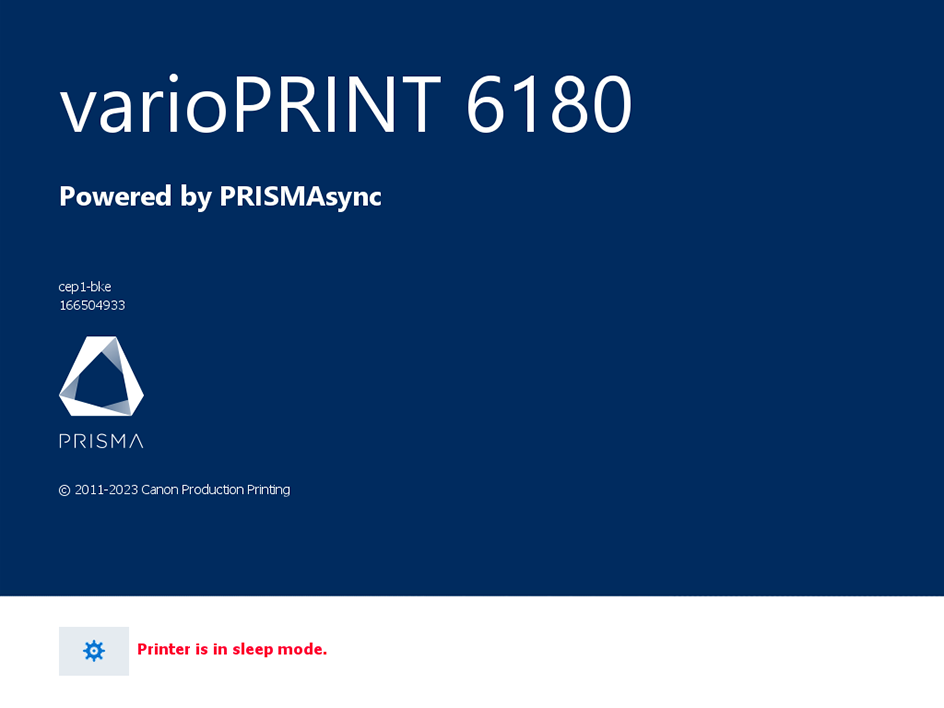 Start screen of control panel
Insert a USB device into a USB port of the control panel.
Touch [Create] in the [Create and export log file with report / trace files].
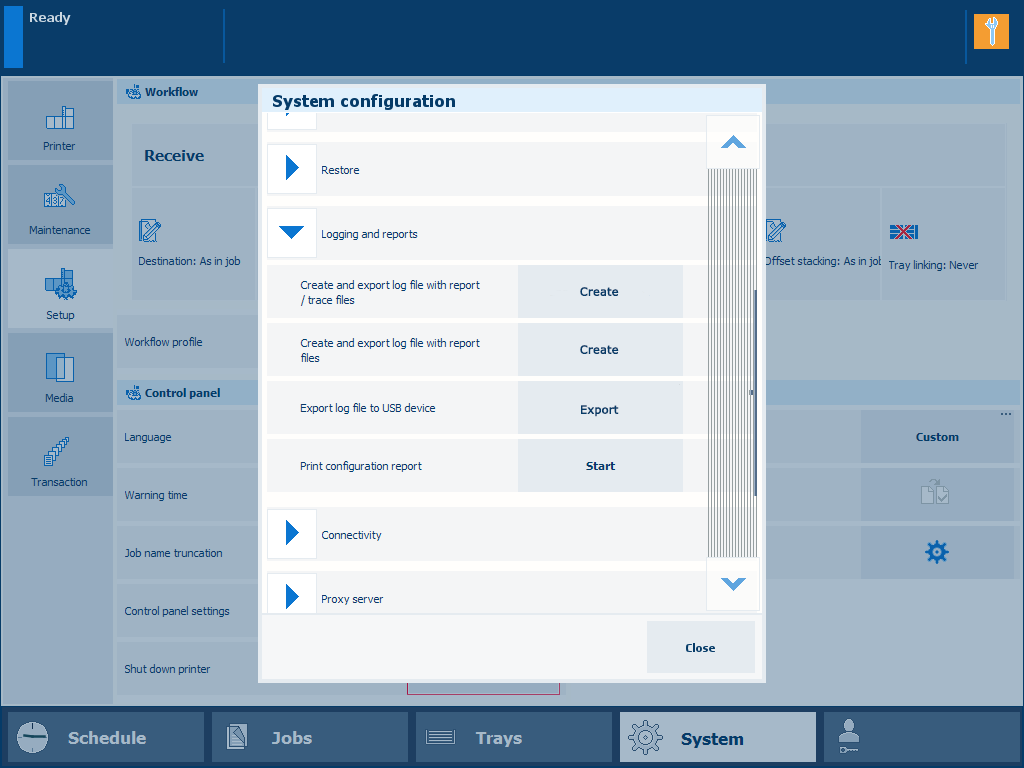
The log file is being created.
The last created log file is selected in the [Export log file] dialog box.
Touch [OK] to export this log file to the USB device.
Touch [Cancel] to download this log file at a later moment.
You can export a manually or automatically created log file to a USB device.
On the control panel touch: .
You can also touch [System configuration] at the start screen of the control panel.
Insert a USB device into a USB port of the control panel.
Press [Export].
Export log fileSelect the required log file.
Touch [OK] to export the log file to the USB device.
In the top right-hand menu, click
 and
.
and
.
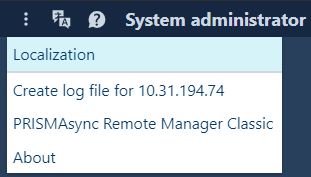 Create log file
 You are forwarded to the [Create log file with report / trace files] setting of the Settings Editor that belongs to the selected printer.
When requested, log in to the Settings Editor.
Use the first two instructions of this topic how to create and download the log file.