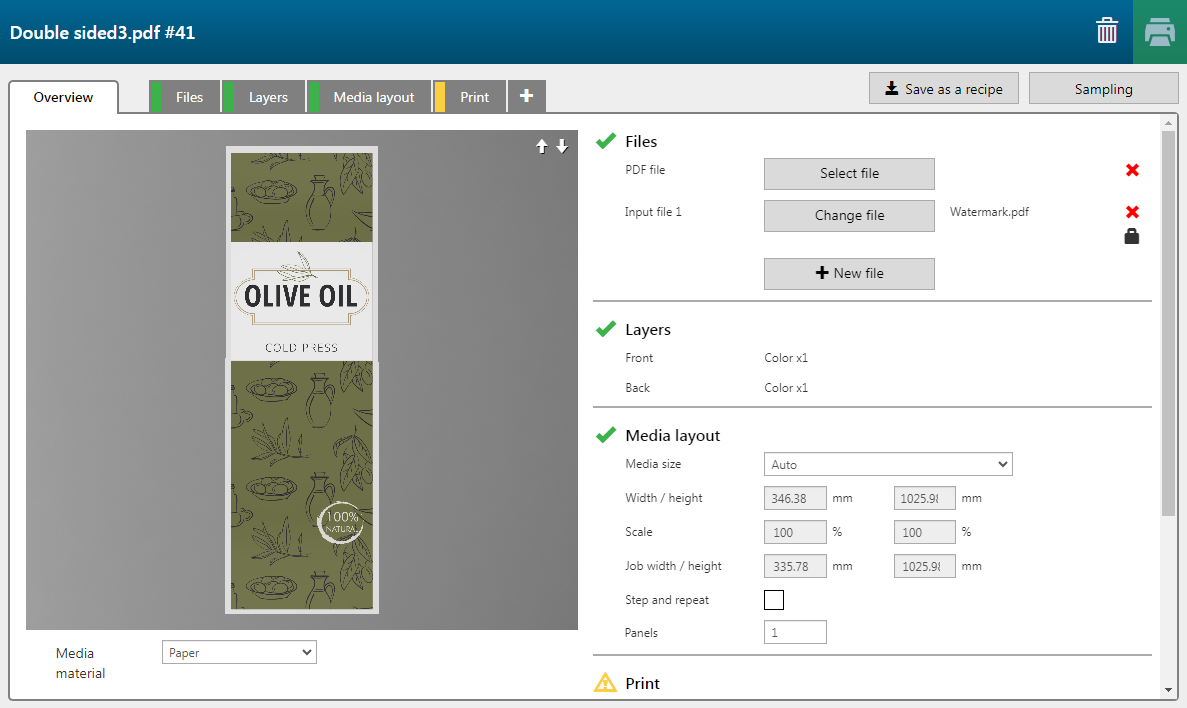
In this example, we want to print an application based on the recipe we created previously. The recipe will include a logo on the front side, its offset values, and the merging of Front 1 and Front 2 layers. See Create a custom application.
Check / select the settings for:
[Printer]
[Media]
[Print mode]
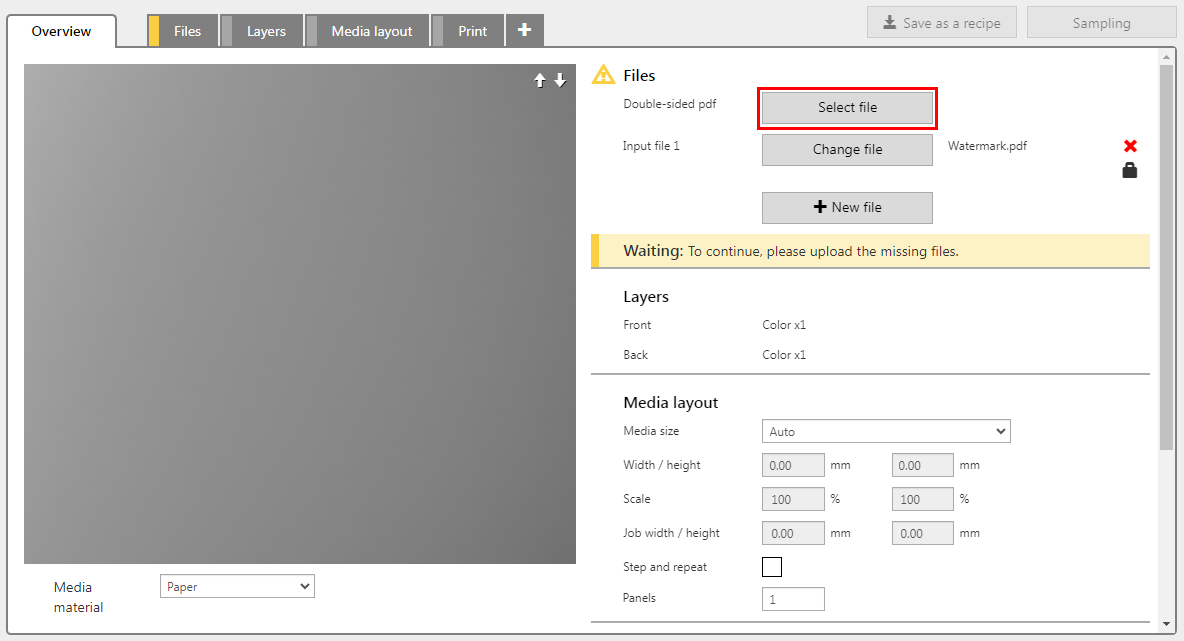
In this example the PDF has two layers, one intended for the front and one for the back side.
The recipe has added an input file containing a logo.

Check the print settings of each layer. All the print settings are preserved (i.e. the same media profiles, print modes, layer types, locked input files, et cetera.).
You can see that the front layer is merged, and that the logo is part of the merged layer.
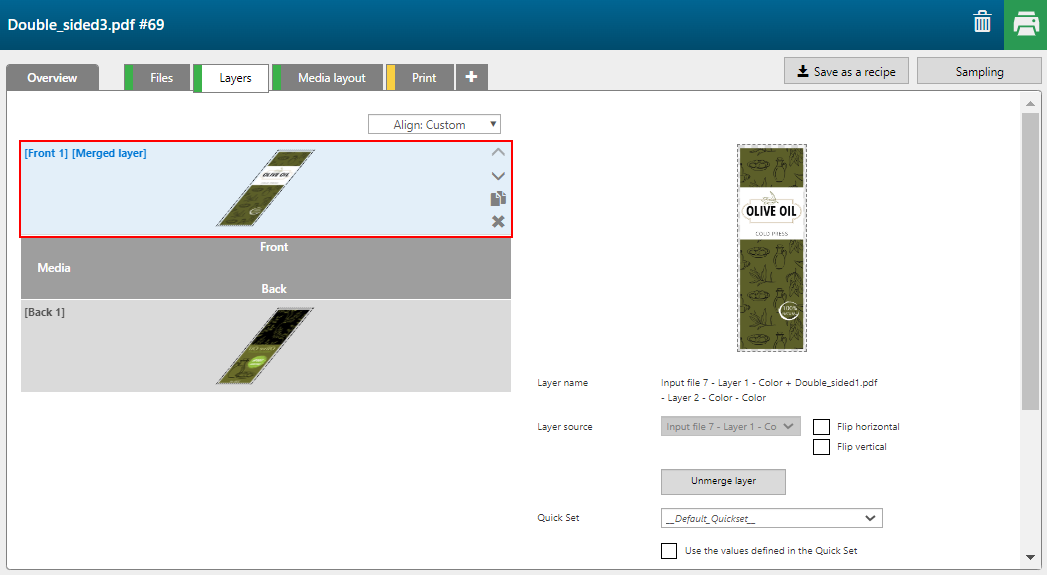
A logo is placed on the front.