
To print on rigid media, you must manually feed media. The printer uses the lane lights to indicate where and when you can load media.
 NOTE
NOTE
Before you place rigid media on the print belt, check that all protective film is removed from the side that you print on.
Before you load rigid media:
Check that the media width matches with the submitted print job.
Wear gloves to avoid pollution of the media by your fingerprints.
|
1 |
Make sure the printer setup is set to [Rigid] and that the media is loaded. See Change the printer setup and Define media. |
|
|
2 |
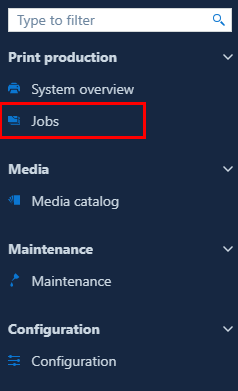
On the user interface, go to [Jobs]. |
|
|
3 |
Click on |
|
|
4 |
Start the print job. |
|
|
5 |
Press the vacuum button or tap the food pedal to enable the vacuum. |
|
|
6 |
Place the media on the print belt. The lane lights indicate where you can load media:
NOTE
For media of irregular shapes, or transparent media, use the rulers on the sides of the tables to align the rigid media on the printbelt. |
|
|
7 |
The printer prints and cures the print job. |
|
|
8 |
Collect the printed output at the output side of the printer. |