
To solve specific print quality issues, as described in the chapter Troubleshooting.
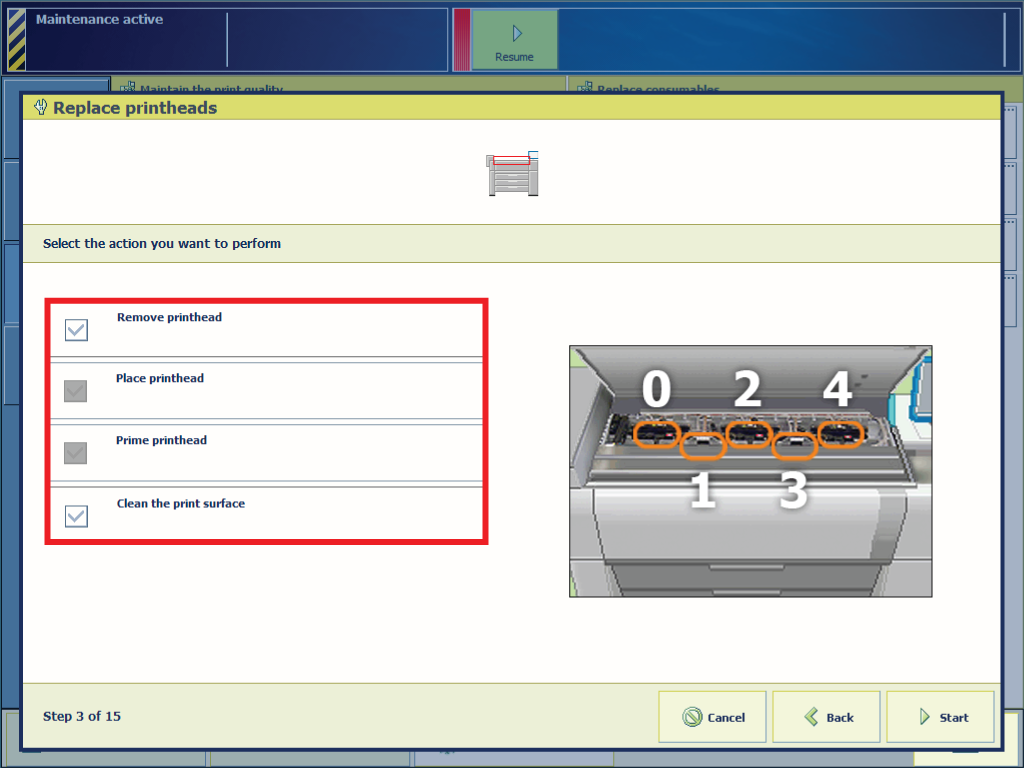
To replace a printhead you must do the following.
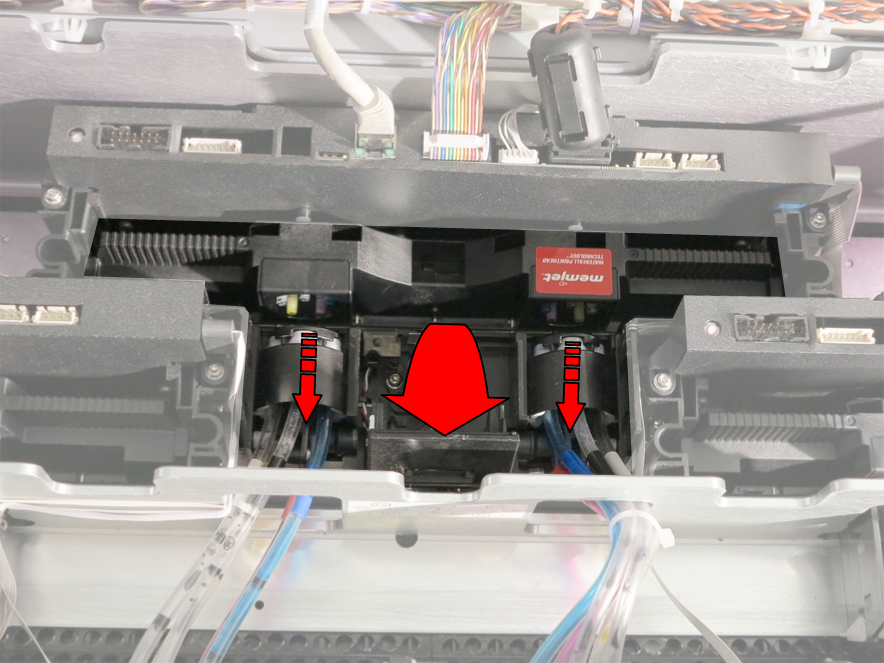
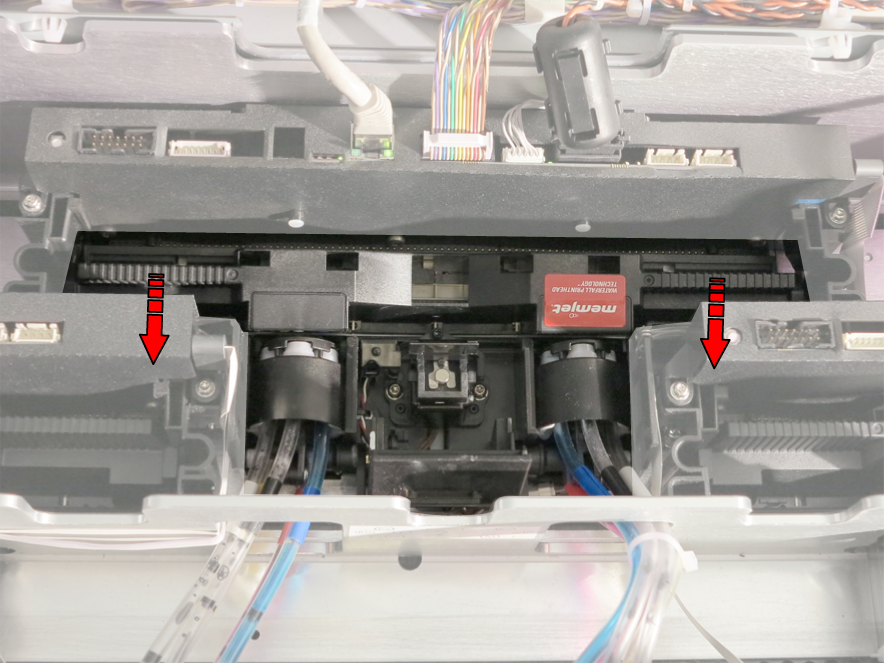
Remove the old printhead.
Place the new printhead.
Prime the new printhead.
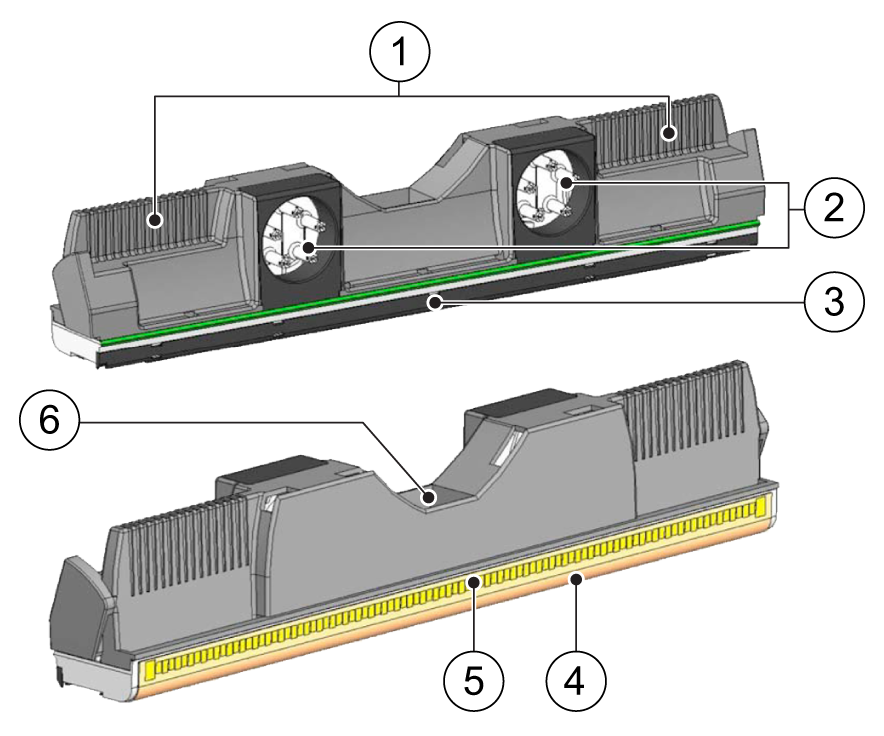
|
Part |
|
|---|---|
|
1 |
printhead handle |
|
2 |
ink port |
|
3 |
paper guard |
|
4 |
nozzle surface |
|
5 |
electrical contacts |
|
6 |
printhead serial number |
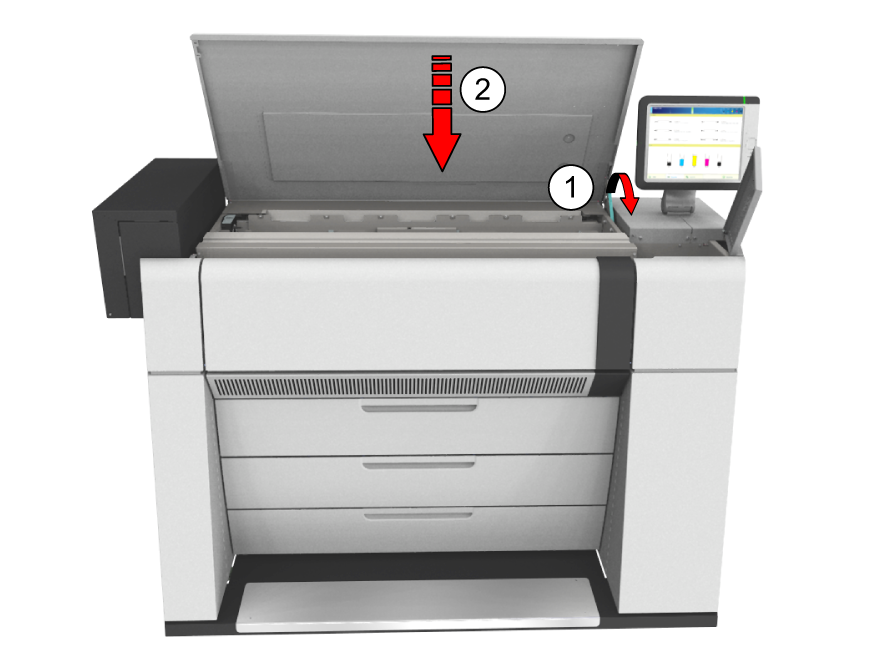
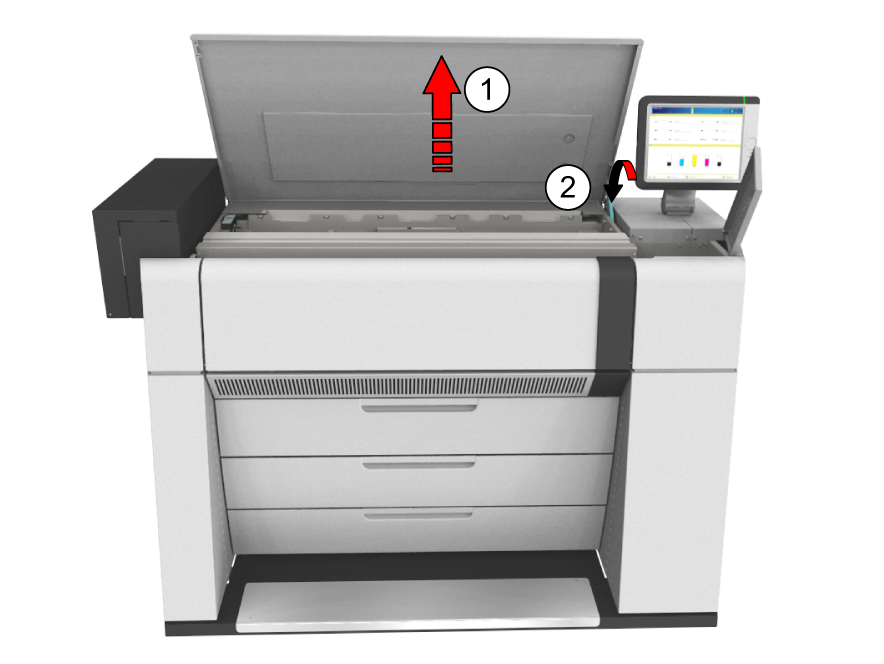
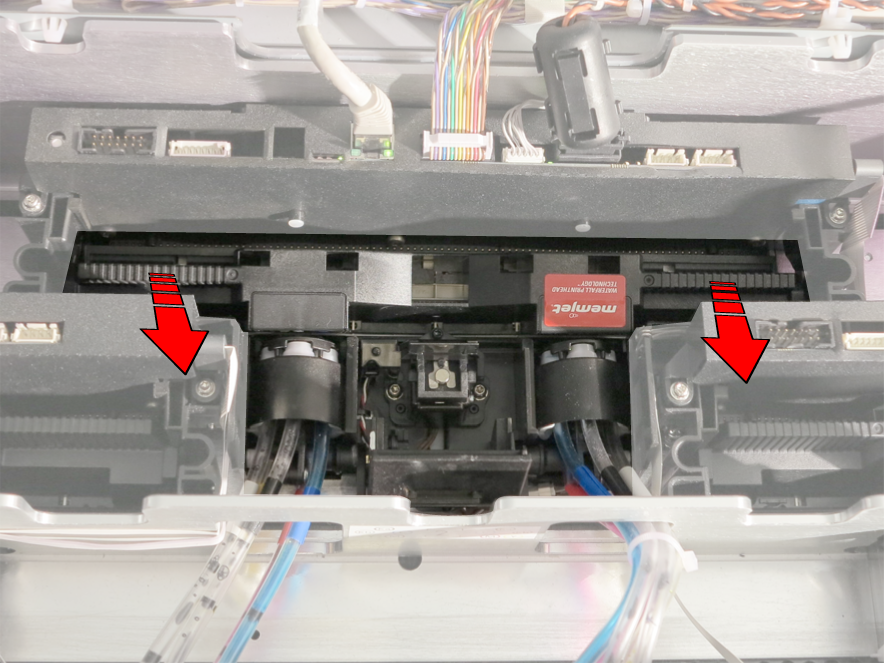
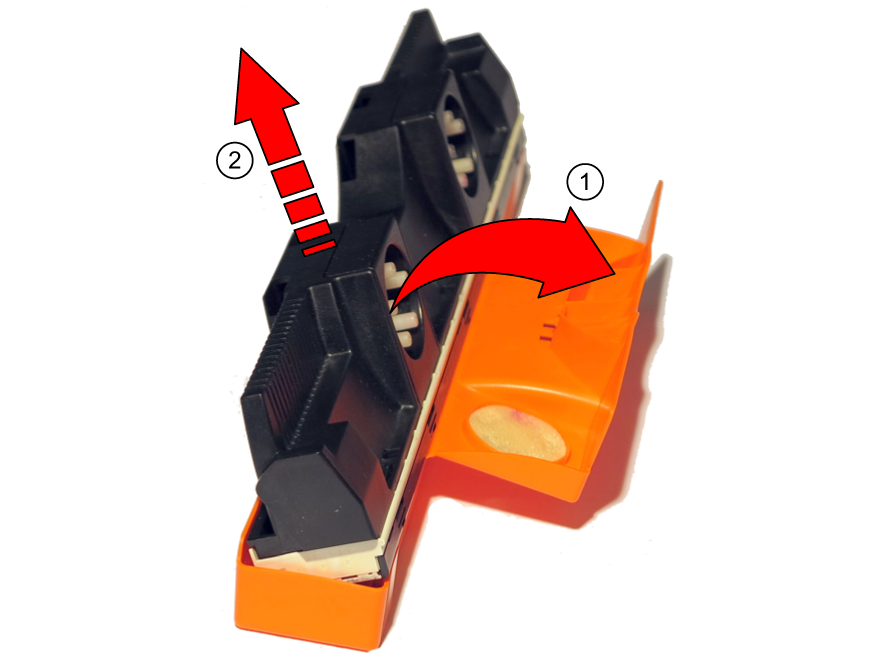
If the top cover is still open, close it to enable the system to unlock the printheads for safe removal.
Hold the top cover, pull the green locking lever (1) towards you to release the top cover and close the top cover (2).
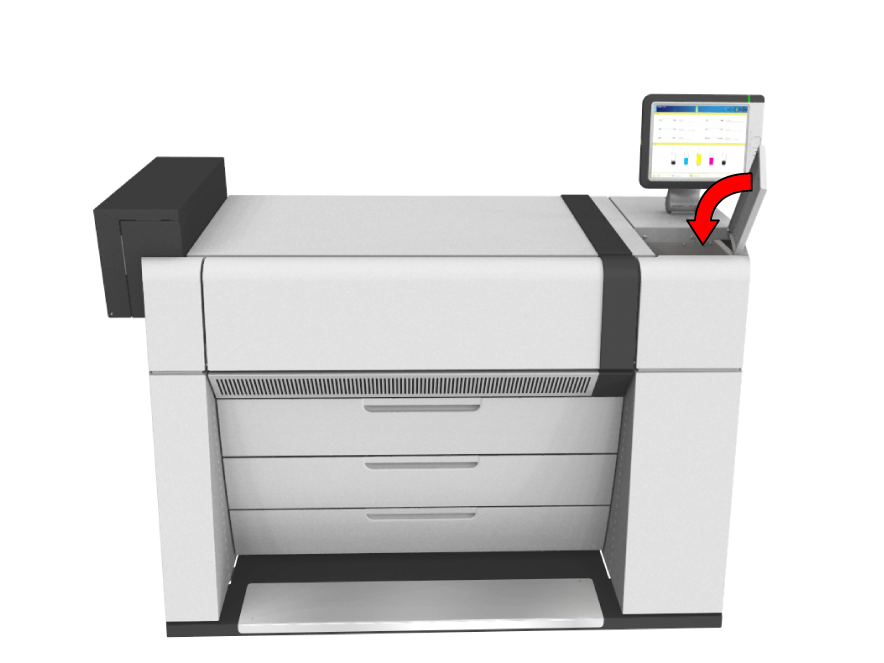
Close the maintenance tray cover.
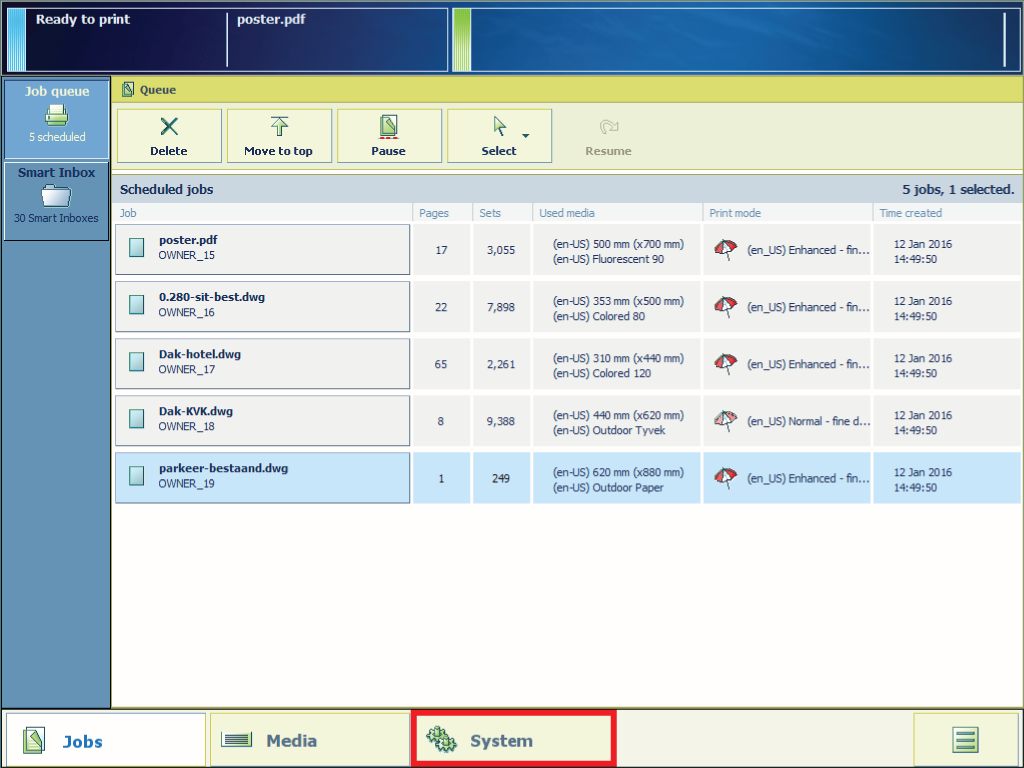

If you only want to place a new printhead you must deselect [Remove printhead].
If you only want to prime a printhead you must deselect [Remove printhead] and [Place printhead].
From this point you can also follow the video instruction. After that, proceed with step number 30.

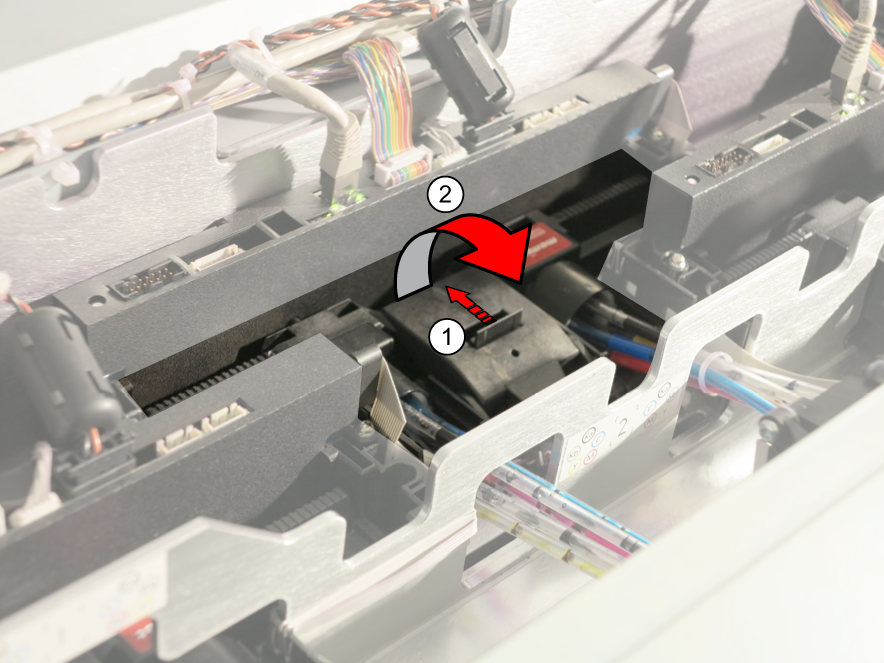
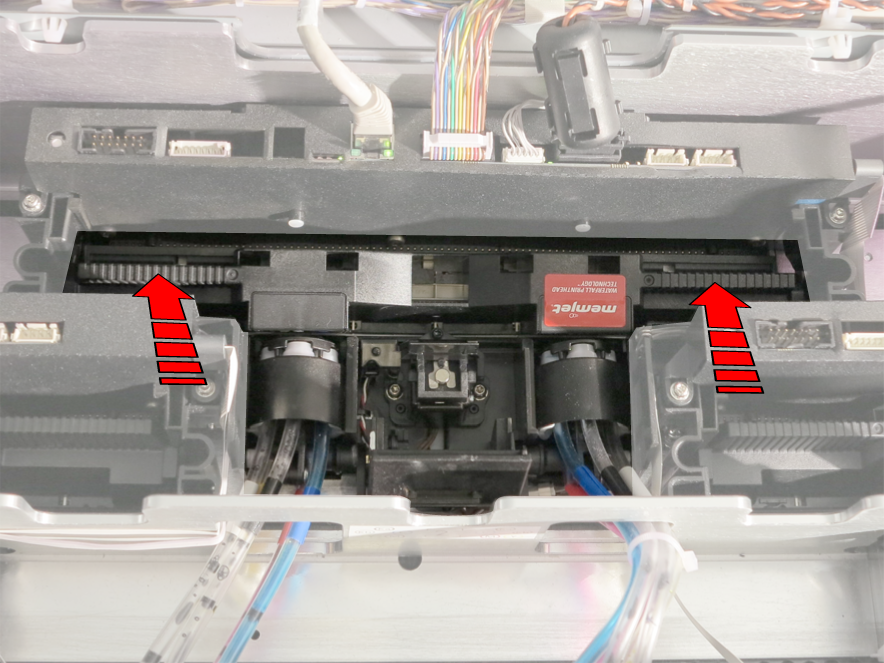
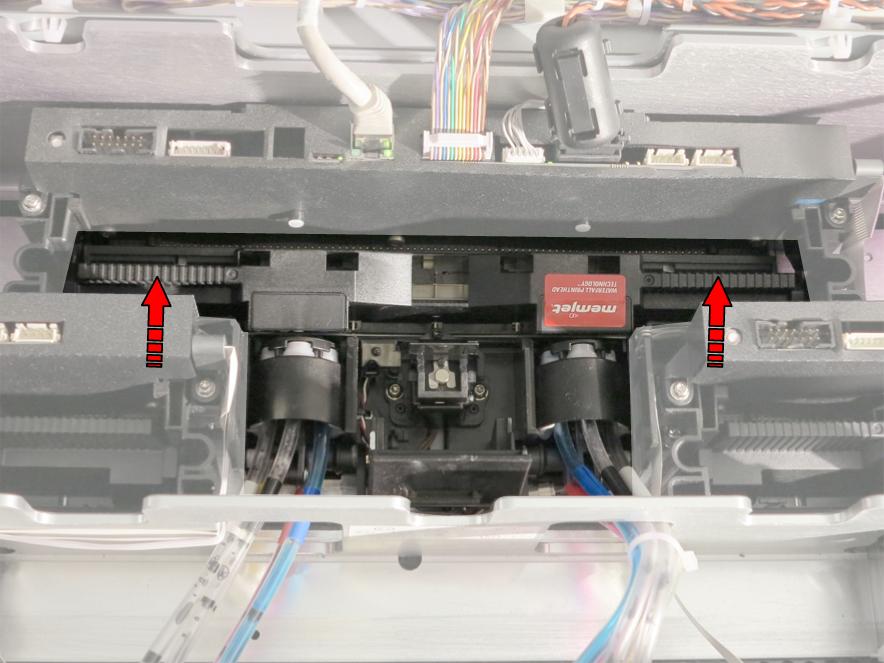
Do not remove the connectors from the control board behind the printhead.
Do not close the printhead locking lever before you have placed a new printhead.
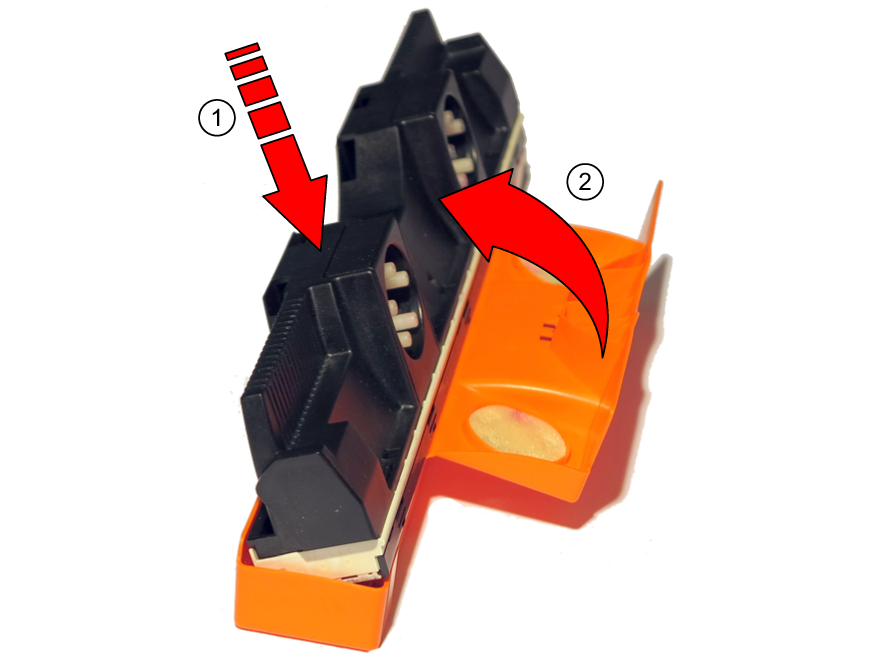
If you do not have a spare orange protection cover, put the old printhead aside and later on use the protection cover of the new printhead.
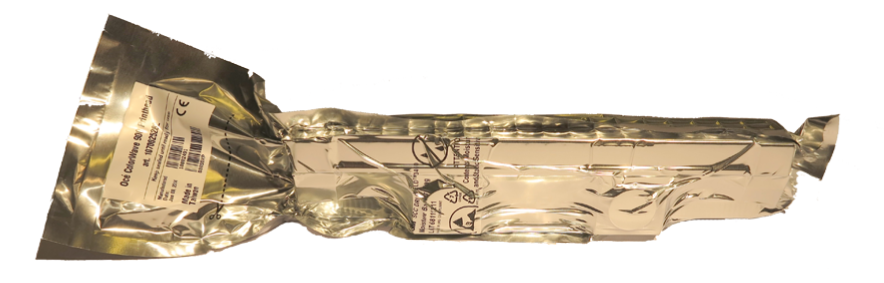
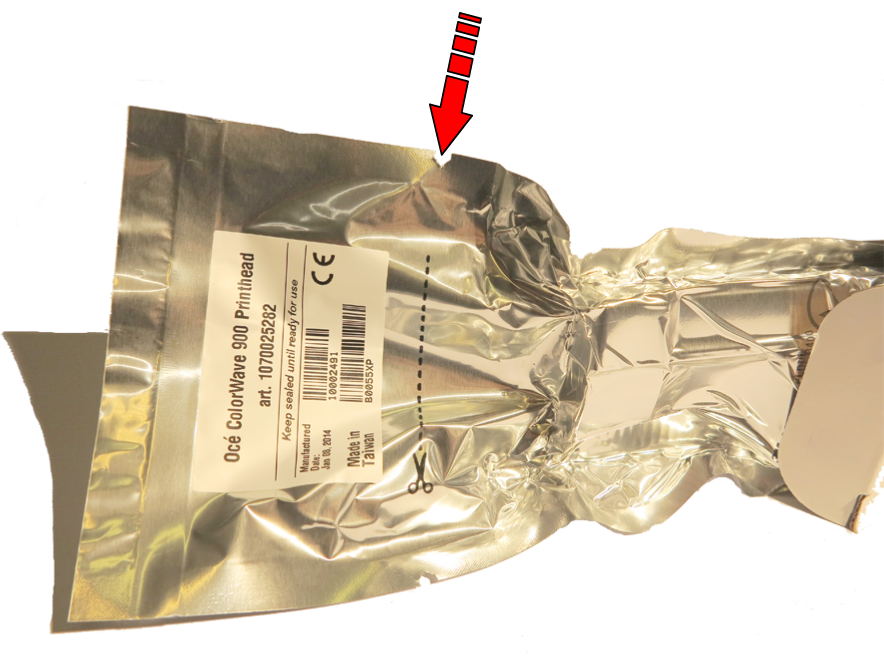
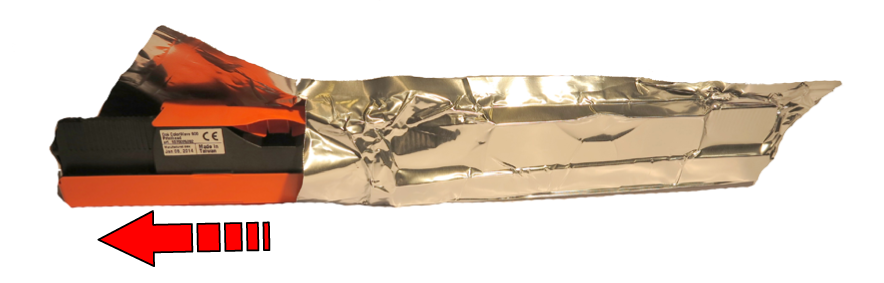
Keep the printhead in its sealed foil package and at the prescribed orientation until immediately prior to placement into the printer.

Do not touch the ink ports, the nozzle surface or the electrical contacts area while handling the printhead.
Do not place the unprotected printhead on any surface prior to installation in the printer.
Protect the printhead from contamination by air-borne particulate contamination such as dust or fibers.
Preserve the orange protection cover. You need this cover to dispose the old printhead.

Do not perform step 21 of this procedure for the printhead or the printheads that you have just replaced.