
This topic contains the following instructions.
Change the [Binding] options
Change the [Folding] options
Change the [Punching] options
Change the [Creasing] options
Use the [Trimming] options
 Job properties
The job properties depend on the product.
Click the edit job button  .
.
Click [Binding].
 Binding options
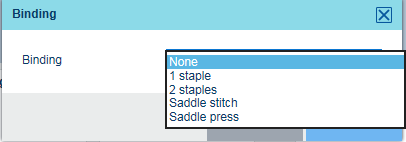
Select one of the [Binding] options.
[None]: No binding method.
[1 staple]: bind with one staple.
[2 staples]: bind with two staples
[Saddle stitch]: staple folded booklets
[Saddle press]: staple booklets with a compressed spine. Define the [Location] and [Pressure strength] values.
Touch [OK].
The binding options depend on the finisher and booklet maker that is connected to the printer.
Click the edit job button .
Click [Folding].
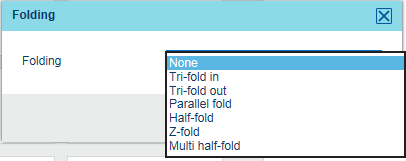
Select one of the [Folding] options.
 Folding options
|
Folding options |
|
|---|---|
|
[None] |

[Tri-fold in] |

[Tri-fold out] |
[Parallel fold] |

[Z-fold] |

[Half-fold] [Multi half-fold] [Multi half-fold] folds multiple sheets. |
Touch [OK].
The folding options depend on the folder that is connected to the printer.
Click the edit job button .
Click [Punching].
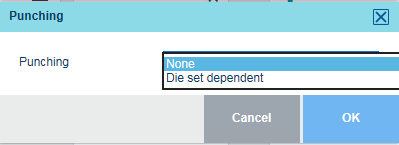
Select one of the [Punching] options.
 Punching options
[None]: no punching.
[2 holes]: punching with two holes.
[3 holes]: punching with three holes.
[4 holes]: punching with four holes.
[Die set dependent]: punching with hole pattern of the installed die set.
Touch [OK].
Creasing is performed by an inline finisher that can also punch hole patterns.
Creasing facilitates the folding process. The quality of the physical fold can improve when the sheets have been creased beforehand.
Click the edit job button .
Click [Folding].
Select one of the [Creasing] options.
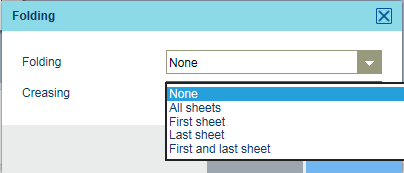 Creasing options
[None]: no creasing.
[All sheets]: all sheets are creased.
[First sheet]: first sheet is creased.
[Last sheet]: last sheet is creased.
[First and last sheet]: first and last sheet are creased.
Touch [OK].
The creasing options depend on the die set that is installed on the professional puncher.
The [Trimming] option places trim marks on the document page. The trim marks come around the source file pages. The maximum trim size is 999.9 mm / 39.37".
With the [Trim by system] option the output is printed by the trimmer.
 Trimming options
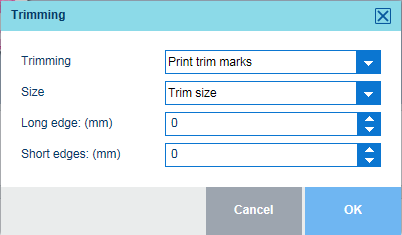
Click [Trimming].
In the [Trimming] field, select [Print trim marks] or [Trim by system].
In the [Size] field, select [Finishing size] or [Trim size]
When you selected [Finishing size], select the required size from the [Size] list.
When you selected [Finishing size], use the [Long edge ({0})] and [Short edges: {0}] fields to enter a value.
The notation {0} refers to the trim size in mm or inches.
Click [OK].
Check the trim marks in the realistic preview.
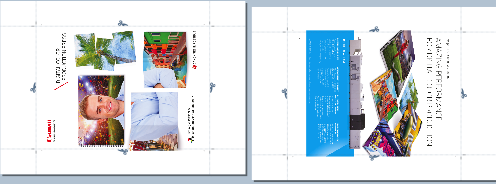 Trim marks