
Before you can unload a media roll, you have to manually cut the media. To prevent printer errors, only unload rolls as described in this procedure.
Use Colorado XL-series prescribed:
Knife
|
1 |
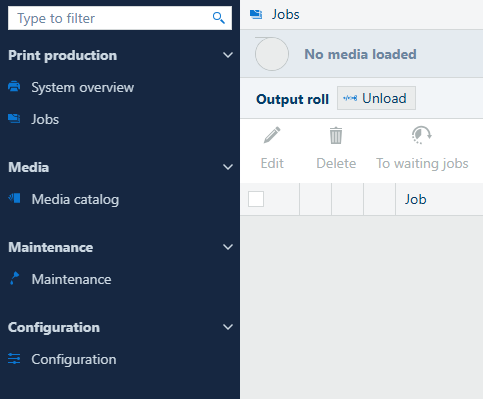
On the user interface, open the [Jobs] app. Select [Unload]. The unloading procedure also starts when you change the printer setup from roll media to rigid media. |
|
|
2 |
Go to the output side of the printer and wait for the printer to finish preparations. |
|
|
3 |
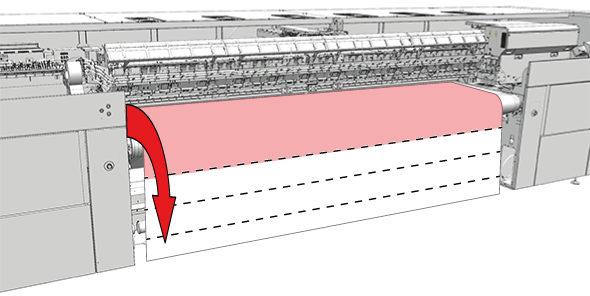
Use the media control buttons to transport the media and determine the cutting position. |
|
|
4 |
On the user interface, confirm the cutting position. |
|
|
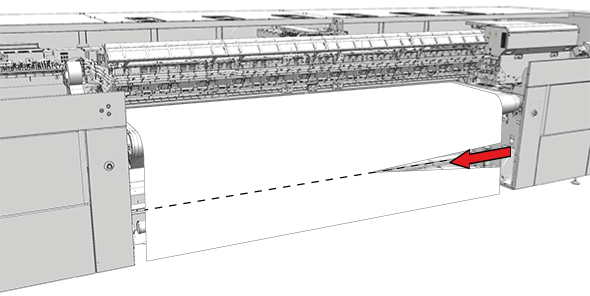
Use a knife to manually cut the media.  NOTE NOTE
Do not cut the media too close to the printbelt. If the knife comes into contact with the printbelt, it can damage the printbelt. |
|
|
|
5 |
On the user interface, confirm that you have cut the media. |
|
|
6 |
The printer automatically winds the remaining length of media. |
|
|
7 |
Tape the media to the output roll. |
|
|
8 |
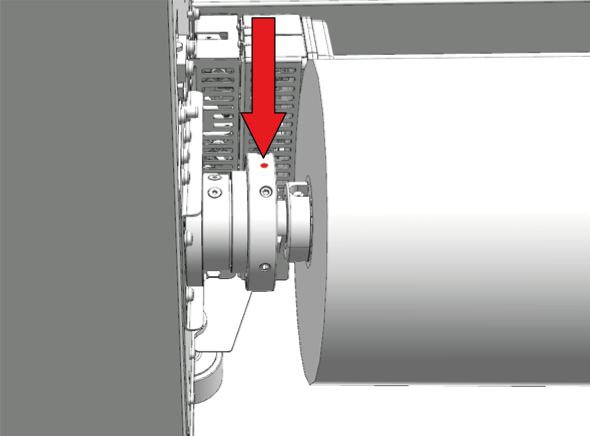
Adjust the position of the output spindle. The red dots must point upwards. |
|
|
9 |
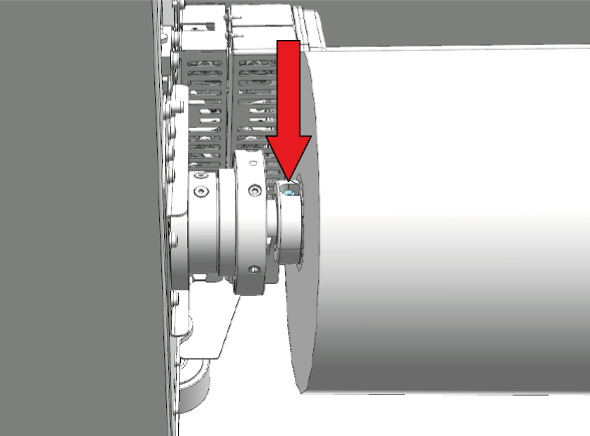
Press on the air valve to deflate the output spindle. |
|
|
10 |
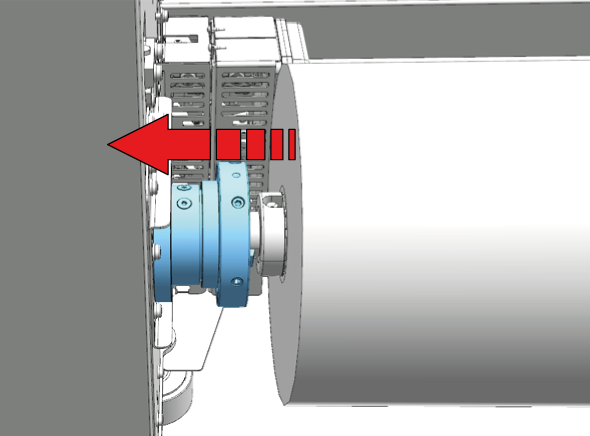
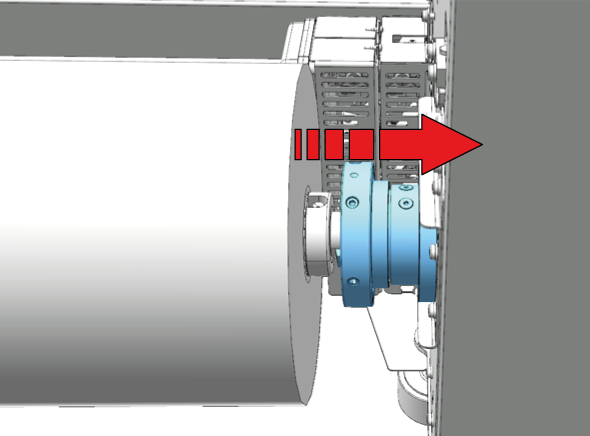
Open the flanges on both sides of the output spindle. Slide the flanges outward to open them. |
|
|
11 |
Take the output spindle out of the printer. |
|
|
12 |
Remove the media roll from the output media shaft. |
|
|
13 |
Place empty output spindle back into the printer. You can put a new empty roll core on the spindle before you put it back into the printer. |
|
|
14 |
On the user interface, tap [Finish] to complete the action. |
