
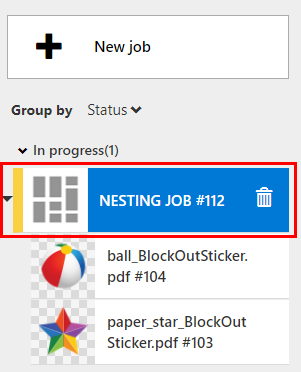
In Arizona Xpert you can select multiple jobs and nest them together on one or multiple panels depending of the copies of each job. The nesting is done rectangle based and has customizable settings like margins, spacing, rotation.
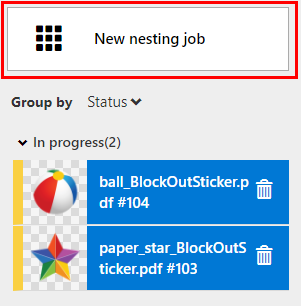
The button [New job] changes to [New nesting job].
The media layout must be completed before a job can be added to a nesting job.
You can only nest jobs that are printed on the same printer and cut on the same cutter.
You can nest jobs with different recipes.
When the layers have the same print settings, the layers will be merged.
When the layers have different print settings the layers are not merged and stay separate layers.
Jobs that have the setting: [Cut, Print] cannot be sent to nesting. Jobs that have the setting: [Print, Cut] can be nested.
There are 3 tabs for viewing and changing the settings:
[Overview]
The [Overview] tab displays a summary of your nesting job.
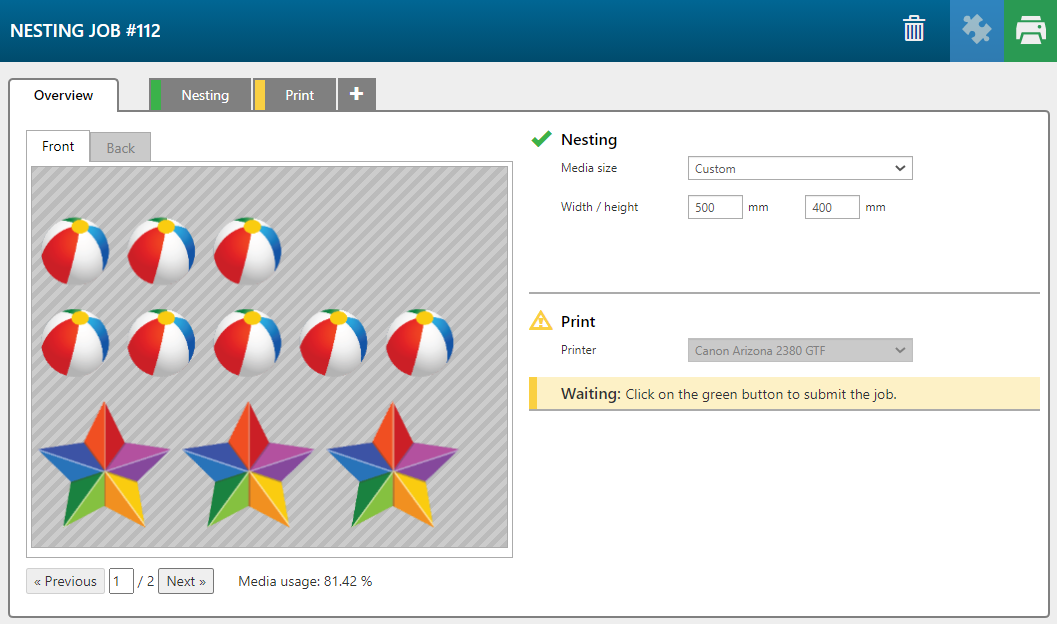
Select [Previous] or [Next] to navigate through the panels.
[Media usage:] shows the estimated media usage.
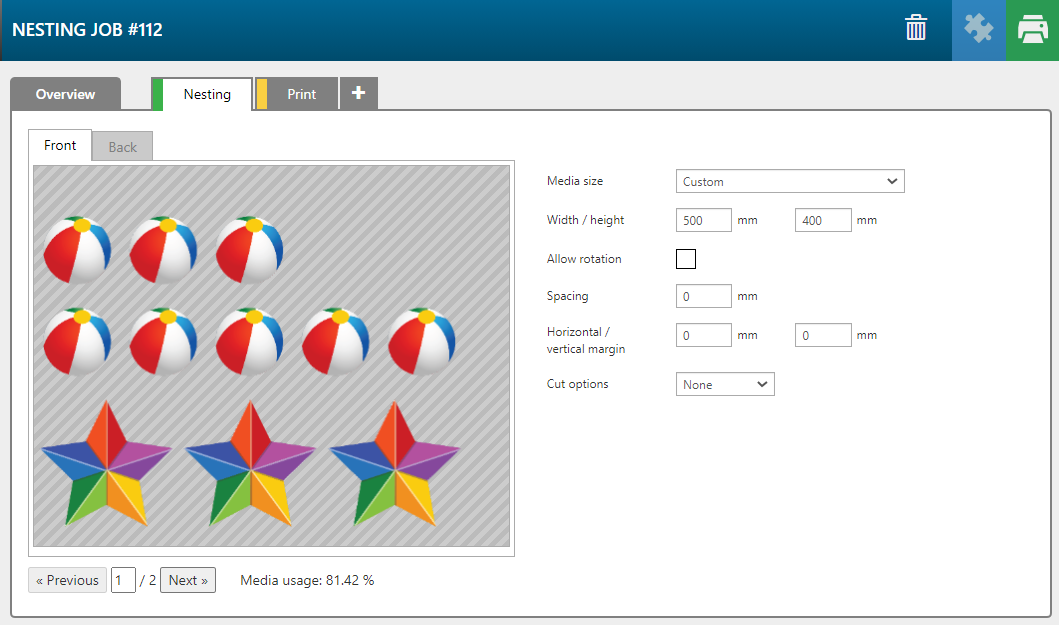
[Nesting]
In the [Nesting] tab you can change the nesting job settings.
|
Setting |
Description |
||
|---|---|---|---|
|
[Media size] |
Choose the size of your media. |
||
|
[Width / height] |
When you choose [Custom], you have to enter the size manually. |
||
|
[Allow rotation] |
Allow artwork to rotate to fit on the media. |
||
|
[Spacing] |
Add space between the separate jobs. |
||
|
[Horizontal / vertical margin] |
Add margins on the outside of the printed space. |
||
|
[Cut options] |
[None] |
No cut paths added. |
|
|
[Cut all jobs] |
Creates a rectangular cut path around each job within the nest. |
||
|
[Cut jobs without cut data] |
Creates only a rectangular cut path around each job that does not have a cut path defined. |
||
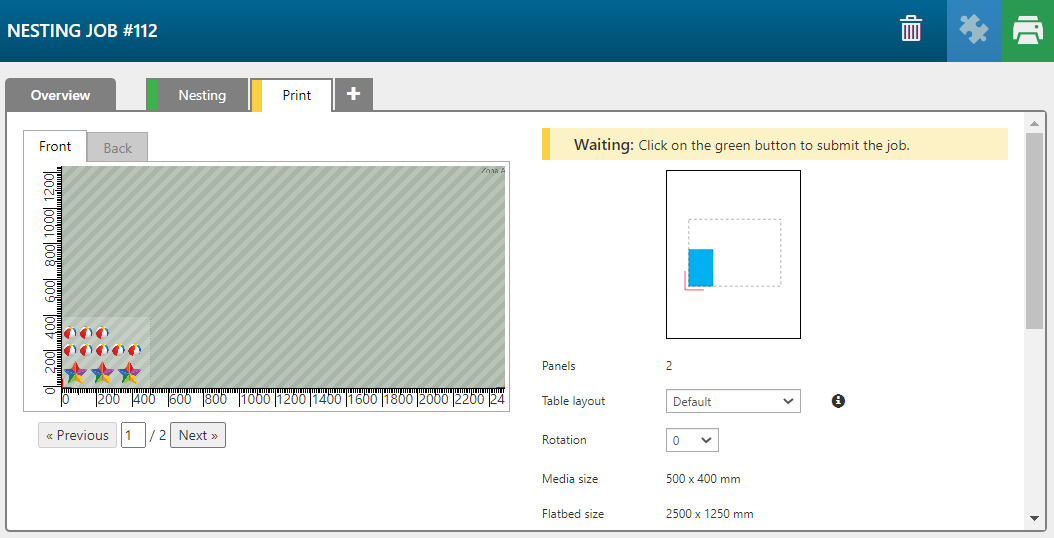
[Print]
The [Print] tab shows a graphical representation of the print surface and allows you to change the print related settings. See Information about printing in the Print tab

If you want to change the settings in a singular job that is in a nesting job, you must remove the job from the nesting job. Then change the settings and add it to the nesting job again.
|
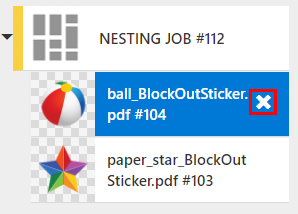
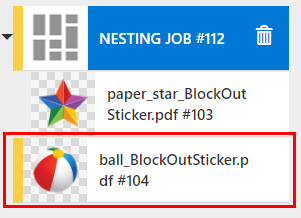
Remove a job from a nesting job |
|
|---|---|
|
|
|
In the job list the job is now placed outside the nesting job. |
|
|
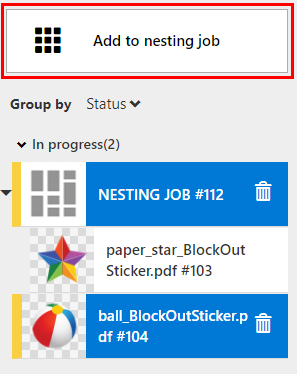
Add the job to the nesting job |
|
|---|---|
|
|
|
When the job is added to the nesting job the settings of the job cannot be changed anymore. |
|
|
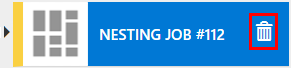
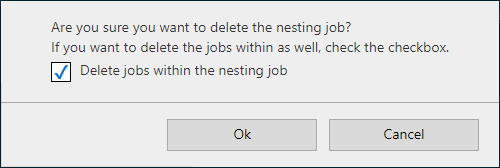
Delete a nesting job |
|
|---|---|
|
|
|
|