A firm of architects has many big projects running and would like to be able to attribute any printing/scanning/copying to the right project and whether the prints/copies/scans have to be billed.
Two independent fields are needed to accomplish this:
Project: a list of projects
Bill: the print/copy/scan has to be billed or not
So when the customer needs to make a print/copy/scan they have to specify for which project the operation is to be made and whether it should be billed or not. In this example we will use the data below to show how to set up the accounting dialog information.
|
Project |
Bill |
|---|---|
|
0485 – Housing estate 5 |
1 - Yes 0 - No |
|
0486 – Housing estate 6 |
|
|
0487 – Tesco Westfield |
|
|
0488 – Xtra Gym |
The customer would like to specify which project the charge should be applied to.
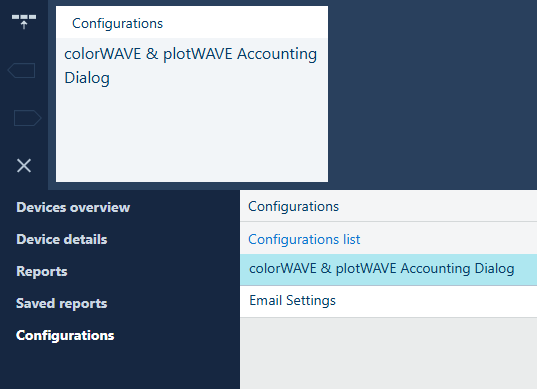
Open the [Configurations] app.
Select the [colorWAVE & plotWAVE Accounting Dialog] tab:
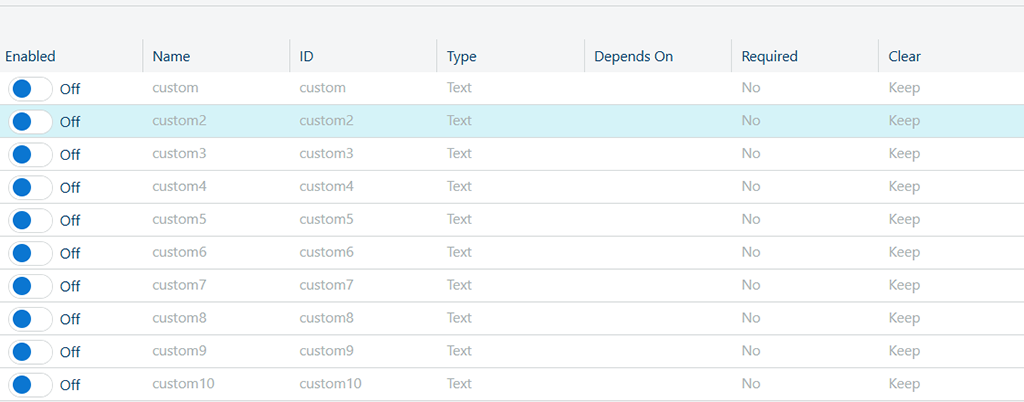
Initially, all custom fields are set to [Off]
Field 1 – Customer wants to define to which project charge is to be made against
Enable the first field: on the first line click [Enabled] on the slider below to change it from [Off] to [On]
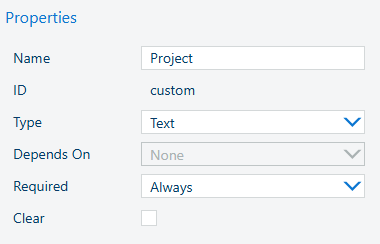
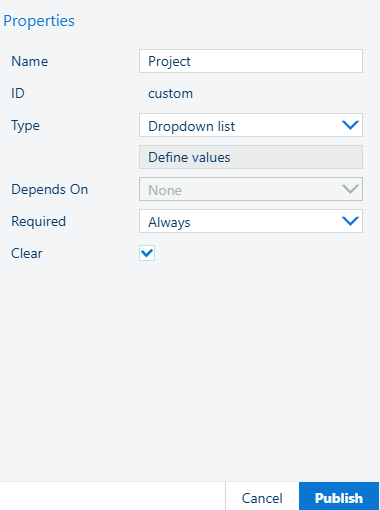
In the [Properties] panel, located on the right hand side of the workspace, enter the [Name] for the first custom field: [Project]:
At [Type], select [Dropdown list] and then select [Define values]:
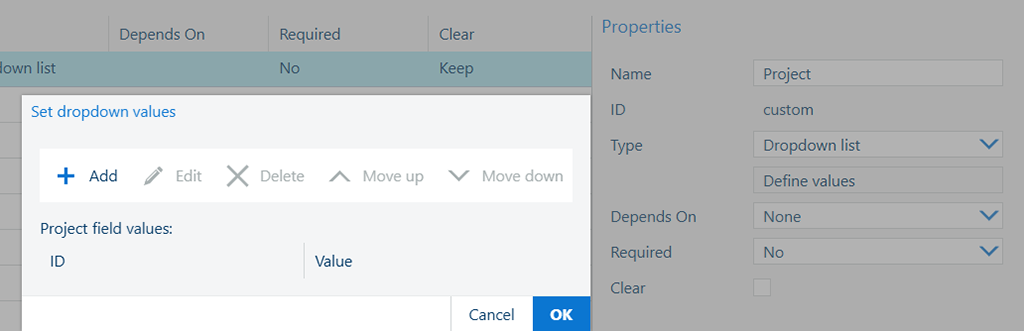
A dialog box opens – this allows you to create the project values you would like to see in the driver/application or on the printer.
Select
![]() [Add]
[Add]
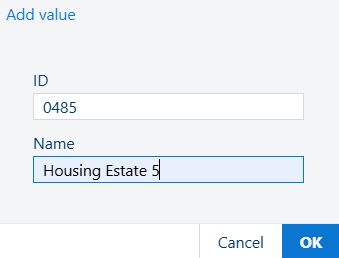
Input an ID number: 0485
Input the project name: Housing Estate 5 – press [OK]
Repeat steps 5-7 until all projects of the above table are entered.
 Values for the "Project" field
Once completed, select [OK] to close the dialog box.
Ignore the [Depends on] - Leave [None] in the dropdown list.
This field is currently disabled, since there is no field to be made dependent on.
[Required] - Select [Always], as the customer always wants the project to be selected
[Clear] - Select the checkmark as the customer wants the project to be cleared once the value gets used.
Field 2 - The customer wants to define whether this print/copy/scan is chargeable or not.
In the 2nd line select [Enabled] on the slider below to change it from [Off] to [On]

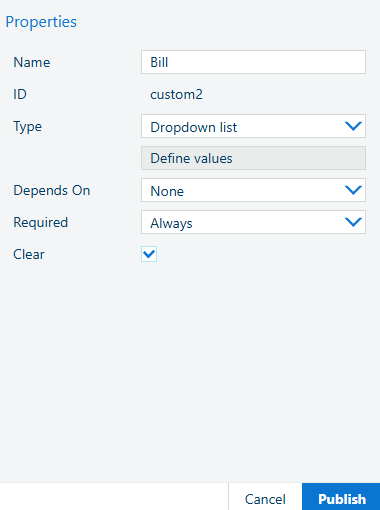
In the [Properties] pane, enter the [Name]: [Bill]: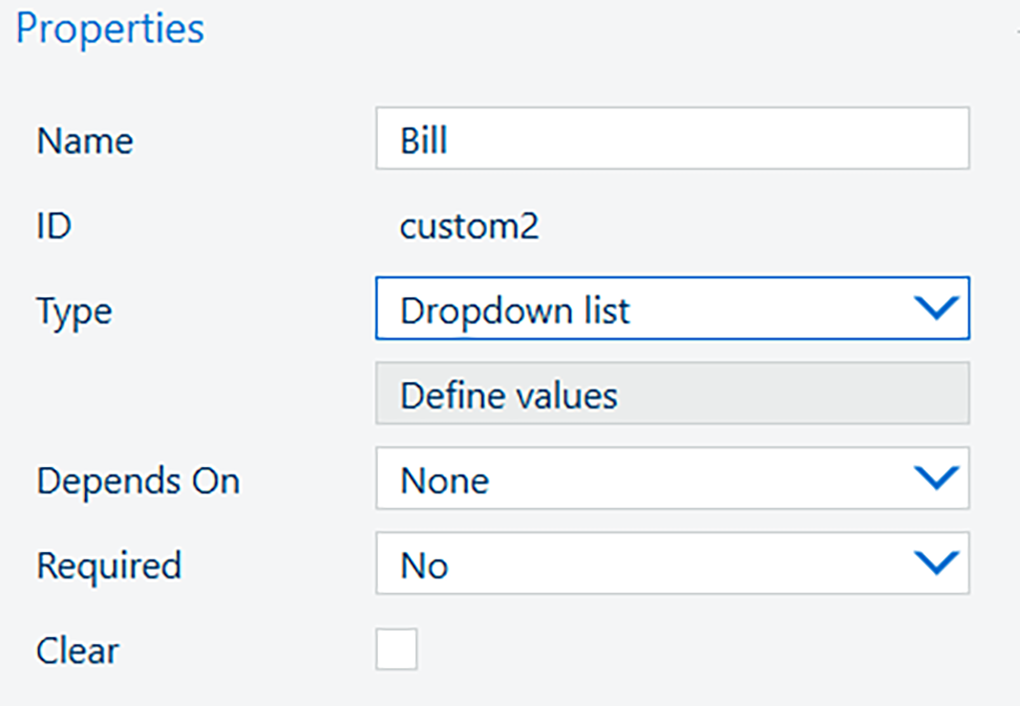
At [Type], select [Dropdown list] and then select [Define values].
A dialog box opens, allowing you to create the values for this field:
Select
![]() [Add]
[Add]
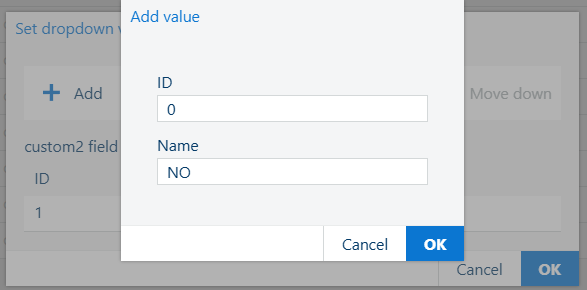
Input an ID number - 1
Input the [YES] as the first value for the field Bill – press [OK]

Input an ID number -0
Input the [NO] as the second value for the field Bill – press [OK]
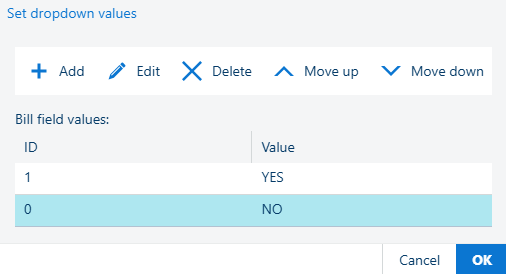
Once completed, select [OK] to close the dialog box
[Depends on] - Select [None] in the dropdown list.
[Required] - Select [Always], as you always want to be able to specify to bill or not.
[Clear] - Select the checkmark as you want the billing to be cleared once the value gets used.
To push the accounting dialog to the colorWAVE and plotWAVE printers, click the [Publish] button. You will get a notification for each printer whether this was successful or not.

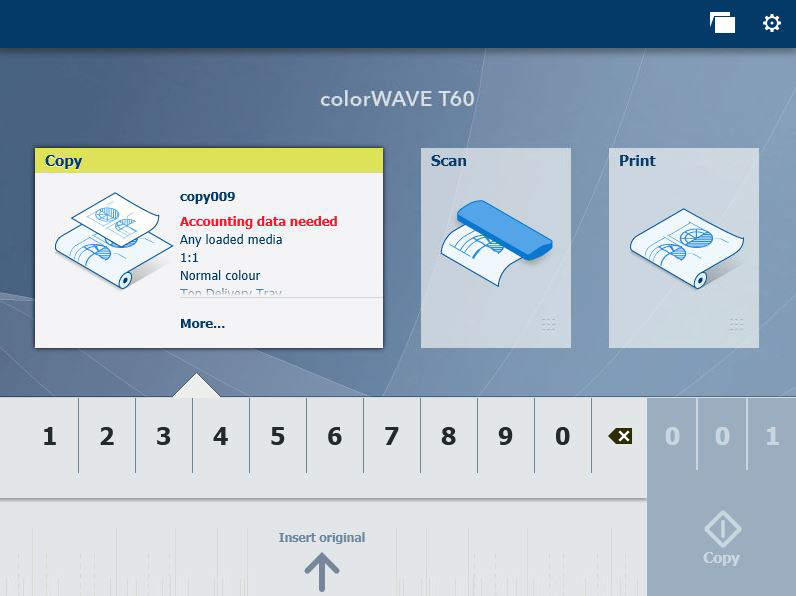
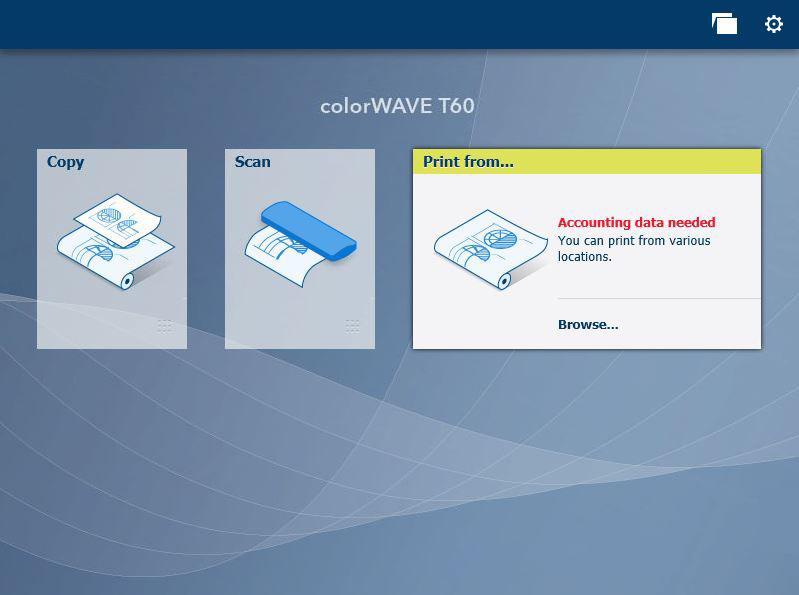
Open the registered colorWAVE/plotWAVE device, and prepare a new printjob. Select the desired operation from the Printer Operator Panel:
|
COPY |
|
Scan |
|---|---|---|
 |
 |
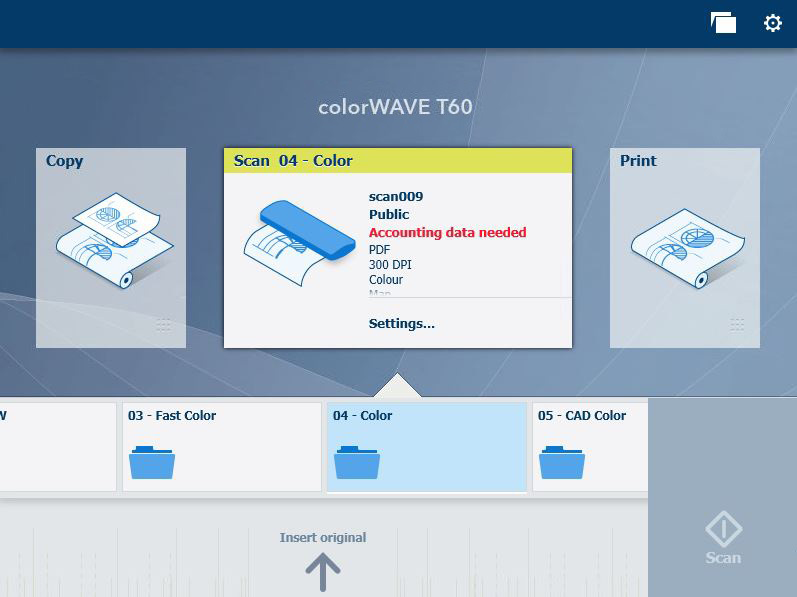 |
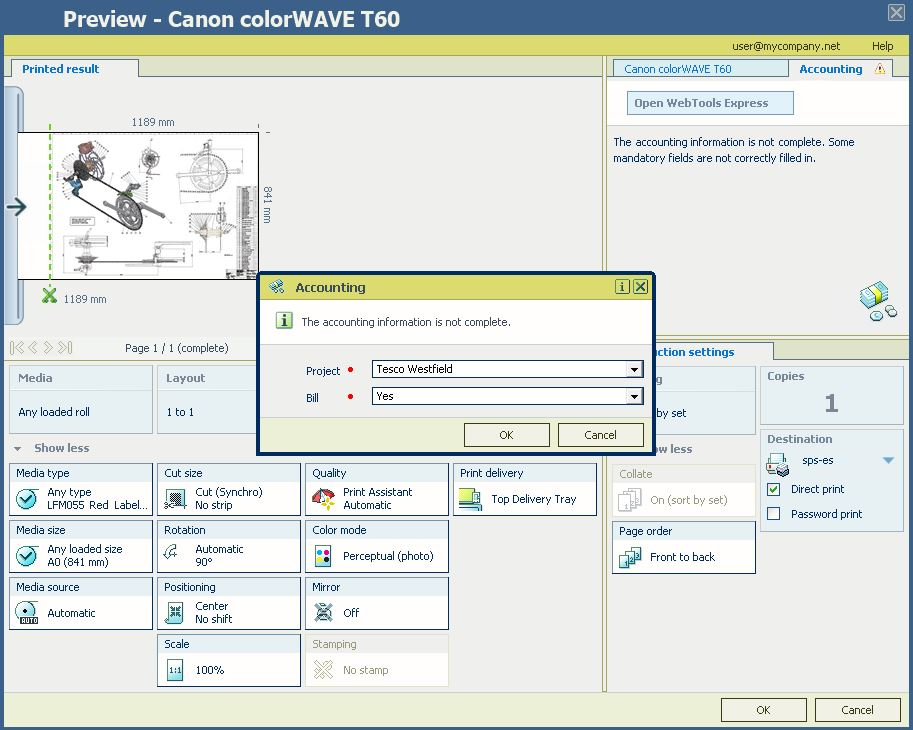
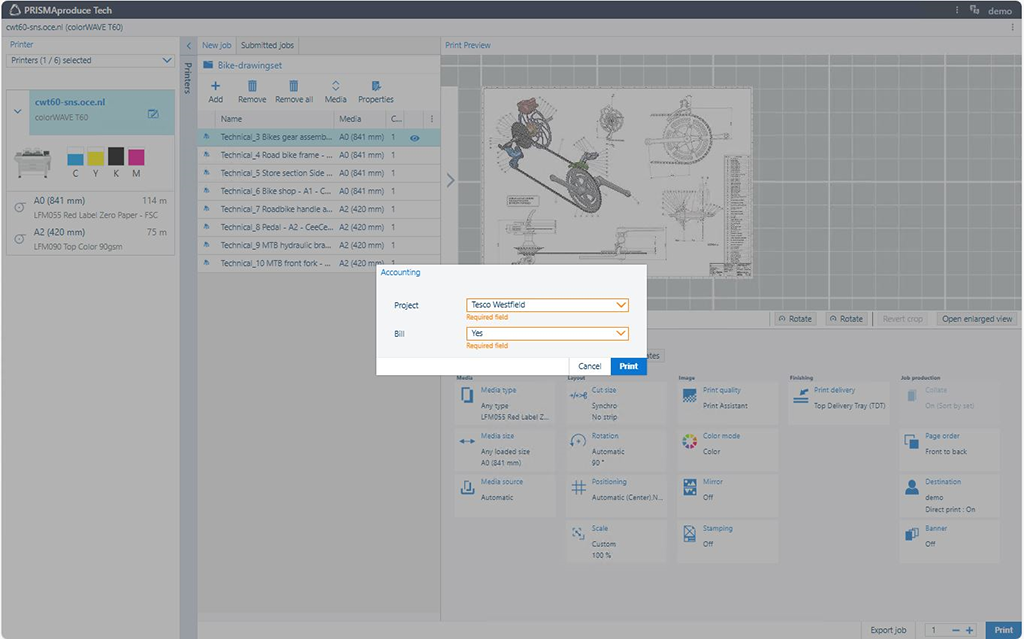
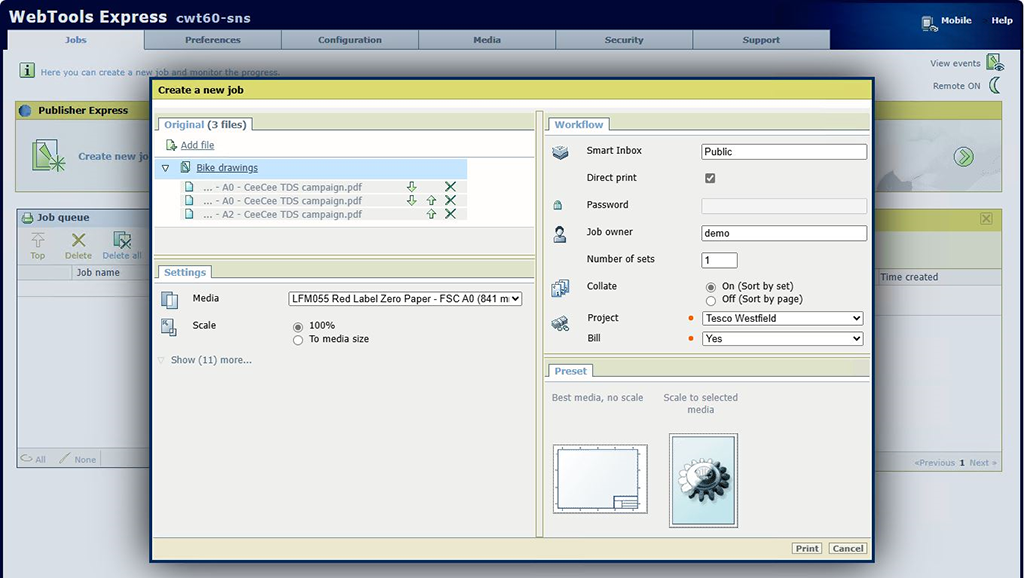
You should see both the custom fields with their appropriate values:
Please notice how the custom fields we prepared are marked as [Required] in the user interface with text or the red dot.