Loading

Replace the lubricators

Introduction

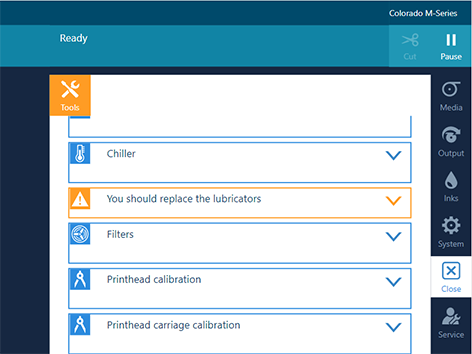
You can replace the lubricators without service assistance. The operator panel gives an orange warning when you can replace the lubricators.

Video: Replace the lubricators.

Before you begin

Use Colorado M-series prescribed:

  • Microflex gloves for handling ink

  • Bracket with two lubricators and pins (2x)

  • Torx-20 screwdriver

  • Lint free cloth (optional)

NOTE

For information on the prescribed maintenance materials, see List of Colorado M-series maintenance materials.

CAUTION

Wear the prescribed gloves when contact with ink or maintenance materials is possible. Gloves should always overlap sleeves. Follow the Safety Data Sheets (SDS) guidelines carefully in order to ensure maximum safety.
Procedure

  1. On the operator panel tap on the [Tools] icon on the right.
  2. Tap on [You should replace the lubricators].
  3. Tap on [Replace].
  4. Move to the media input side and open the top cover.
  5. Put on the Colorado M-series approved gloves.
  6. Carefully push the printhead carriage to the left in manual maintenance position (1).
    IMPORTANT

    Touch the printhead carriage on the covered area only, otherwise you can damage the printheads.
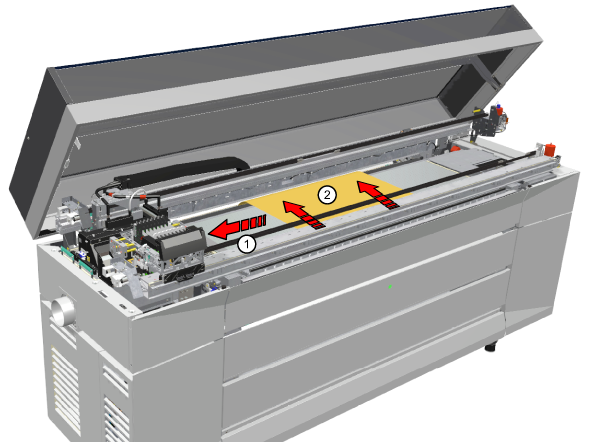
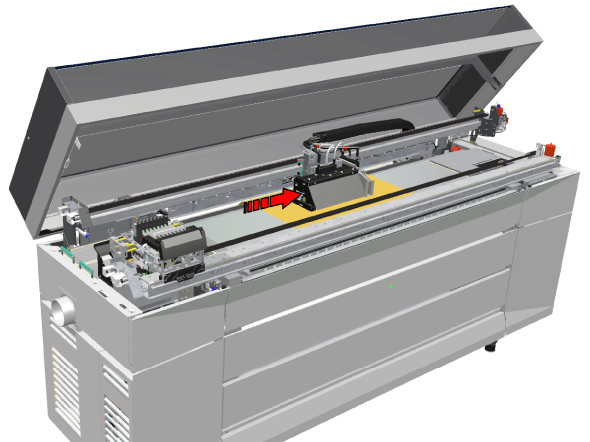
  7. Take a piece of paper and place it in the middle of the platen (2).
  8. Carefully push the curing carriage to the middle of the platen over the paper. The paper will prevent any loose parts falling into the printer.
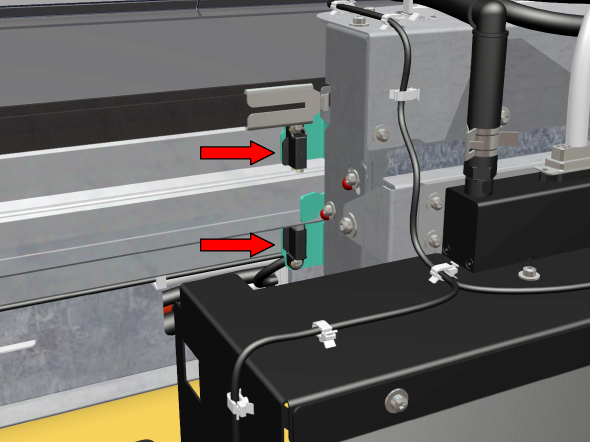
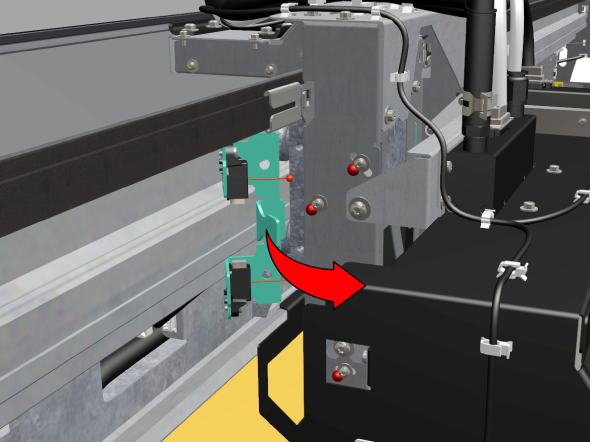
  9. Locate the lubricators on the left side of the curing carriage.
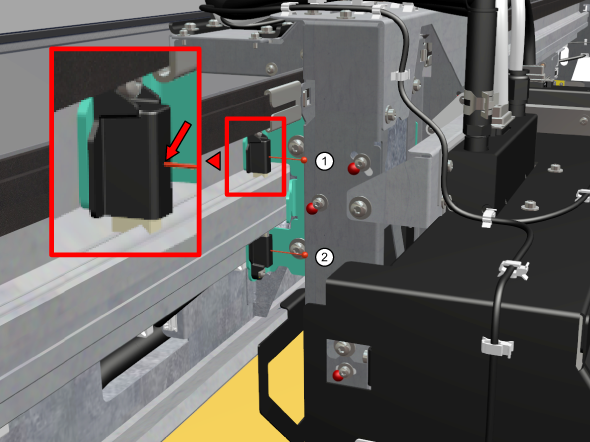
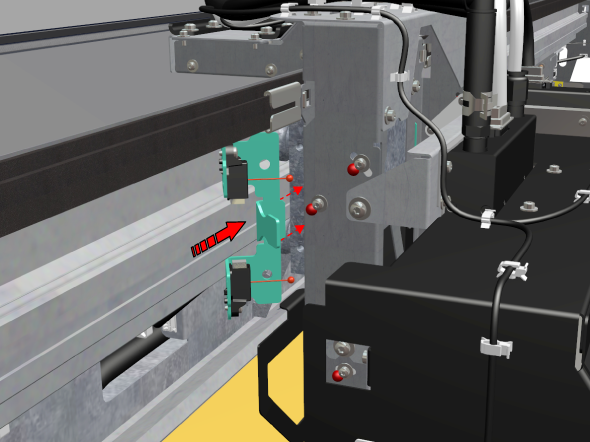
  10. Take a pin and place it in the hole of the upper lubricator (1).
  11. Take a second pin and place it in the hole of the lower lubricator (2).
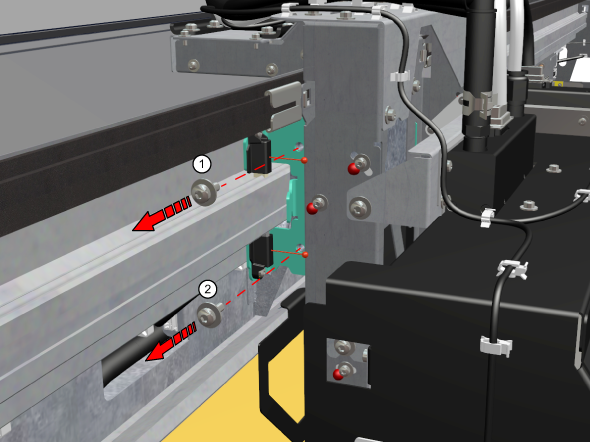
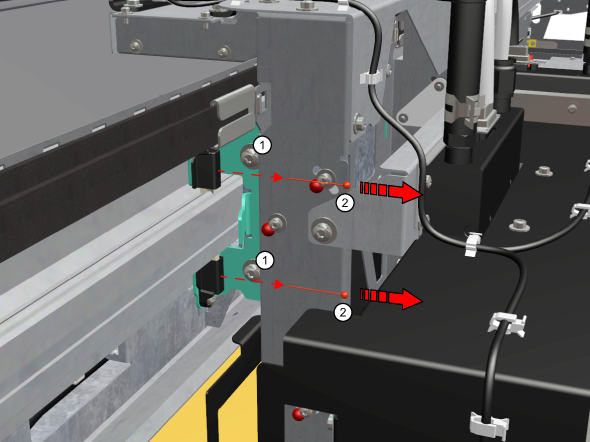
  12. Unscrew the two screws (1-2) on the lubricators' bracket with a Torx-20 screwdriver.
  13. Remove the bracket with the lubricators.
  14. Take a new bracket with lubricators and place the two pins in the lubricators' holes.
  15. Place the new bracket with the lubricators into position. The bracket should fit into the positioning hole.
  16. Fasten the two screws, hand tight (1).
  17. Take the pins out of the lubricators (2).
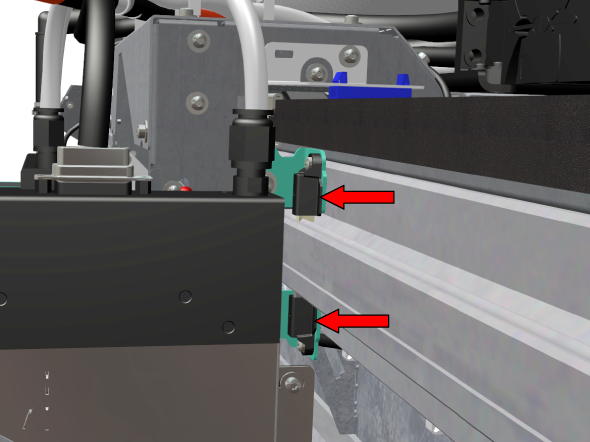
  18. Locate the lubricators on the right side of the curing carriage.
  19. Repeat steps 10 to 17.
  20. When the lubricators on both sides have been replaced, remove the paper.
  21. Dispose the gloves as chemical waste according to local regulations.
  22. Close the top cover.
  23. On the operator panel tap [Replaced] to confirm you replaced the lubricators and end the action.
    NOTE

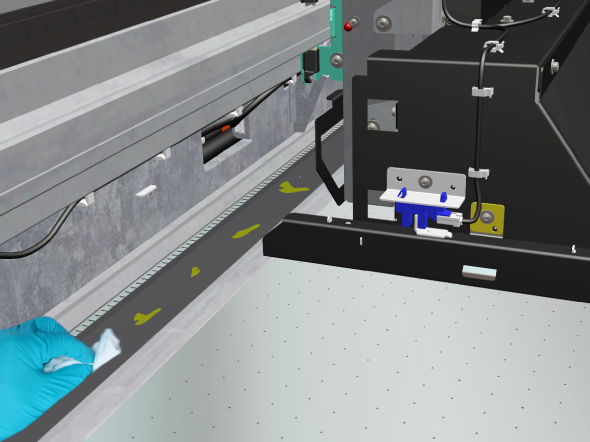
    When you have replaced the lubricators, some oil can drip on the platen and the platen edge. When oil has spilled: open the top cover when the printer is not printing, put on gloves, clean the oil with a lint free cloth and close the top cover again.