
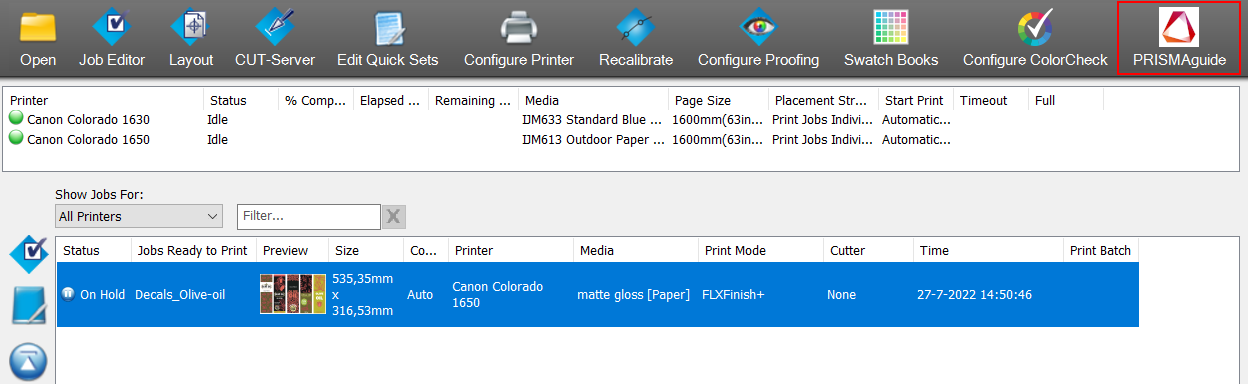
This topic describes how you can print an application with FLXfinish+, which means that the job is printed partly in mat and partly in gloss.
In order to use FLXfinish+ applications, a CMYKSS profile with a FLXfinish+ print mode is needed.
The file must contain data, that identifies the areas that will be printed in gloss. This can be a file, a page, a layer or spot data.


Select for the [Front] 2 layer the [Layer source]: [Spot]. In this case Spot2 is used to define the gloss part of the print.
You can assign pages, layers or spot colors, present in the input file(s) as input to a print layer.
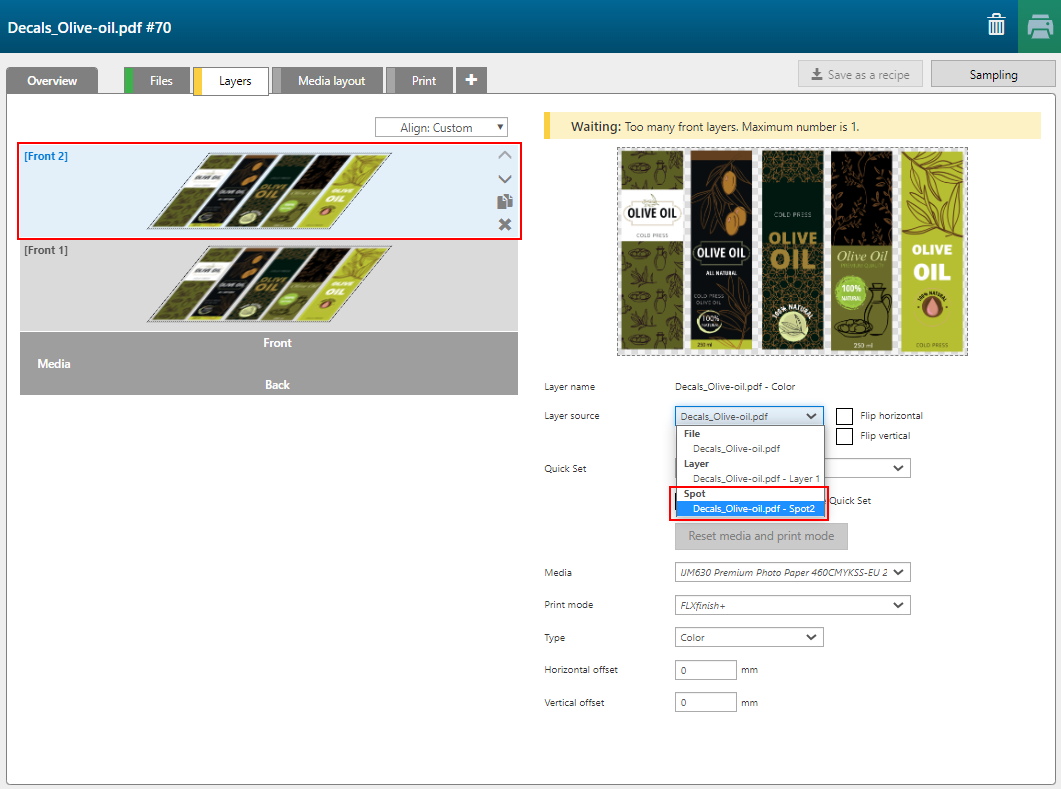
When you use a spot color as [Layer source], the spot color in your design must have the overprint property applied to.
Spot color elements with gradients will be handled as raster images.
Then change the [Color] of the layer to [Gloss].


A FLXfinish+ application can only have one [Front] layer when you submit to ONYX Thrive.

