
This topic describes how you can print an application with FLXfinish+, which means that the job is printed partly in mat and partly in gloss.
In order to use FLXfinish+ applications, a CMYKSS profile with a FLXfinish+ print mode is needed.
Check / select the settings for:
[Printer]
[Media]
[Print mode]
Select: FLXfinish+
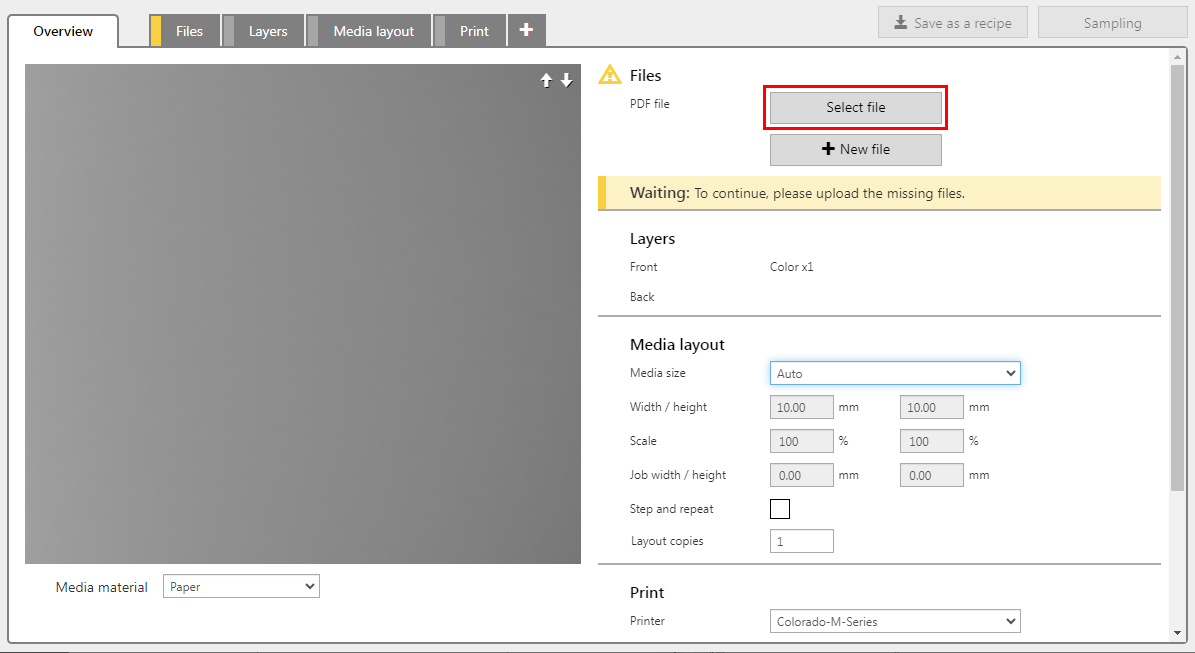
The file must contain, a page, a layer or spot color that defines the gloss data.
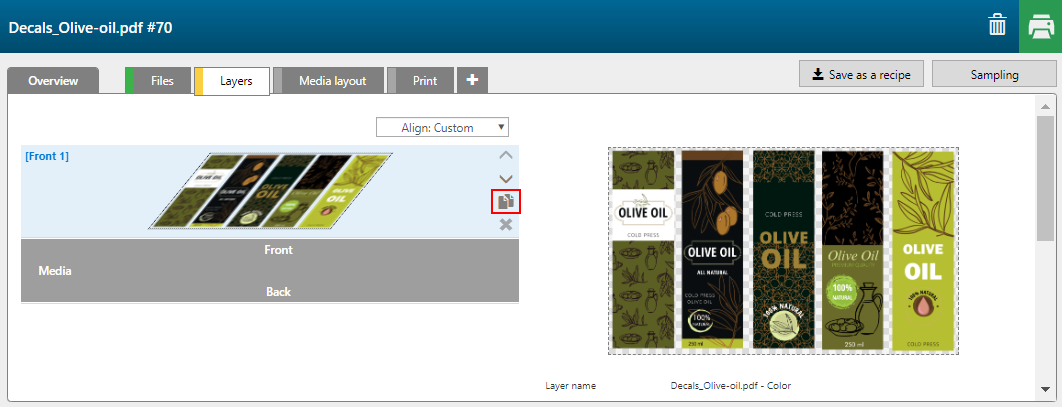
Select the [Layer source]: that contains the data for the gloss part of the print. In this case we use Spot2 data that is present in the PDF.
You can assign pages, layers or spot colors, present in the input file(s) as input to a print layer.
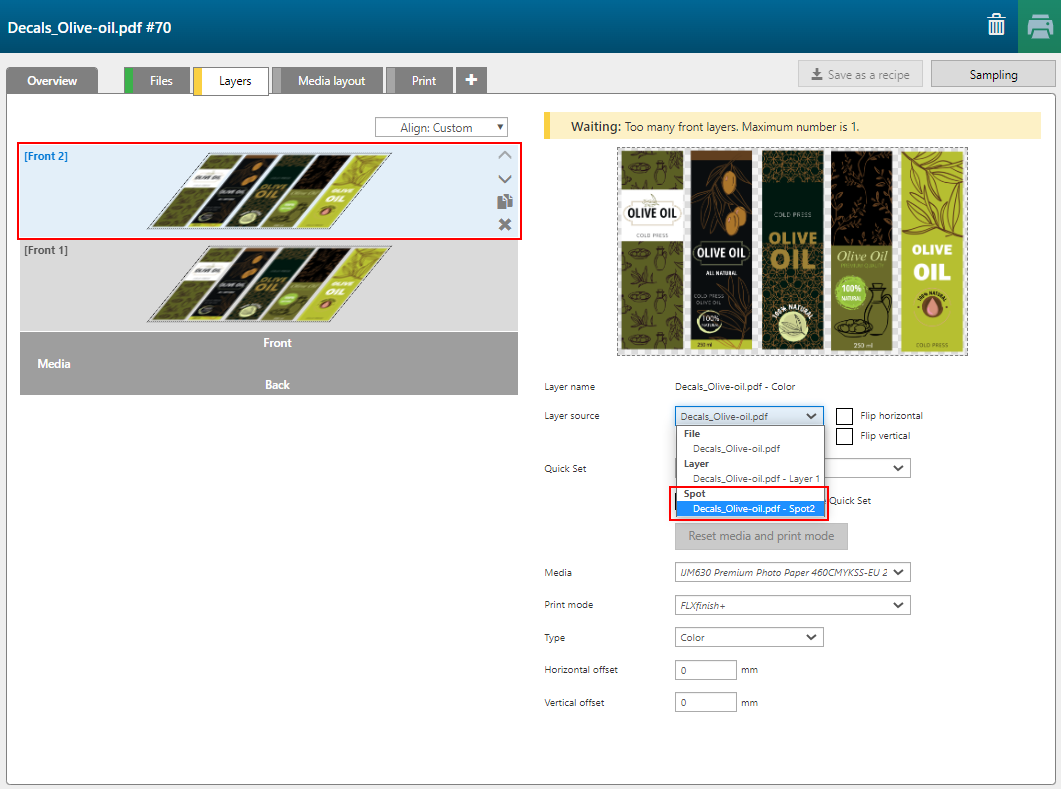
Spot color elements with gradients will be handled as raster images.
Select the [Layer source]: that contains the data for the gloss part of the print. In this case we use Spot2 data that is present in the PDF.
You can assign pages, layers or spot colors, present in the input file(s) as input to a print layer.
Spot color elements with gradients will be handled as raster images.
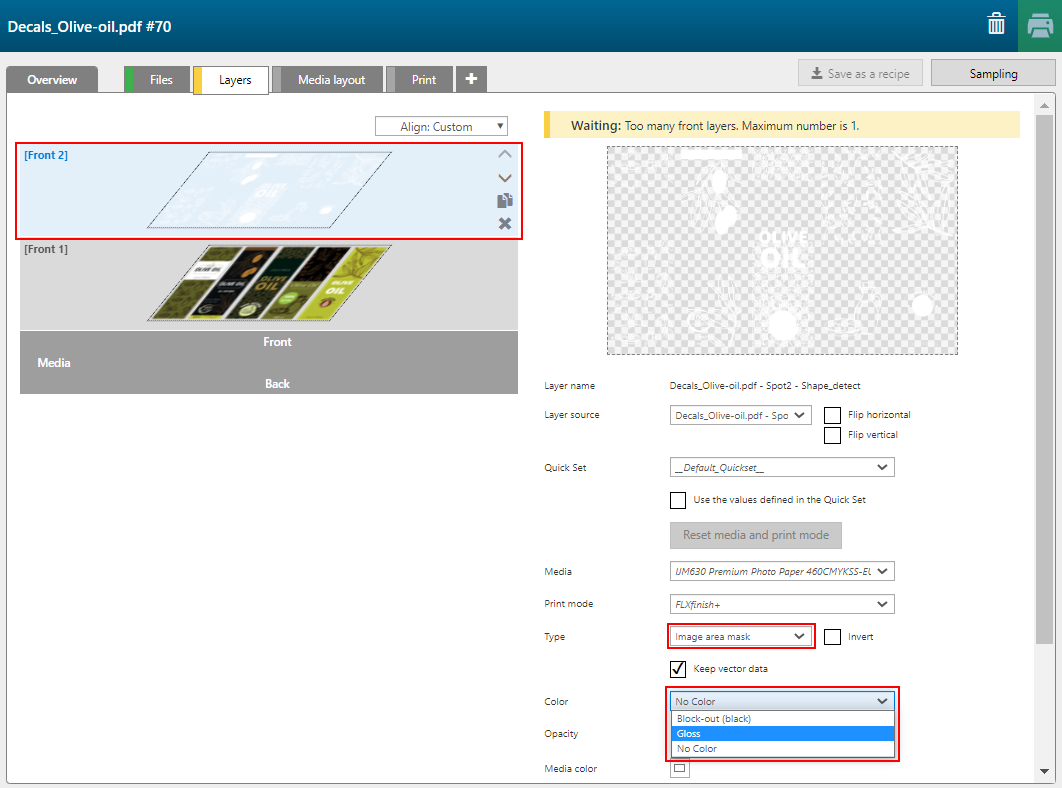
Then change the [Color] of the layer to [Gloss].
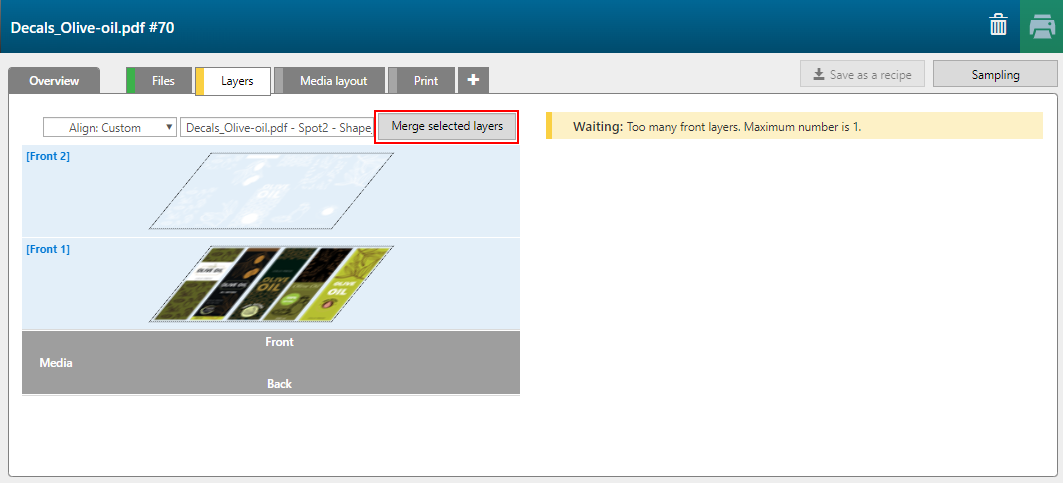
A FLXfinish+ application can only have one layer per side.
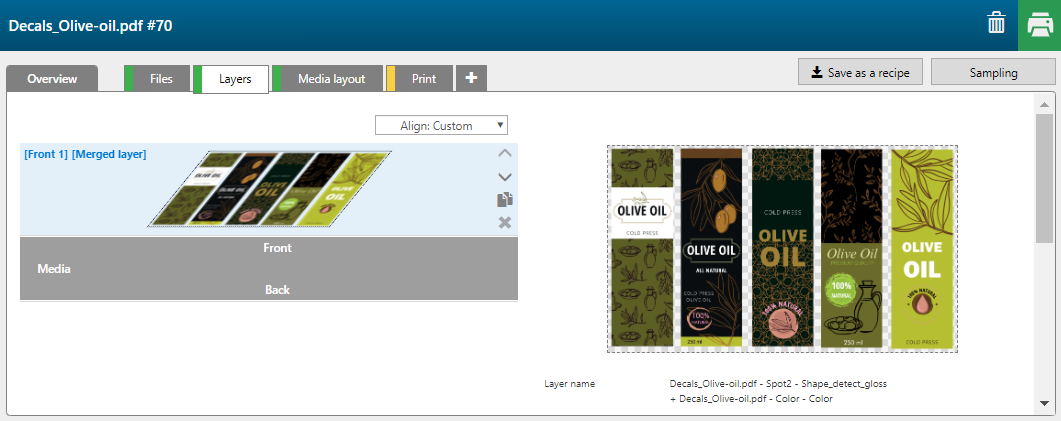
You can save the application as a recipe for future use. See: Save the custom application as a recipe