Loading

Replace ink tanks

About this task

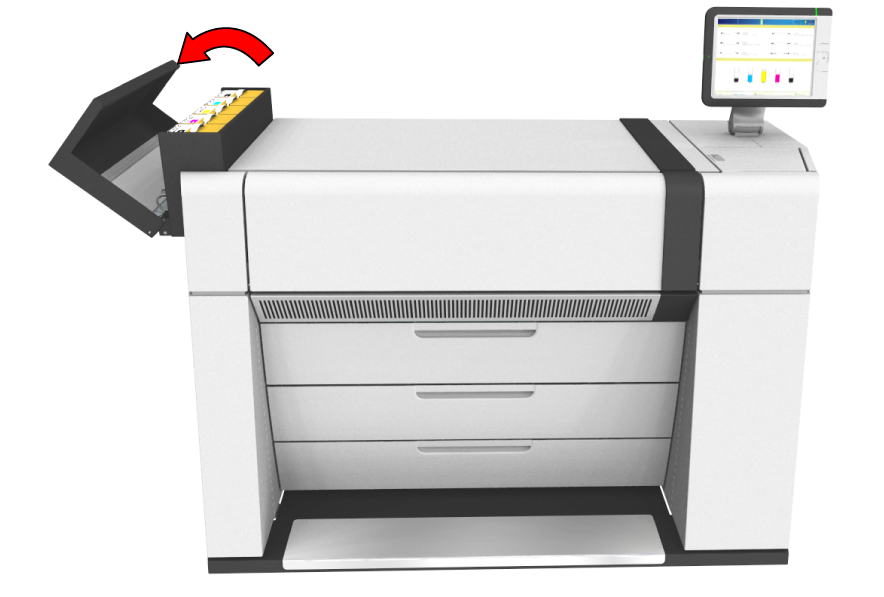
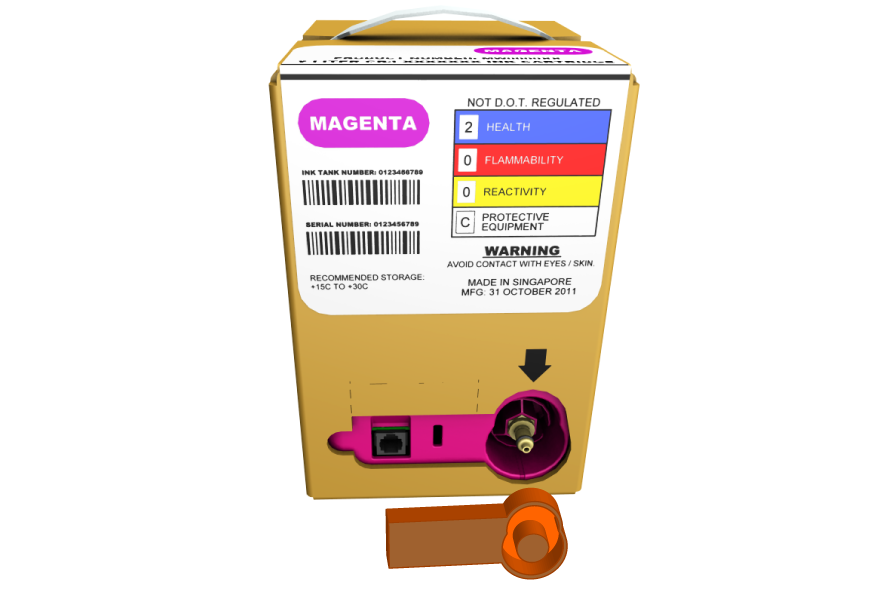
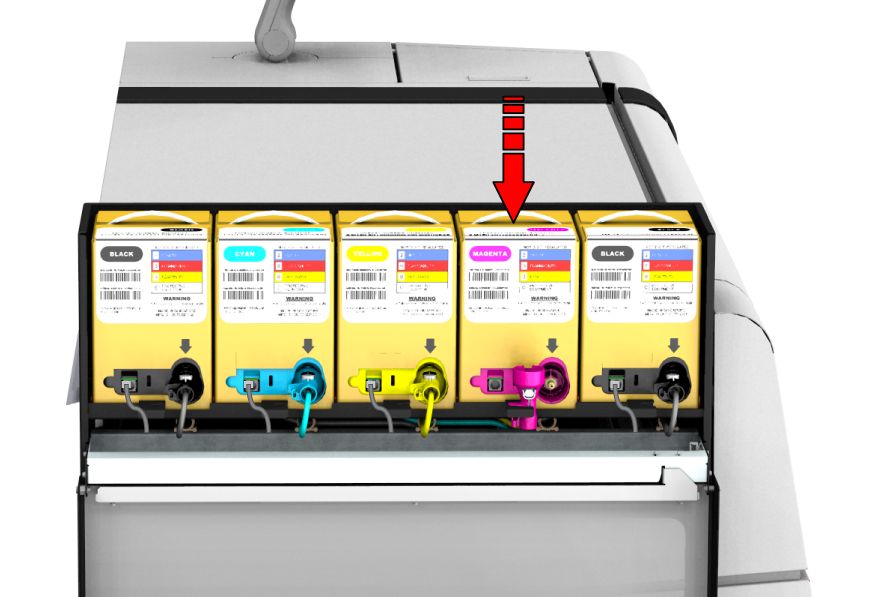
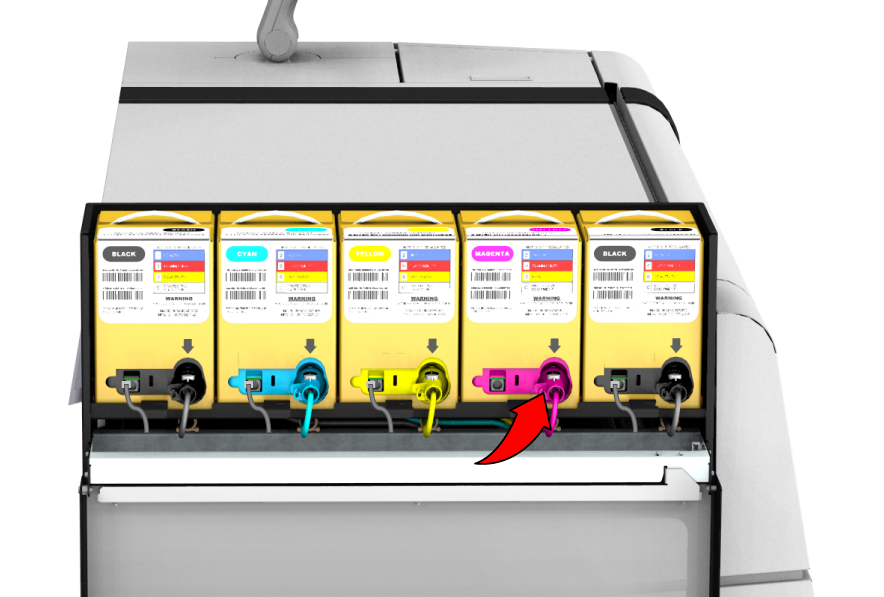
When the user panel indicates that an ink tank is almost empty.

NOTE

When an ink tank is completely empty, the printer stops printing.

Before you begin

Make sure you have the following cleaning materials at hand.

  • Use GLOVES - UV INK (MEDIUM / LARGE)

  • Use Lint Free Cloths (moistened with demi water)

  • Demi water

Procedure

  1. On the user panel tap on [System].
  2. Tap on [Maintenance].
  3. Tap on [Replace ink tanks] to start the wizard.
  4. Tap on [Next]
  5. You can now follow the steps in the wizard, or, for more detailed information, follow the steps below.
    NOTE

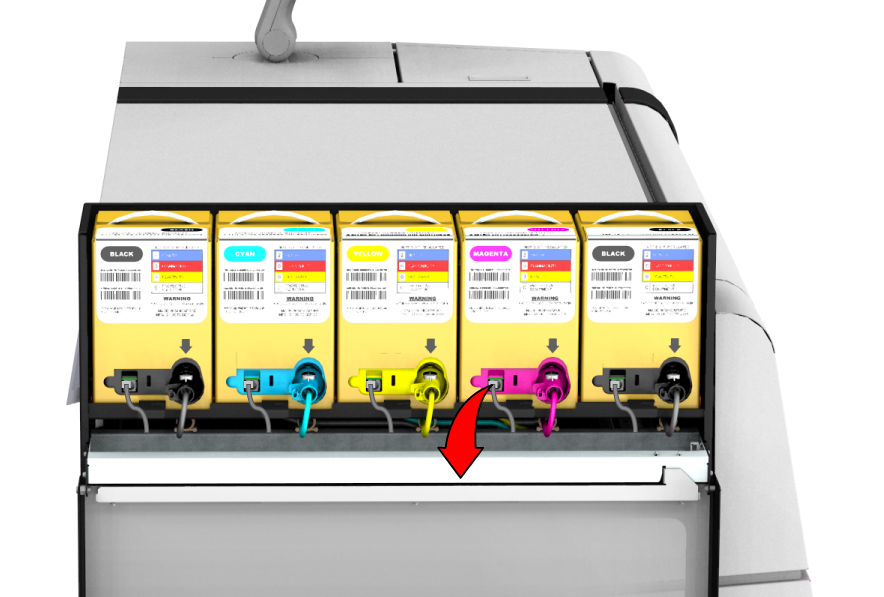
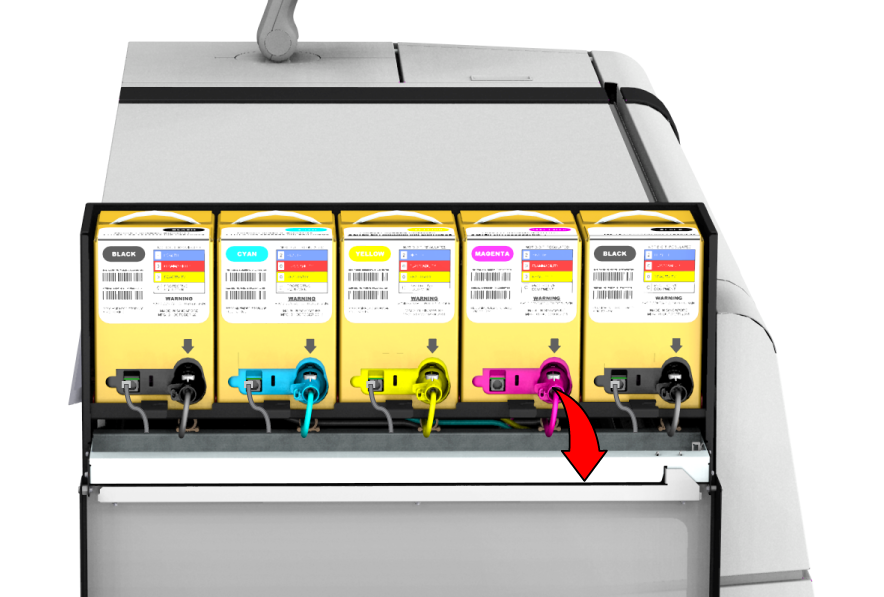
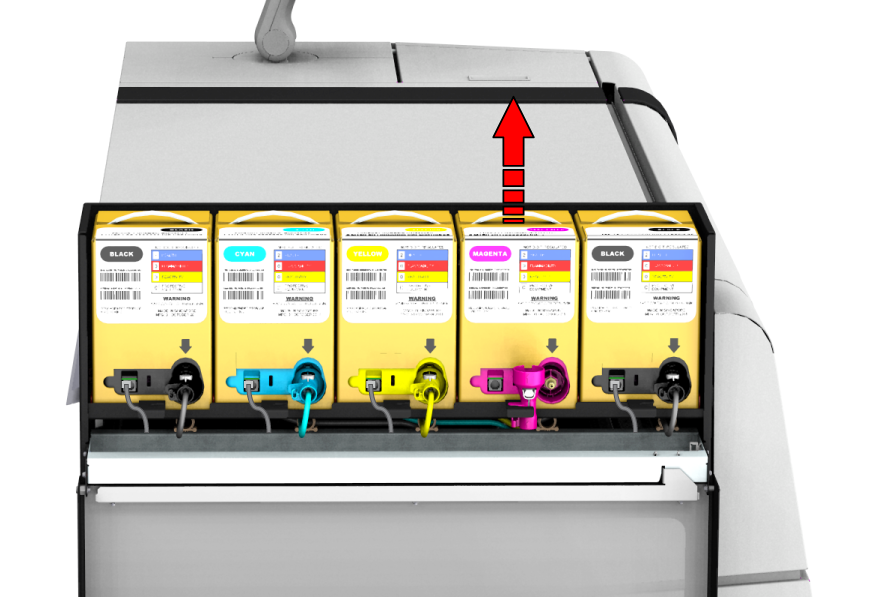
    From this point you can also follow the video instruction. After that, proceed with step number 16.

    https://vimeo.com/260765647
  6. Open the ink tanks cover.
  7. Put on gloves and disconnect the connector from the empty ink tank.
  8. Press the metal tab on the ink tube connector and disconnect it from the empty ink tank.
  9. Use a lint free cloth to wipe the residual ink from the ink tube connector and place the ink tube connector in the holder to avoid ink dropping on the floor.
  10. Remove the empty ink tank and throw it away.
  11. Unpack the new ink tank and remove the plastic foil and the orange protection cover.
  12. Place the new ink tank.
  13. Connect the ink tube connector. Align the metal tab on the ink tube connector on top and push until the latch clicks into position.
  14. Connect the connector.
  15. Take off the gloves and close the ink tanks cover.
  16. On the user panel tap on [Next] several times, and tap on [Finish] to close the wizard.