
This option allows you to protect a job, sent to a [Smart Inbox], by adding a password to it.
The Smart Inbox option has to be enabled on the printer.
[Direct print] and [Password print] are mutually exclusive.
For more information about [Password print] in job submission tools, see Print Jobs - Job submission tools or the documentation of the submission tool.
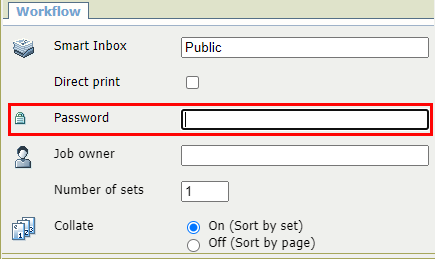
This password has to be entered at the printer to access the job. Next you can view, change, print or delete the job.
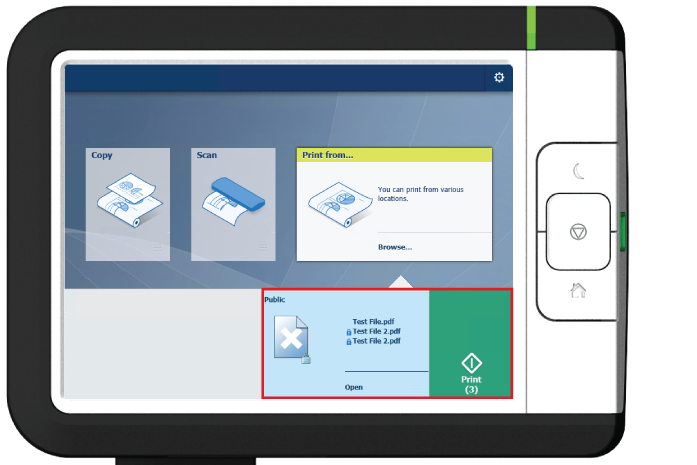
When there is at least one new password-protected job in the Smart inbox, the thumbnail in the Smart Access is turned into a cross, the name for the protected job is preceded with a lock icon, and the green print button redirects to the smart inbox instead of printing all new jobs.
Protected jobs are represented with a lock icon instead of a preview thumbnail and are prevented from previewing, editing or printing.
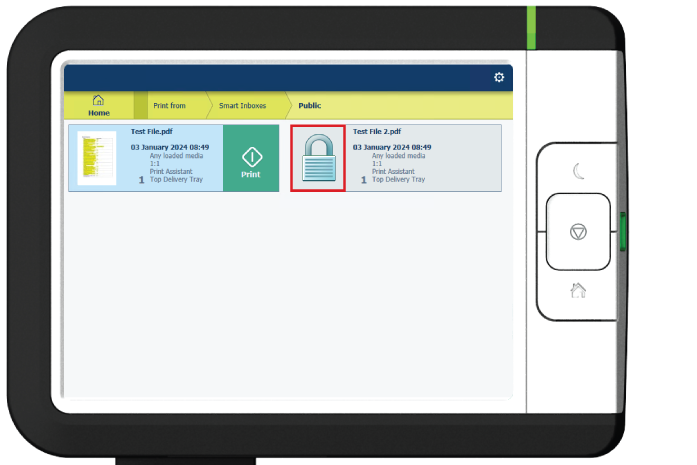
Next you can view, change, print or delete the job.