
This topic contains the following instructions.
Go to the print quality adjustments
Adjust when and how long to refresh fixing belt
Remove a color cast on a white background
Remove unwanted white gaps between images
Increase print quality on heavy paper when temperature is low
Remove uneven gloss
Remove partial distortions or unwanted thin white lines
Smoothen jagged outlines
Increase productivity for jobs with heavy media
Increase productivity for jobs with coated media
Increase the frequency of the gradation adjustment during printing
Scan documents with extreme thin lines
Open the Settings Editor and go to: .

Go to [Print quality adjustments].
 Settings for print quality adjustments
[The fixing belt is refreshed automatically after a certain number of sheets was printed. You can adjust the frequency and the time used for each refreshing. See the Service Manual for the exact meaning of the levels.]
Use the [Fixing belt auto refresh level] option to adjust when and how long the fixing belt needs to be refreshed .

Adjust the default level.
Click [OK].
You can remove the color cast that occurs on a white background during printing or copying.
Use following options to remove a color cast.
[Color cast correction: Cyan]
[Color cast correction: Magenta]
[Color cast correction: Yellow]
[Color cast correction: Black]

Click [OK].
Perform a printer and media family calibration.
[When an area of intense colors is copied or printed immediately after a halftone area, a white gap may occur between the images. You can use this feature to eliminate the white gap between two areas. Make sure to perform auto gradation adjustment after changing the settings. Value 1 and 2: Select when you want to eliminate the white gap Value 3: Select when you want to return to the original image (default).]
Use the [White gap correction] option to remove white gaps between areas.
Adjust the default level.

Click [OK].
Perform an automatic gradation adjustment.
[When printing on heavy paper under low temperature conditions, toners may not be properly applied on areas of high density images on the first 10 or so sheets of paper. You can solve this problem by slowing down the print speed for a specific period of time. A higher level means a better application of toner, but also a lower print speed.]
Use the [Low temperature environment mode] option to increase the print quality on heavy paper when the temperature is low.
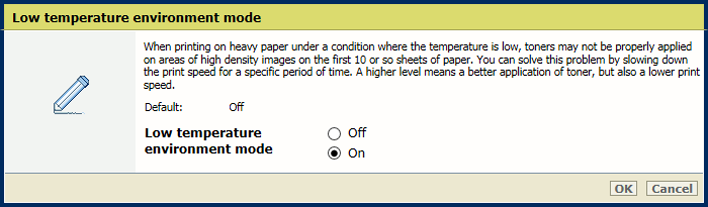
Click [OK].
[When the temperature of the fixing unit rises excessively, uneven gloss may occur. Decrease the value to reduce the uneven gloss.]
Use the [Uneven gloss correction] option to reduce the uneven gloss.
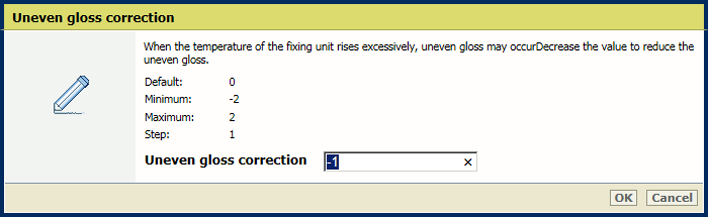
Click [OK].
[In a high temperature or high humidity environment, partial distortions or thin white lines can appear on printed images. To prevent this problem, adjust the photoconductor drum temperature.]
Use the [Adjust drum temperature] option to remove partial distortions or unwanted thin white lines.
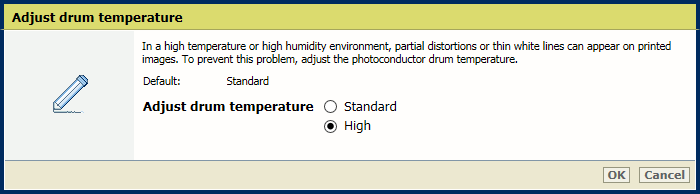
Click [OK].
[This setting smoothes jagged outlines of dark color characters, lines, figures, photos and images. This settings corrects the color displacement in the output.]
Use the [Special smoothing] option to smoothen jagged outlines.
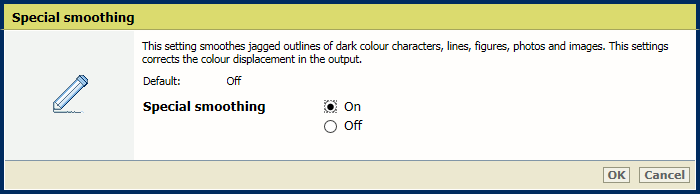
Click [OK].
[This setting is used when you use heavy paper (221 g/m2 - 300 g/m2). When this setting is enabled the productivity is increased, but in some cases the color quality, gloss quality and/or fixing quality is affected.]
Use the [Productivity or quality priority for heavy media] option to increase the productivity for jobs with heavy media.
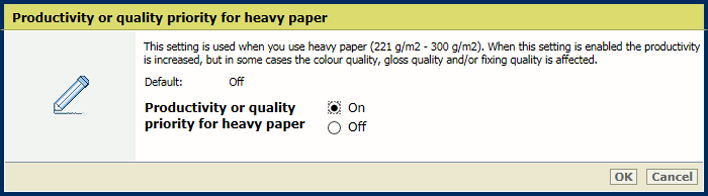
Click [OK].
[Standard (default): stable image quality without decrease of the productivity. Productivity: when you print on coated paper 1 to 4 (1-sided coated paper, 2-sided coated paper, matte coated paper), the productivity increases, but in some cases the gloss quality is affected. Gloss quality: when you print on coated paper 1 to 3 (1-sided coated paper, 2-sided coated paper, matte coated paper), the gloss quality increases, but in some cases the productivity decreases.]
Use the [Productivity or gloss quality priority for coated media] option to increase the productivity for jobs with coated media.

Click [OK].
[Standard (default): Select this mode when you use thin paper (less than 128 g/m2) and heavy paper (more than 129 g/m2). Thin paper: Select this mode when you use mainly thin paper. Heavy paper: Select this mode when you use mainly heavy paper. With the setting thin paper and heavy paper the productivity increases compared to the standard setting. Quality: print quality increases but in some cases the productivity decreases.]
Use the [Productivity or image quality priority for mixed media] option to increase print quality for jobs with mixed-size media.

Click [OK].
[Use the setting to enable the automatic gradation adjustment during printing. The procedure improves the stability of the image quality, although it also affects the productivity of the printer. Therefore, you can set the frequency with which the procedure is performed.]
Use the [Gradation adjustment during printing] option to increase the frequency of the gradation adjustment during printing .

Click [OK].
Go to the [Streak prevention] option.
 Settings for scan quality adjustments
Disable the setting to scan documents with extreme thin lines.
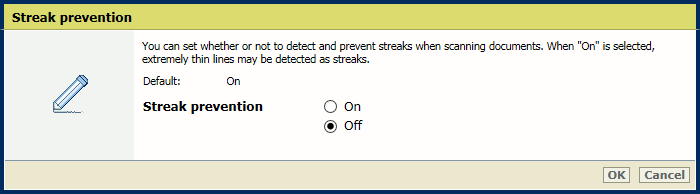
Click [OK].