
You can load standard and custom media on your printer.
Before you load a roll on the printer, make sure your media is enabled.
For standard media you must enable a media profile in WebTools Express. For more information, see Configure the media profiles.
Make sure the size is enabled in WebTools Express. For more information, see Configure the media sizes. If your media size is not present in the list, you can create a custom media size. For more information, see Create a custom media size.
Do not use dented media rolls to prevent damage to the imaging devices.
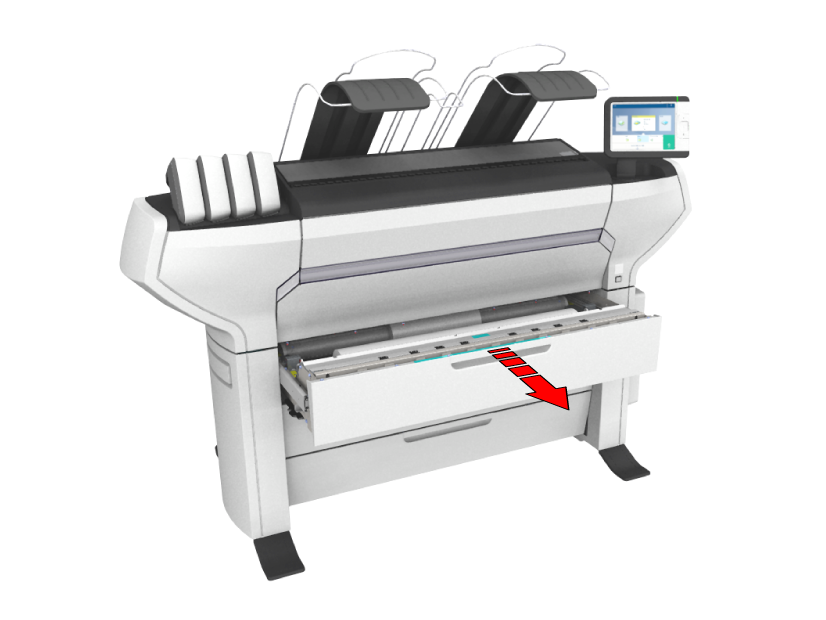
Do not open the media drawer during the print process.
Do not open more than one media drawer at the same time to prevent overbalance of the printer.
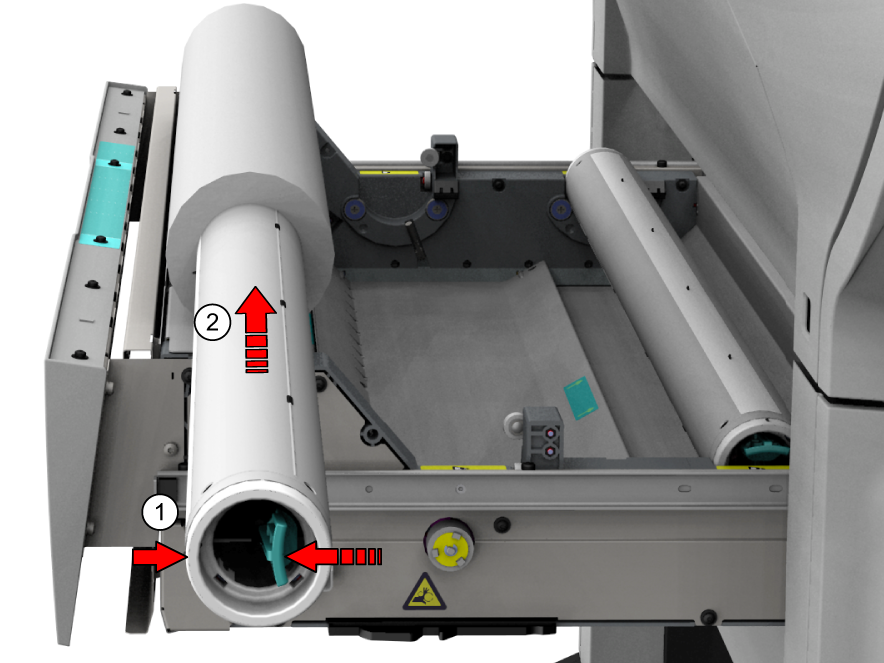
Watch your fingers when you handle the media roll.
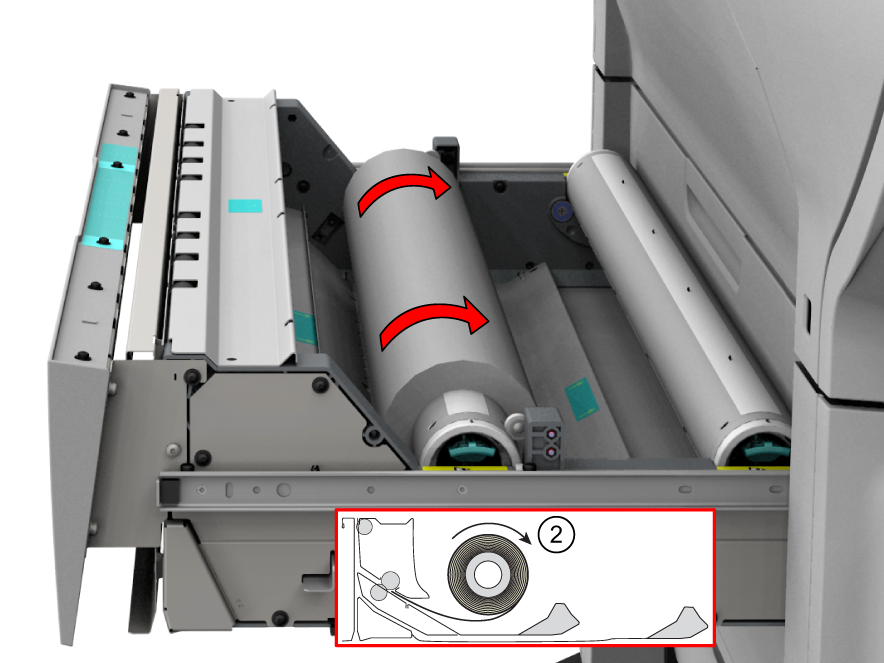
Slide (2) the roll holder into the right side of the core of the new media roll.
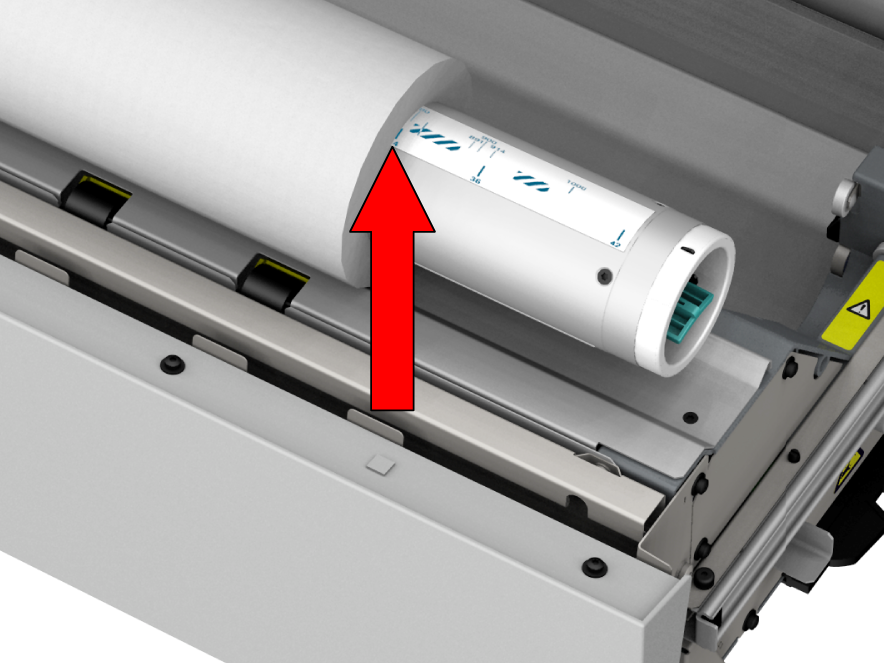
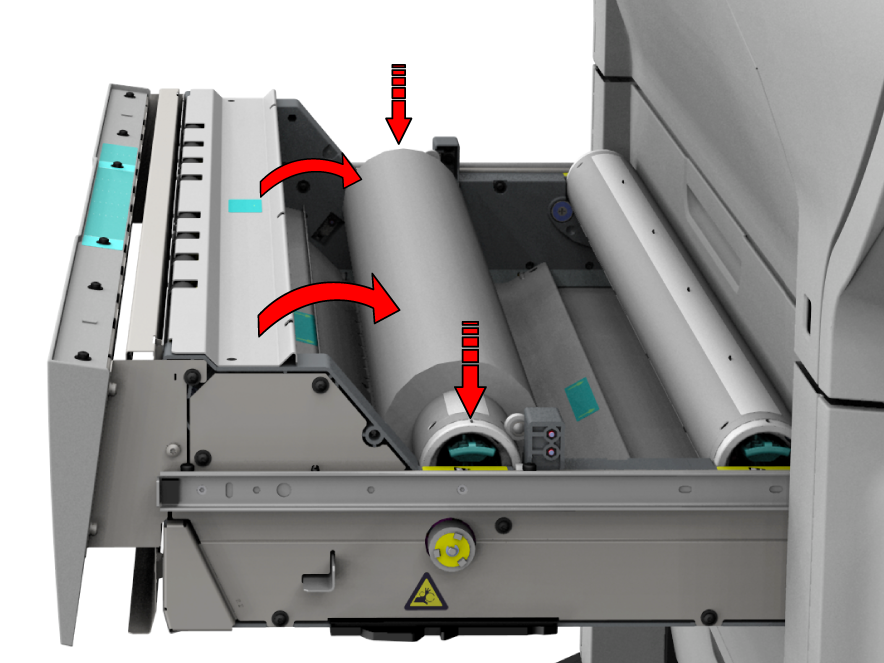
Use both hands (as indicated) to place the media roll in the media drawer.

Do not open the media drawer during loading.
Select the media type. The printer detects the correct size automatically. Choose whether you want a short, long, or no strip, and tap [OK].
For the highest output quality, it is advised to always perform a media calibration when you load a new media type.
You can now print on the newly loaded media.