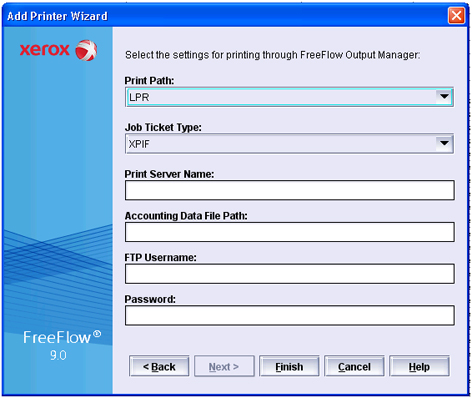

Before you can send the print jobs from the FreeFlow Document Scan and Makeready application to the varioPRINT 140 Series, you have to add the Canon printer to the list of printers.
The following procedure describes how to add the varioPRINT 140 Series to the FreeFlow Document Scan and Makeready application.
The "Printer Registration" dialogue appears.
The "Add Printer Wizard" dialogue opens.
|
Step |
Action |
|---|---|
|
1 |
Define the hostname or IP address of the PRISMAsync Print Server in the "Printer Name or IP Address" field. |
|
2 |
Select a value for option "Printer Model": Xerox 4112 / 4127 The selected printer model supports punching and folding options. |
|
3 |
Define "Xerox Freeflow Print Server 7.0" for option "Controller/Server Type". |
|
4 |
Deselect option "High Security". |
|
5 |
Click "Next". |
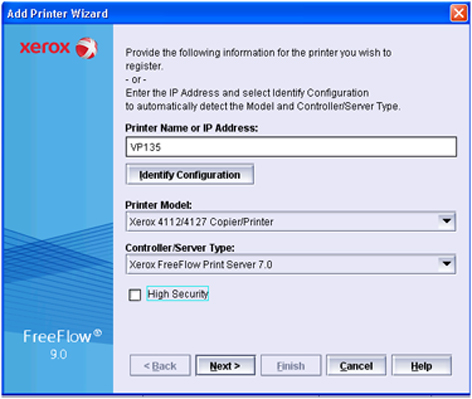
IPP must be enabled for the printer in the Settings Editor.
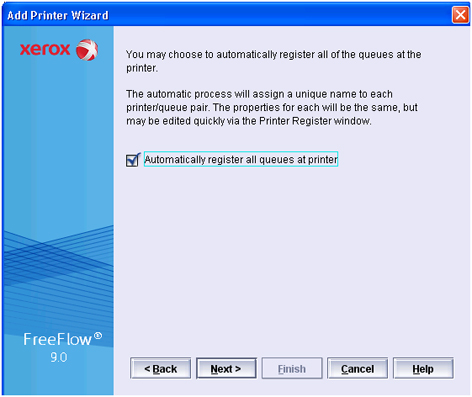
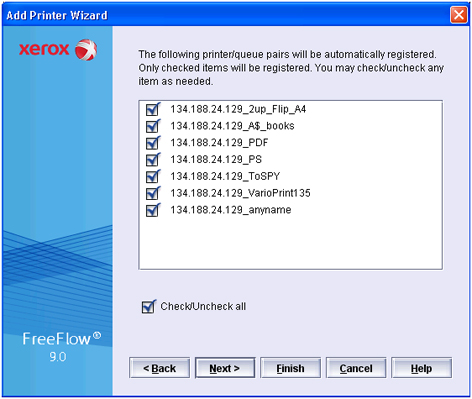
The AWF queues of the printer will be retrieved.
The AWF functionality can be used to enable specific PRISMAsync functionality that is not available in FreeFlow:
You can print to the list of waiting jobs or to a DocBox.
You can use a specific output location which is not selectable in the printer emulation, e.g. the HCS-F1.
You can use special finishing options.
Enable option "Print as PDF". In some cases, option "Print as PDF" will speed-up the submission time from FreeFlow to the printer.
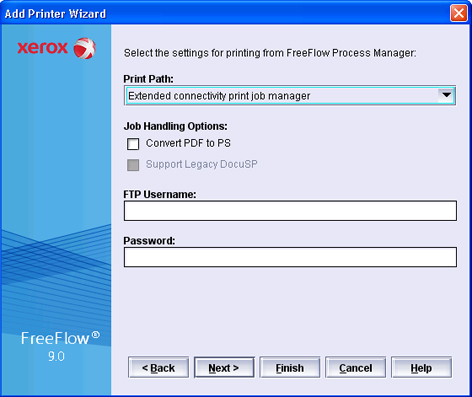
Value "Extended connectivity print job manager" is mandatory for the PRISMAsync Print Server.
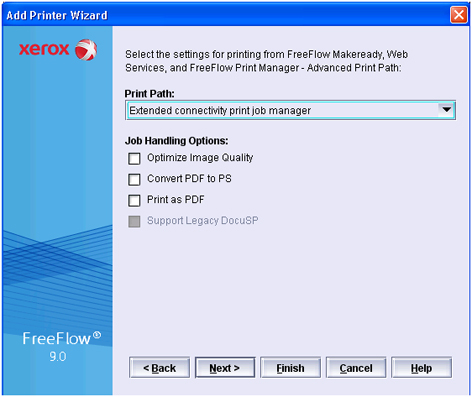
Deselect option "Convert PDF to PS".
