
Perform the instructions in the order they are listed.
These configurations have been done to prepare the IEEE 802.1X environment.
 Configure IEEE 802.1X on the authentication server (phase 1)
Configure IEEE 802.1X on the authenticator
Import the Identity certificate of the RADIUS server.
Most EAP-TLS authentication methods need the PRISMAsync Print Server Identity certificate.
When you select [MS-CHAP-V2 username; PEAP with EAP-MS-CHAP v2], you can skip this instruction.
When you select [Printer name from domain; EAP-TLS] or [Printer name from domain; PEAP with EAP-TLS] , the [Subject alternative name 1], [Subject alternative name 2] or [Subject alternative name 3] field contains the contents of the [Common name] field. This is the Fully Qualified Domain Name (FQDN) name, such as: printername.example.net.
When you select [Username from domain; EAP-TLS] or [Username from domain; PEAP with EAP-TLS] , the [Subject alternative name 1], [Subject alternative name 2] or [Subject alternative name 3] field contains the name written as UPN name (Internet-style name, such as: username@example.net) or as Fully Qualified Domain Name (FQDN) name, such as: username.example.net.
Open the Settings Editor.
Go to: .
 [Security] tab
Go to the [Identity certificate] options.
Use the [Valid for HTTPS] option to check if the Identify certificate is valid for HTTPS and IPsec.
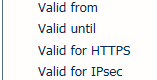 HTTPS and IPsec fields of certificate
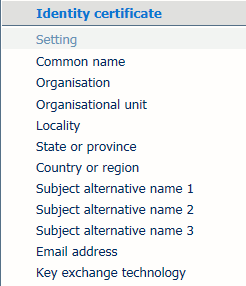 HTTPS and IPsec fields of certificate
Use the DNS printer name for:
[Printer name from domain; EAP-TLS]
[Printer name from domain; PEAP with EAP-TLS]
Use the FQDN or DNS username for:
[Username from domain; EAP-TLS]
[Username from domain; PEAP with EAP-TLS]
Enter the printer name or username in one of the following fields.
[Subject alternative name 1]
[Subject alternative name 2]
[Subject alternative name 3]
Create a certificate request and upload the signed Identity certificate
Open the Settings Editor.
Go to: .
Go to the [Port-based authentication (IEEE 802.1X)] options.
 [Port-based authentication (IEEE 802.1X)] options
Use the [Port-based authentication (IEEE 802.1X)] option to enable IEEE 802.1X.
Use the [Network authentication method (login name; authentication protocols)] option to select the authentication method you want to use.
Use the [Regular expressions for authentication server] option to define the pattern to match the name of the authentication server. IEEE 802.1X port-based authentication is only started when the name of the authentication server matches one of the expressions you have defined. Use a semi-colon to separate the individual expressions. For example: srv1;srv2;.*\.srv3\.com.
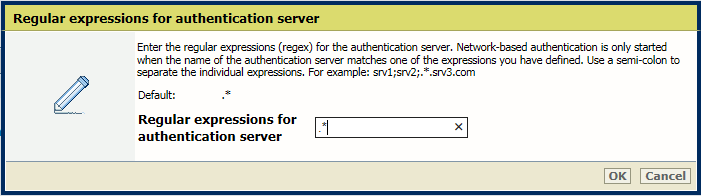 [Regular expressions for authentication server] option
Use the [Minimal version of TLS protocol] option to define the TLS protocol version.
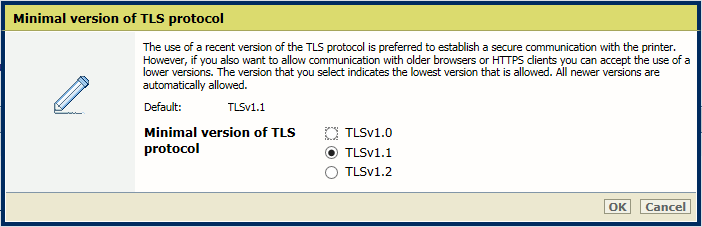 [Minimal version of TLS protocol] option
It is preferred to use a recent version of the TLS protocol. The selected version refers to the lowest version PRISMAsync Print Server still accepts. All newer versions are automatically allowed.
Enter the credentials to authenticate when you have selected [MS-CHAP-V2 username; PEAP with EAP-MS-CHAP v2] in the [MS-CHAP-V2 username; PEAP with EAP-MS-CHAP v2] option.
[MS-CHAP-V2 username]
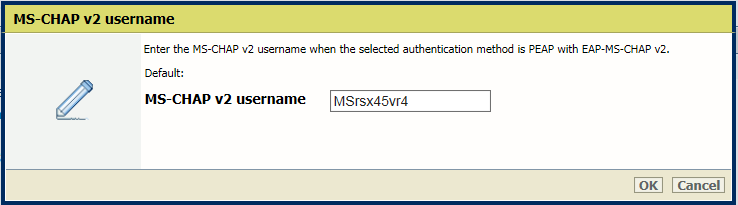 [MS-CHAP-V2 username]
 [MS-CHAP-V2 password]
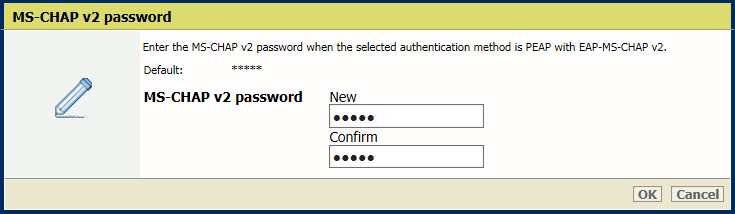 [MS-CHAP-V2 username]
 You can test the PRISMAsync Print Server configuration.
Open the Settings Editor.
Go to: .
[Security] tabGo to the [Port-based authentication (IEEE 802.1X)] options.
[Port-based authentication (IEEE 802.1X)] optionsClick [Test the configuration].
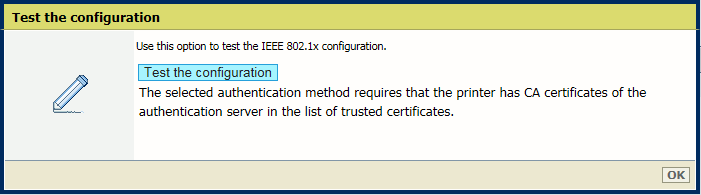 [Test the configuration]
 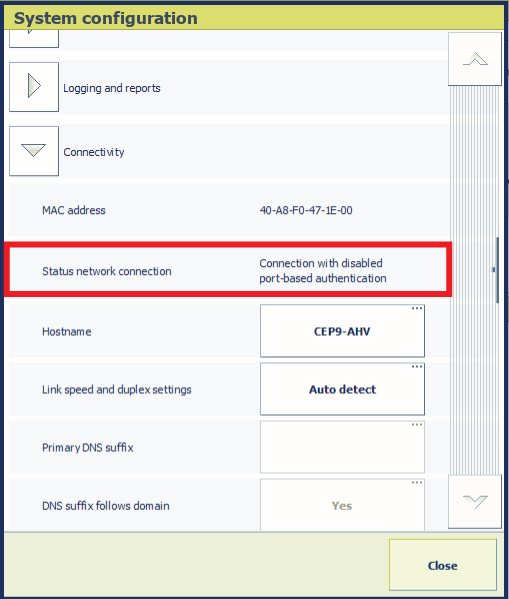 [Status network connection]
 Go to the control panel.
Touch .
Read the [Status network connection] field. PRISMAsync Print Server displays one of the following status options.
[Connection with enabled port-based authentication (IEEE 802.1X)]
[Connection with disabled port-based authentication (IEEE 802.1X)]
[Connection without support of port-based authentication (IEEE 802.1X)]
[Connection with failed port-based authentication (IEEE 802.1X)]
[No connection because network cable is not connected]
[No connection because port-based authentication (IEEE 802.1X) failed]
[Port-based authentication (IEEE 802.1X) is starting to establish a connection]
[Unknown]