
The dashboard of the control panel indicates if the staple cartridge needs replacing. The color of the icon indicates the status of the staple cartridge. (Learn about printer status)

|
Staple cartridges contains sufficient staples. |

|
At least one staple cartridge is almost empty |

|
At least one staple cartridge is empty. |
You can check the current status of the staple cartridge in the control panel. Location: .
You can find the staple unit in the stacker/stapler.
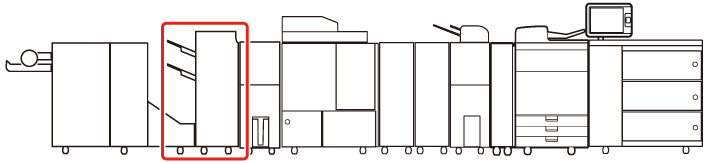 Location of the staple unit
For information on the Canon genuine staple cartridges, see Consumables.
Be careful when you perform maintenance tasks on optionals attached to the machine. When you perform a maintenance task, such as replace a staple cartridge, remove waste, or solve jams, other machine parts can continue with job process activities.
Remove the seal that holds the staples together after you place the staple cartridge into the staple case.
We recommend ordering staple cartridges from your local authorized Canon dealer before your stock runs out.
Only use staple cartridges intended for your print system.
 Staple-N1 for Staple Finisher-W1 PRO and Booklet Finisher-W1 PRO
 |
Action |
||
|---|---|---|
|
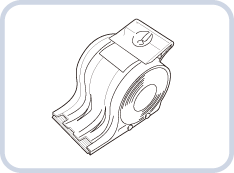
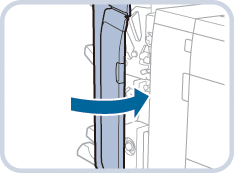
1 |
Open the front cover of the stacker/stapler. |
|
|
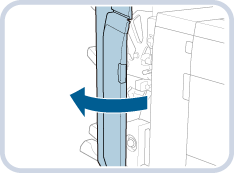
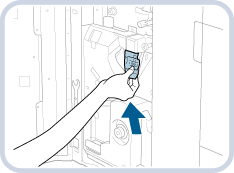
2 |
Hold the green tab of the staple case and pull it out. When the staple unit is at the back, it is difficult to pull out the staple case. If this happens, turn the dial on the bottom left-hand side to the left to move the staple unit. |
|
|
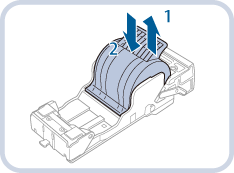
3 |
Take out the empty staple cartridge (1) and insert a new staple cartridge (2). |
|
|
4 |
Remove the seal that holds the staples together. |
|
|
5 |
Gently push the staple case into the staple unit as far as possible. |
|
|
6 |
Close the front cover of the stacker/stapler. When you close the front cover of the stacker/stapler, be careful not to get your fingers caught. This can cause personal injury. |
|