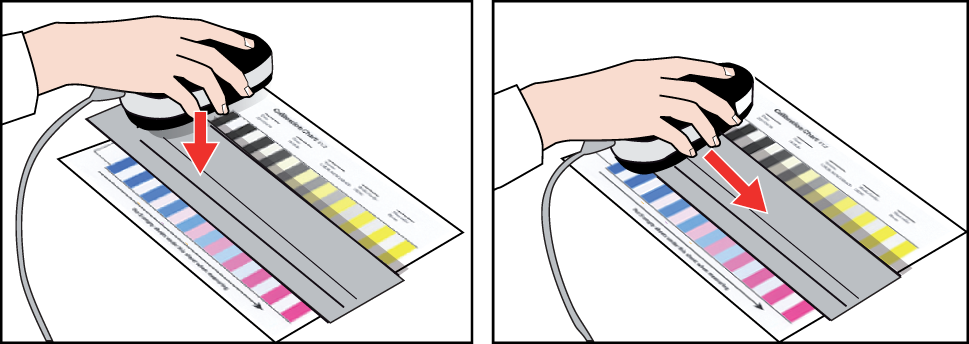

For Auto Gradation Adjustment, media family calibration, shading correction, and Idealliance® G7® Grayscale test, you can use the i1Pro3 spectrophotometer (i1Pro2 also supported) to measure charts.
Except for shading correction, you can also use the inline spectrophotometer, which is the preferred method.
You can use the ruler that belongs to the equipment to prevent that you touch the toner layer on the chart with the i1Pro3 spectrophotometer.
The i1Pro3 supports M0 and M1 measurement modes. Read the user manual of the i1Pro3 spectrophotometer for more information.
 i1Pro3 spectrophotometer
Ensure you know which target media must be used to perform the measurement.
Prepare the target media to print the charts.
Connect the i1Pro3 spectrophotometer to the USB port of the control panel.
To use the M1 measurement mode enable the setting. Open the Settings Editor and go to: , section [M1 measurement mode].
Make sure the protective slider shows the white calibration tile of the calibration plate and place the i1Pro3 spectrophotometer on the calibration plate.
Press the measurement button. The status indicator lights pulsate white when the i1Pro3 spectrophotometer is ready for use.
Place five blank sheets under the calibration chart.
Position the i1Pro3 spectrophotometer on the chart or in the carriage on the ruler.
Press the measurement button for 1 second and then move the i1Pro3 spectrophotometer across the first row of patches.
Repeat step 3 for each other row.