
With the function [Edit with automated workflow] you can apply an automated workflow or edit with automated workflows on PDF or PS jobs only on the control panel or with PRISMAsync Remote Manager. You can use the function in the following situations:
You want to change multiple job settings of a job that is stored in one of the queues. You define an automated workflow that covers these job settings.
You want to change multiple jobs in the same way. You define an automated workflow that covers the job settings.
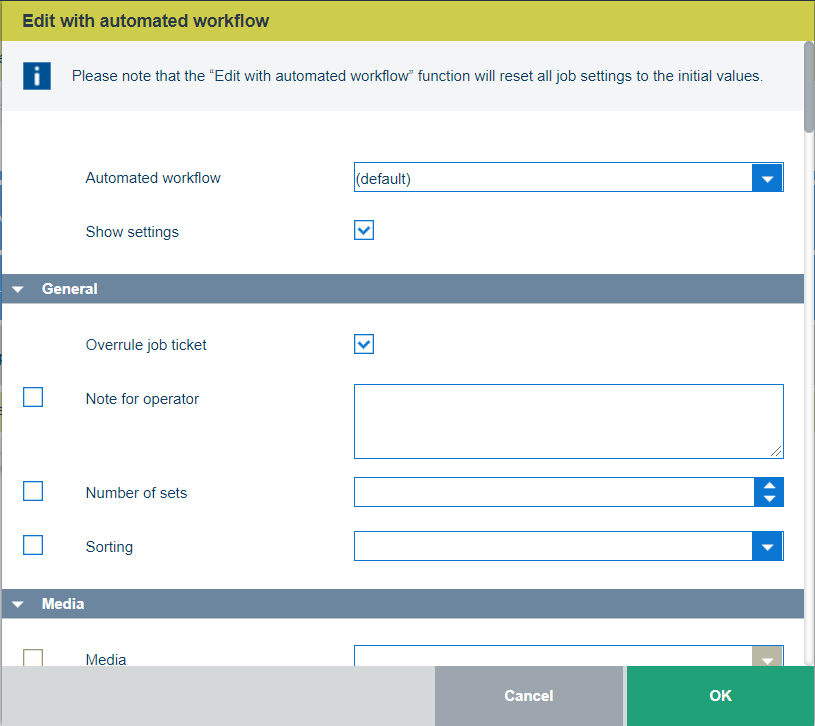
You want to adjust the settings of an automated workflow on the spot. You enable [Show settings] and adjust the settings to your preference.
The job destination that is defined in the automated workflow will be ignored. The job remains in its location.
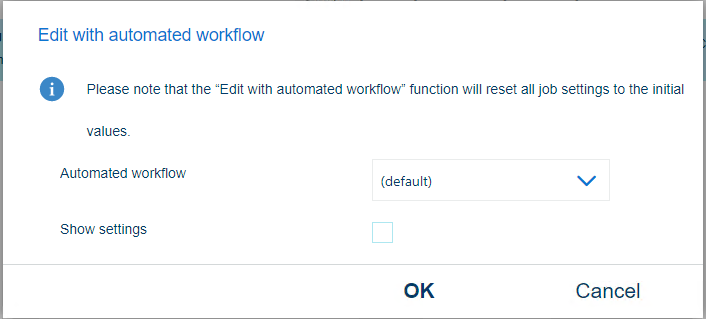
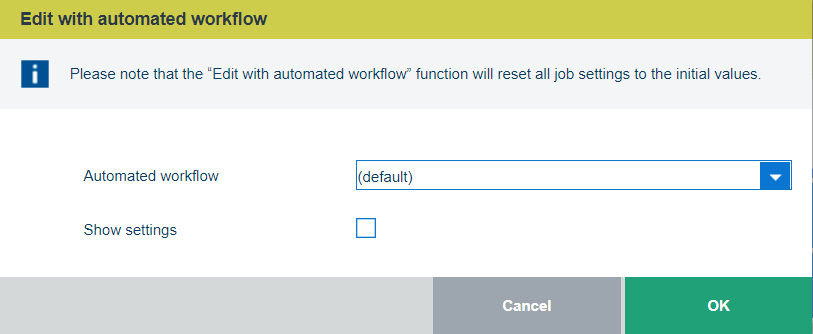
Please note that the [Edit with automated workflow] function will reset all job settings to the initial values.
The [Edit with automated workflow] function is available in the following locations.
|
Function |
Scheduled jobs |
Waiting jobs |
DocBox |
Printed jobs |
|---|---|---|---|---|
|
[Edit with automated workflow] |

|
|
|
The [Show settings] function offers edit possibilities for all selected jobs. Previous job settings are not shown, all the fields in the dialogue are empty. When a value is set in this dialogue, it will be applied to all selected jobs. The settings are similar to the settings of the Automated Workflow Editor, but [Edit with automated workflow] does not contain a job preview, CMYK curves, pixel precise preview, and page programming.
After the changed settings are confirmed, the new updated settings will be applied. Be aware of the following:
Settings of an automated workflow or setting that you had previously changed via the [Edit] function on the control panel will be lost. Settings that are assigned with [Edit with automated workflow] have priority. Settings that are left empty in [Edit with automated workflow] will receive the original setting (the setting it had before it was changed with the [Edit] function).
Conflicts will be resolved. The jobs will be printed except if you have indicated that the printer stops when jobs with conflicting settings occur. Then you have to confirm the change to continue printing.
PDF and PS jobs will be re-ripped.
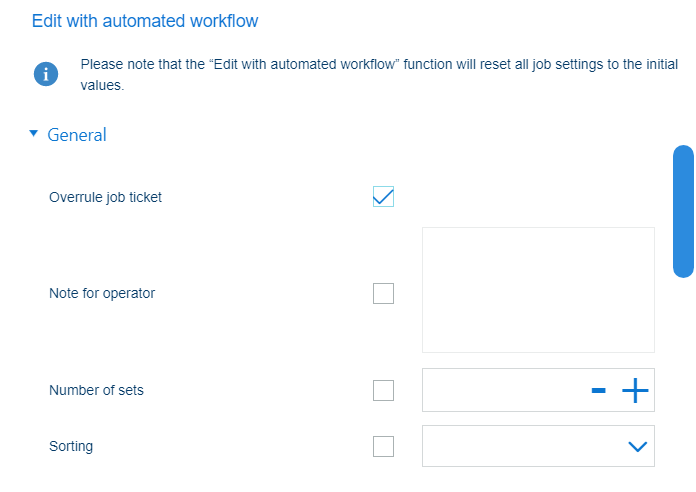
A setting to overrule job ticket is present. By default, this setting is enabled. This means that the settings of the [Edit with automated workflow] function will have priority. For example:
When a predefined automated workflow is chosen and overrule job ticket = disabled, the ticket settings have more priority. Example: ticket has media A3, automated workflow has media A4 => result media A3
When a predefined automated workflow is chosen and overrule job ticket = enabled, the automated workflow settings have more priority. Example: ticket has media A3, automated workflow has media A4 => result Media A4
Go to the control panel.
Select one or more jobs.
Touch [Edit with automated workflow] from the drop-down list.
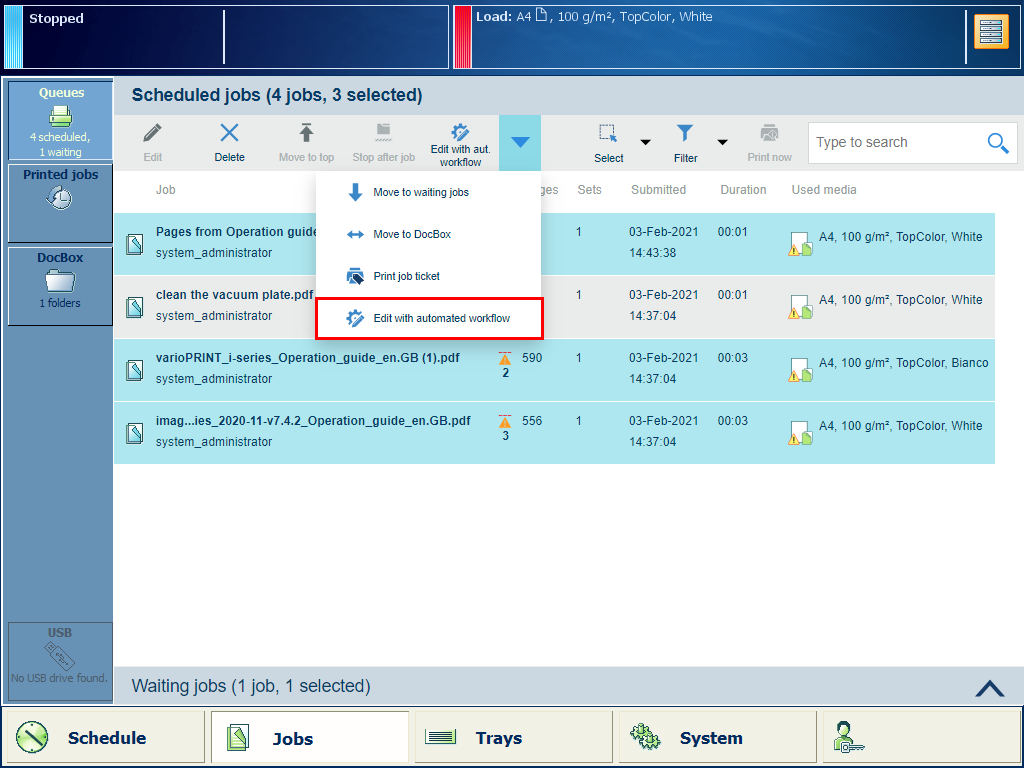
Apply an automated workflow:
Select the required automated workflow in the [Automated workflow] drop-down list.
To restore original jobs settings, leave the [Automated workflow] drop-down list empty and touch [OK].
Touch [OK].
Change the settings of the automated workflow:
Select the [Show settings] check box to view all settings.
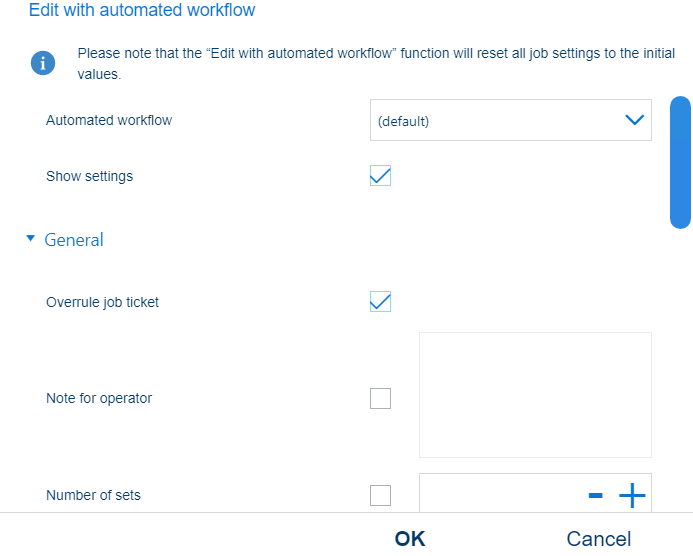
Touch [OK].
You can filter jobs based on job label. The [Job label] field is the name of the automated workflow that has been applied.
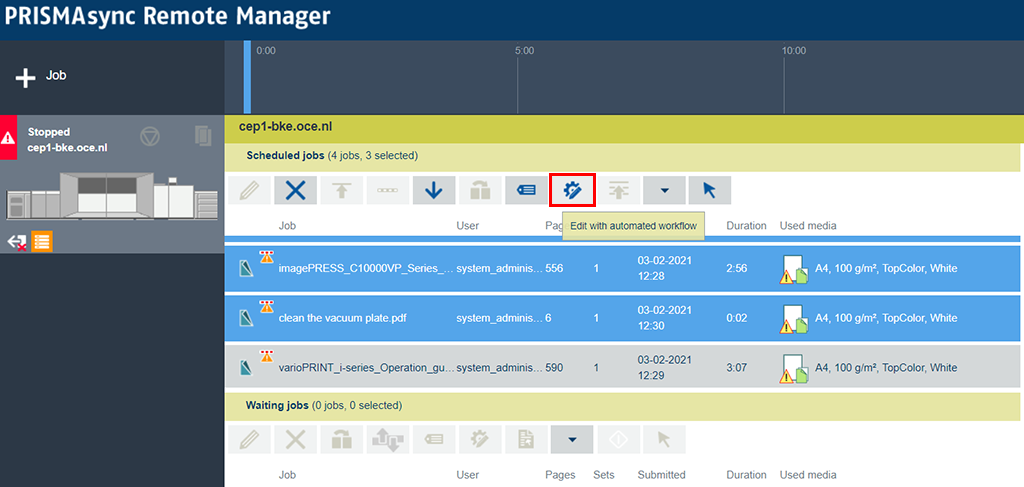
Go to the PRISMAsync Remote Manager.
Select one or more jobs.
Click [Edit with automated workflow].
You can apply an automated workflow:
Select the required automated workflow in the [Automated workflow] drop-down list.
To restore original jobs settings, leave the [Automated workflow] drop-down listempty and click [OK].
Click [OK].
You can change the settings of the automated workflow:
Select the [Show settings] check box to view all settings.
Click [OK].
|
[General] settings |
Description |
|---|---|
|
[Overrule job ticket] |
The properties of the automated workflow can overrule the properties defined in the job ticket. This is the default behaviour of an automated workflow. When you want to apply a JDF ticket in a hotfolder, ensure the check box is not checked. |
|
[Note for operator] |
Create a print or finishing instruction for the operator. |
|
[Number of sets] |
Enter the number of sets. |
|
[Sorting] |
Select if sorting occurs by set or by page. |
|
[Media] settings |
Description |
|---|---|
|
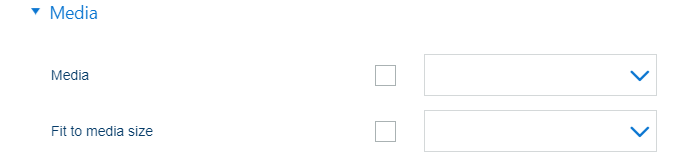
[Media] |
Select the media from the media catalogue. |
|
[Fit to media size] |
Use this setting to indicate how the document pages are resized according to the size of the selected media: [Scale every page to media size], [Clip pages to media size], or [Ignore the media size]. When you select the attribute [Ignore the media size], the media size defined in the job is applied. |
|
[Layout] settings |
Description |
|---|---|
|
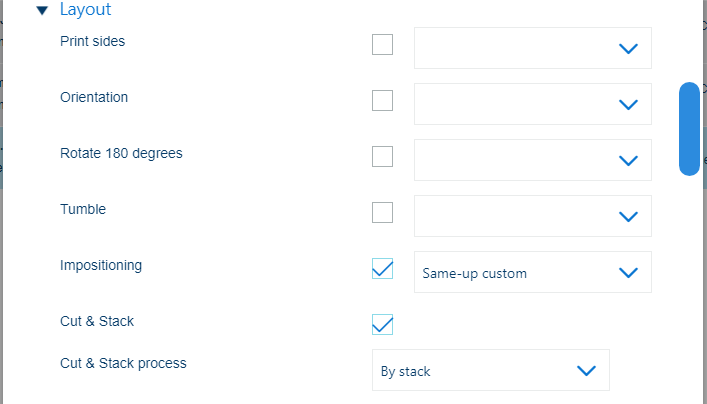
[Print sides] |
Select if jobs are printed one- or two-sided. |
|
[Orientation] |
Select the reading direction of the prints: [Portrait] or [Landscape]. |
|
[Rotate 180 degrees] |
Use this setting to rotate the imposition 180 degrees. |
|
[Tumble] |
Select the binding edge of the output. The [Tumble] setting rotates the imposition of the back side 180 degrees. |
|
[Impositioning] |
Select the required imposition. |
|
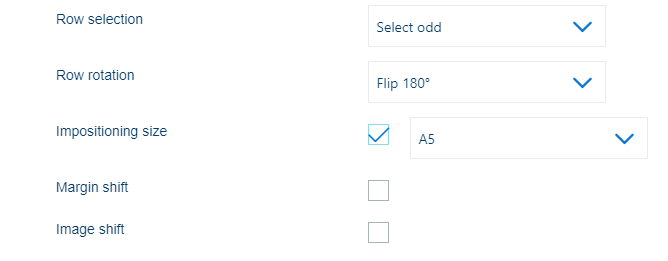
[Impositioning size] |
Select the size of the imposition in case the media are unknown. |
|
[Margin shift] |
Select this setting to define the margin shift of the front side and the back side in two directions. Enter: '0' to indicate that there is not shift required. |
|
[Image shift] |
Select this attribute to define the image shift of the front side and the back side in two directions. Enter: '0' to indicate that there is no shift required. |
|
If [Impositioning] is set to [Same-up custom], the following settings become available: |
|
|
[Cut and stack] |
Use this setting to indicate if you want to cut and stack the sheets. |
|
[Cut and stack process] |
Select how you want to stack the sheets. |
|
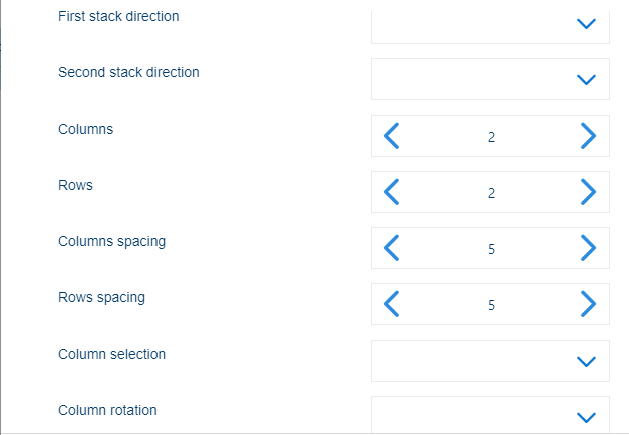
[First stacking direction] |
Select the first stacking direction. |
|
[Second stacking direction] |
Select the second stacking direction. |
|
[Columns] |
Select the number of columns. |
|
[Rows] |
Select the number of rows. |
|
[Auto spacing] |
Indicate if you want to use the automatic gutter spacing option. The automatic gutter spacing option sizes gutters so that the document's pages fill the entire available space in the layout. The [Auto spacing] setting becomes available only if [Print trim marks] is selected. |
|
[Column spacing (mm)] |
Define the distance between columns. This setting only becomes available if [Print trim marks] setting is enabled. |
|
[Row spacing (mm)] |
Define the distance between rows. This setting only becomes available if [Print trim marks] setting is enabled. |
|
[Column selection] |
Select specific columns. |
|
[Column rotation] |
Select how you want to rotate the column(s) that you selected. |
|
[Row selection] |
Select specific rows. |
|
[Row rotation] |
Select how you want to rotate the row(s) that you selected. |
|
[Special pages] settings |
Description |
|---|---|
|
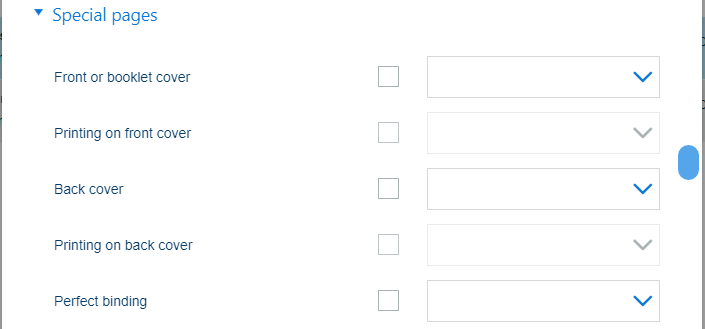
[Front or booklet cover] |
Select the media for the front cover. |
|
[Printing on front cover] |
Indicate if the cover is printed or not. |
|
[Media print mode of front cover] |
Select the required media print mode. |
|
[Back cover] |
Select the media for the back cover. |
|
[Printing on back cover] |
Indicate if the cover is printed or not. |
|
[Perfect binding] |
Indicate if and where the job is bound. |
|
[Finishing] settings |
Description |
|---|---|
|
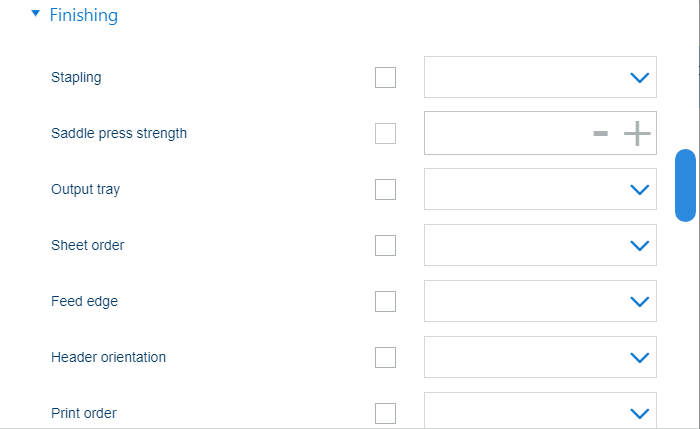
[Output tray] |
Select the paper tray of the prints. |
|
[Sheet order] |
Select the order of the prints in the output tray. |
|
[Feed edge] |
Select the orientation of the prints in the output tray. |
|
[Header orientation] |
Select the header orientation of the prints in the output tray. |
|
[Print order] |
Indicate the delivery order of the sheets. |
|
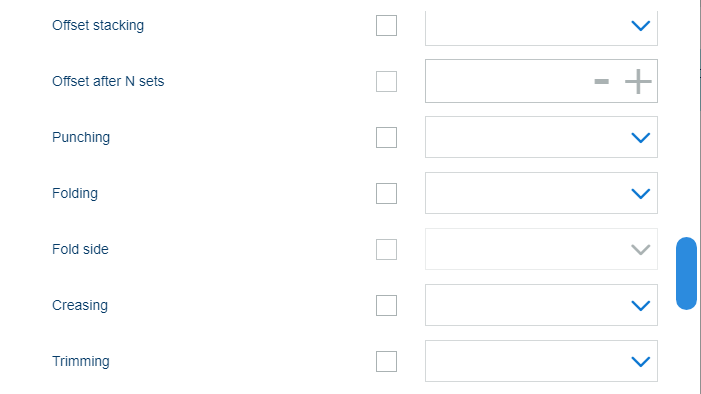
[Offset stacking] |
Indicate if the stacking occurs with or without an offset. |
|
[Offset after N sets] |
Indicate if a group of sets is delivered with an offset. N means the number of sets in a group. |
|
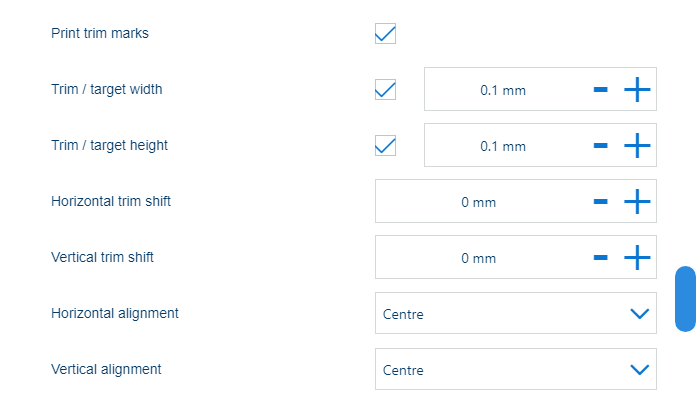
[Print trim marks] |
Indicate if you want to print trim marks. |
|
[Width ({0})] |
Enter the width of the trim marks. |
|
[Height: ({0})] |
Enter the height of the trim marks. |
|
[Horizontal trim shift: ({0})] |
Use this setting to shift the trim marks horizontally. |
|
[Vertical trim shift: ({0})] |
Use this setting to shift the trim marks vertically. |
|
[Horizontal alignment] |
Indicate if the trim marks need to be aligned horizontally. |
|
[Vertical alignment] |
Indicate if the trim marks need to be aligned vertically. |
|
[Print quality] settings |
Description |
|---|---|
|
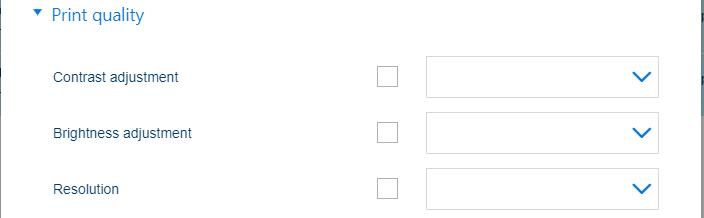
[Contrast adjustment] |
You can indicate the contrast of the print. |
|
[Brightness adjustment] |
You can indicate whether the print must be darker or lighter. |
|
[Resolution] |
Use this setting to indicate the print resolution. |

|
[Workflow] settings |
Description |
|---|---|
|
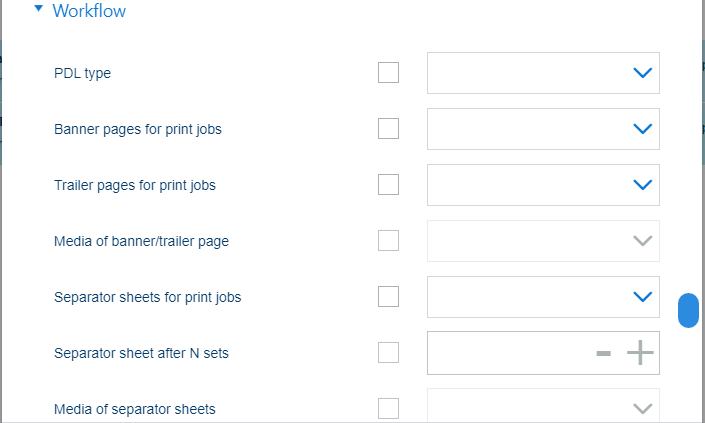
[PDL type] |
You can indicate whether PostScript®, PCL, PDF or XPS must be used as page description language. |
|
[Banner pages for print jobs], [Trailer pages for print jobs], [Media of banner/trailer page] |
Indicate if individual sets in the job output are separated by a banner page and / or a trailer page. |
|
[Separator sheets for print jobs], [Separator sheet after N sets], [Media of separator sheets] |
Indicate if sets or a group of sets are separated by a separator sheet. N means the number of sets in a group. |
|
[PDF XObject optimisation] |
Use this section to define how XObjects are processed. [Automatic]: the XObjects of a PDF/VT job are cached. [Enabled]: the XObjects of every PDF job are cached. [Disabled]: the XObjects are re-interpreted per page. |
|
[PDF to PostScript conversion] |
Indicate if you want to convert PDF to PostScript instead of only using the native PDF RIP, which is the default setting value. |
|
[Print range] settings |
Description |
|---|---|
|
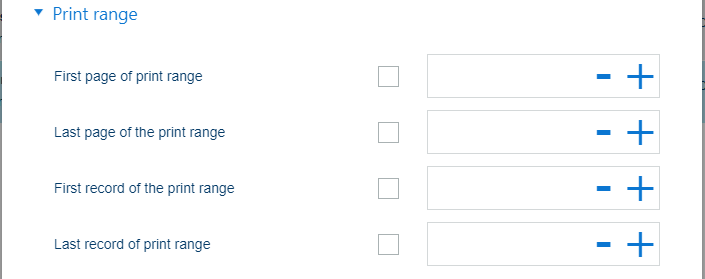
[First page of print range] |
When you want to print a part of the document, enter the first page number of the print range. When you do not enter the last page, the range ends at the last document page. |
|
[Last page of the print range] |
When you want to print a part of the document, enter the last page number of the print range. When you do not enter the fist page, the range begins at the first document page. |
|
[First record of the print range] |
When you want to print a part of the document of a variable data job, enter the last page number of the print range. When you do not enter the last record, the range ends at the last record. |
|
[Last record of print range] |
When you want to print a part of the document a variable data job, enter the last page number of the print range. When you do not enter the fist record, the range begins at the first record. |
|
[Accounting] settings |
Description |
|---|---|
|
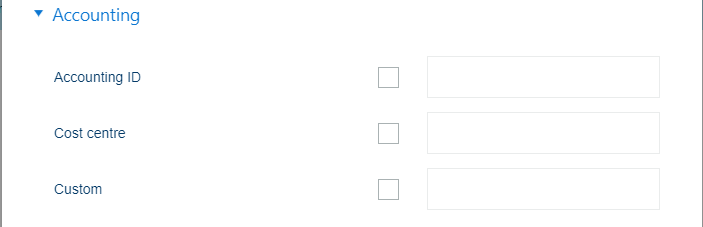
[Accounting ID] |
Enter the accounting ID. |
|
[Cost centre] |
Enter the cost centre. |
|
[Custom] |
Enter extra accounting information. |
|
[Page numbering] settings |
Description |
|---|---|
|
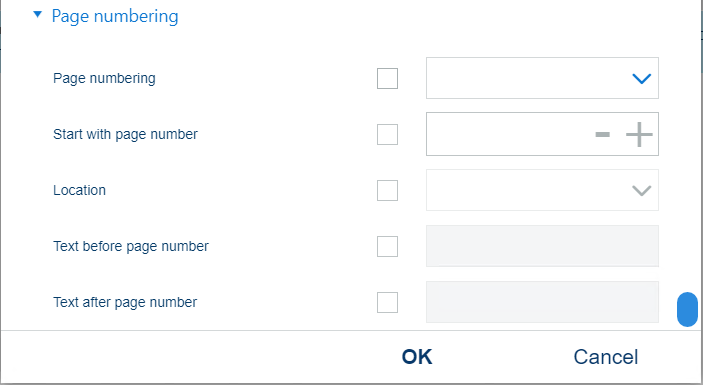
[Page numbering], [Start with page number], [Location], [Text before page number], [Text after page number] |
Indicate if you want to use page numbers. The default font and the font size are pre-defined. Indicate if and where the page numbers are printed. Enter the text that is additionally printed before or behind the page number. |