
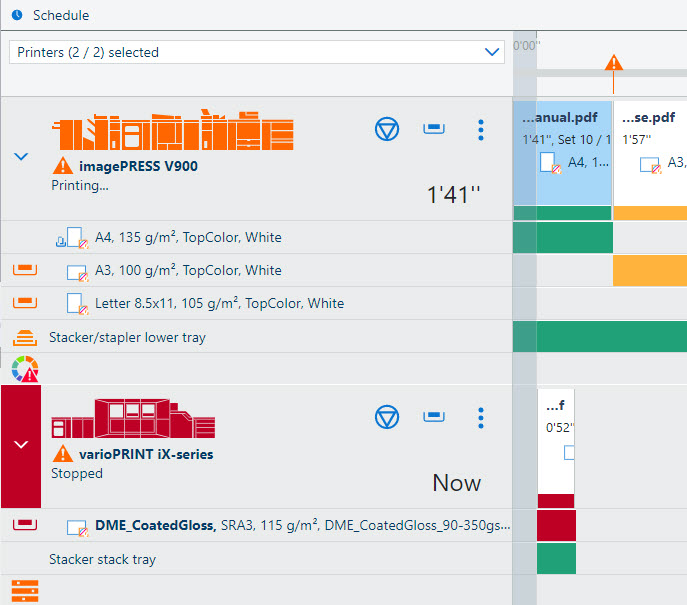
When you work in document printing mode, the schedule of a printer predicts the job production time and offers a daily (8 hours) plan board. The schedule provides all information about the scheduled jobs on a moving timeline, so you are able to intervene in time and keep your printers running.
PRISMAremote Manager shows one schedule per connected printer.
 Schedule
You can scroll the timeline with your mouse by clicking, holding and dragging or by pressing left and right arrow keys on your keyboard. On a tablet, you can swipe to scroll the timeline.
The Home key brings you to the beginning of the schedule. The End key shifts the schedule to the job that is the furthest away in the schedule.
Page up and Page down keys move the schedule a whole screen to the left (Page up) or right (Page down).
Use the buttons
 and
and
 to zoom in and zoom out. Holding Ctrl or Alt while scrolling the mouse also zooms the schedule in or out. On a tablet, you can spread and pinch to zoom in and out.
You can easily see how much time is left until an action is needed.
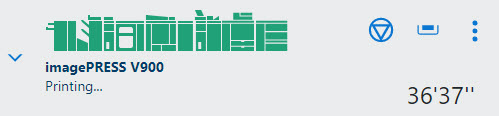 Remaining time
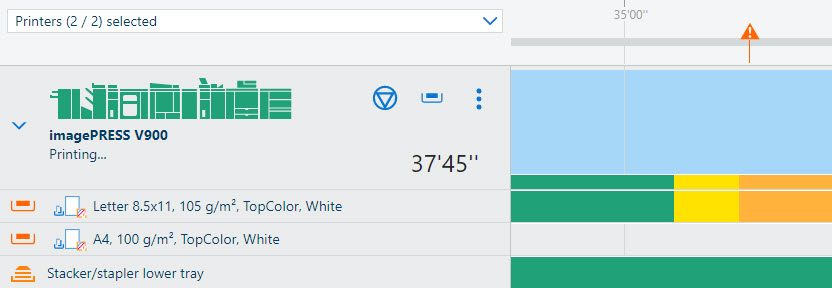
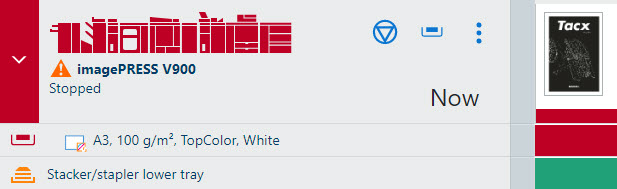
The schedule displays the document thumbnails of the scheduled jobs and a multicolor line. The bar color represents how long the printer can continue printing without media loading or prints removal.
 Status available job media
Green means that media and the output location are available.
Orange means that you will need to load media or remove prints. When you click the orange triangle icon in the timeline, you can read the information about the required action.
 Icon in the timeline
Yellow means that the printer cannot exactly determine the filling level in the paper trays or in the output location. This can occur when the thickness of the media is unknown or when prints are folded.
Gray means that the amount of job media or the filling level of the output tray cannot be calculated. This occurs when the printer is in transaction printing mode or for streaming jobs.
 Unknown filling level
Red means that the printer stopped.
 Empty paper tray
Open the expanded view to view the availability of the output tray and loaded media.
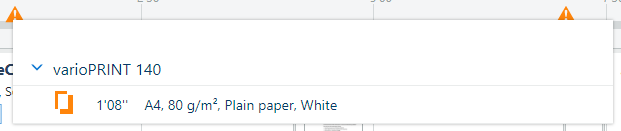
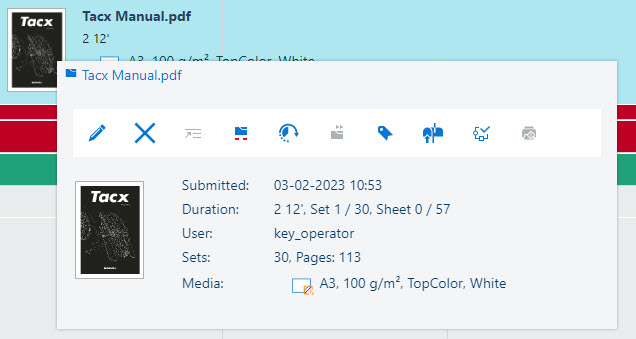
Status of output location and loaded mediaYou can read the job information when a job is visible in the schedule. To read the job information, click the job.
 Edit job in schedule
[Submitted]: date and time of job submission
[Duration]: estimated print duration based on media size, number of sheets sides to be printed and number of sets
[User]: sender name
[Sets] and [Pages]: number of sets and document pages
[Media]: job media
 Job buttons
When you select the job, you can use the buttons that are also available in the scheduled jobs view. The possible actions depend on the type and status of the job.
 : [Edit job]
 : [Delete job]
 : [To top: move job to top of scheduled jobs.]
 : [Stop bar: stop printing after this job.]
 : [Move job to list of waiting jobs.]
 : [Forward a copy of the job to another printer]
 : [Print job ticket]
 : [Move job to DocBox]
 : [Apply a predefined automated workflow, or define and apply a temporary automated workflow.]
 : [Print now: print job immediately, interrupt the current job.]
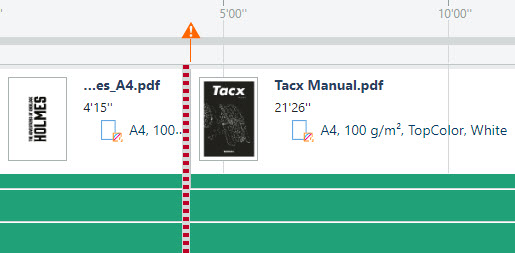
The [Stop bar: stop printing after this job.] button adds a stop bar to the schedule. The stop bar indicates when the printer will stop printing.
 Stop bar
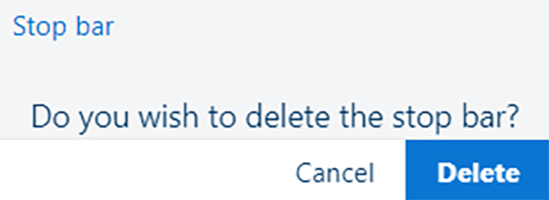
To delete a stop bar, click the stop bar and click the [Delete] button.
 Delete a stop bar