
When the transaction mode is active, you select a transaction setup that matches your print requirements.
When the alignment of the variable data is not correct, you adjust the image shift via the control panel or via a transaction printing setup with a preset defined image shift. The image shift is visible on all printed output from all paper trays.
This topic describes how to:
Print in transaction mode
Activate a transaction setup during transaction printing
Switch off the transaction printing mode
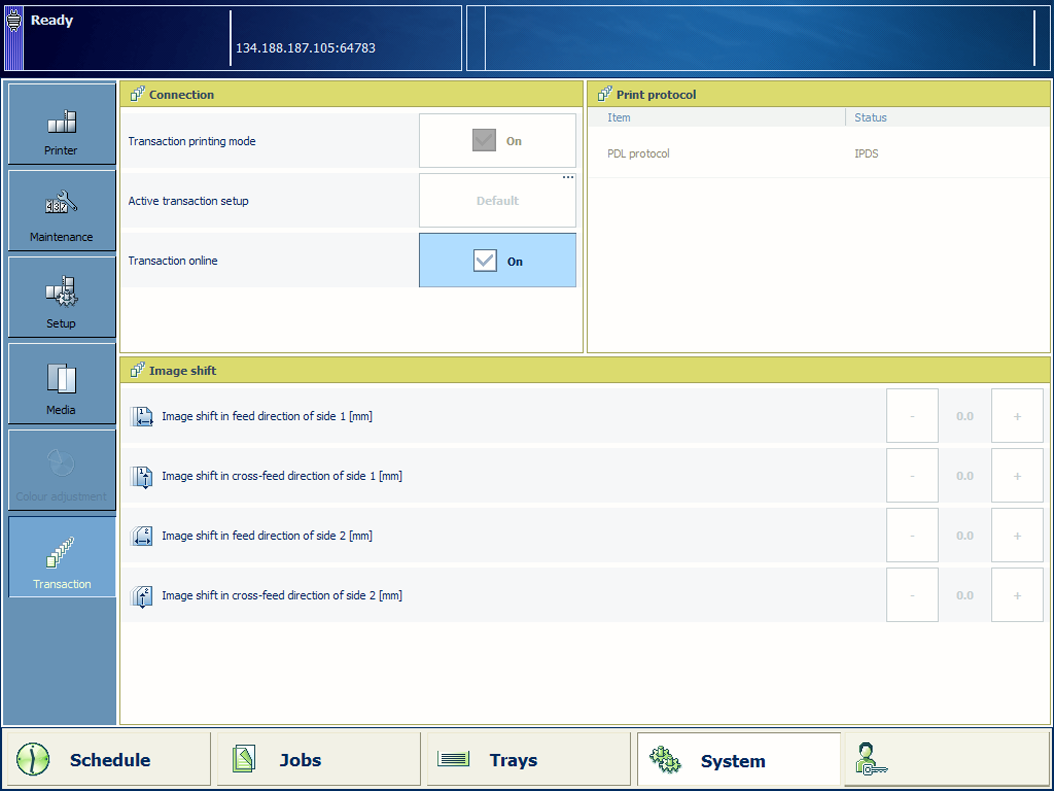 Transaction printing options and settings
Touch to empty the list of scheduled jobs, if required.
Touch .
Touch [Active transaction setup] to select a transaction setup.
Load the media into the paper trays, if the tray-to-tray media assignment is active.
Touch the + or - buttons to shift the image, if required.
Touch .
Establish the connection from the host or mainframe to the print system and submit the jobs.
Monitor the jobs on the control panel, to make sure that all jobs are printed. Use the system status colors to see when new media must be loaded.
For IPDS only. Make sure the current streaming job does not activate other transaction setups.
Press the [Stop] button  once.
once.
Wait until the printer is put on hold.
Touch [Active transaction setup] to select a transaction setup.
Touch the [Resume] button  to resume the print process.
Touch .
Touch .