
Spot colors realize a consistent color and are often used in logos and house style colors.
Below you find the instructions for creating a spot color in the Settings Editor.
Open the Settings Editor and go to: .
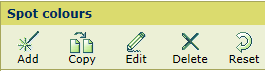
 [Spot colors] tab
Click [Add].
 [Spot colors] menu
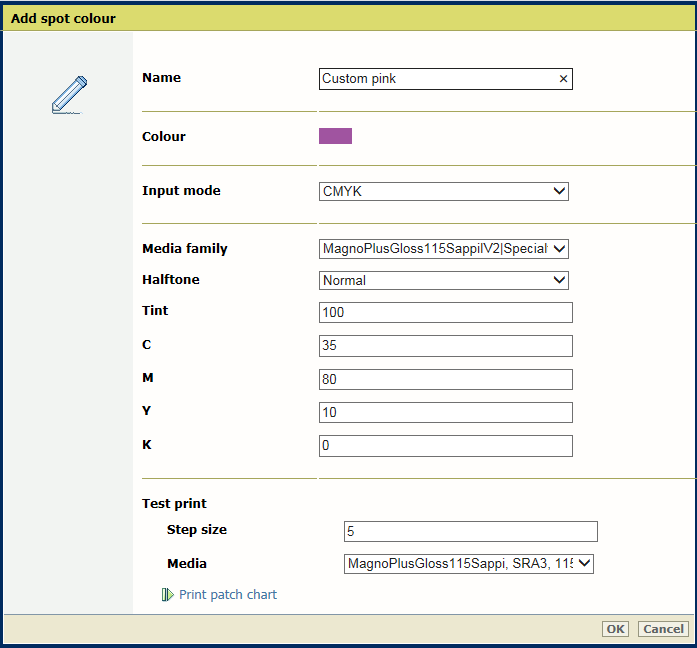
Enter a name for the spot color.
Use the [Input mode] setting to select [CMYK].
 Add spot color
Use the [Media family] drop-down list to select the media family - media print mode combination.
Enter a value (%) in the [Tint] field.
Enter values in the [C], [M], [Y], and [K] fields.
Click [OK].
The spot color definition is stored in the custom spot color library.
Click [Add].
[Spot colors] menuEnter a name for the spot color
Use the [Input mode] setting to select [CIELAB].
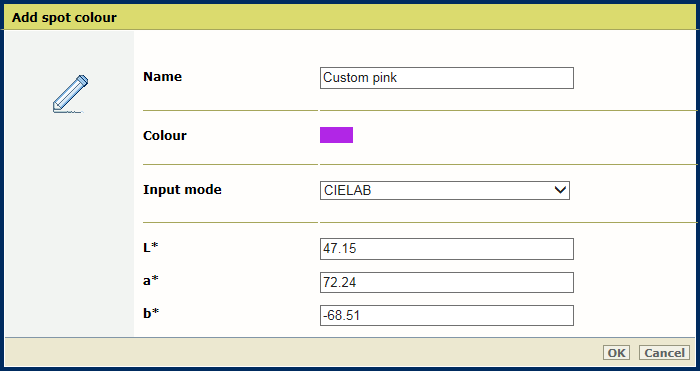
Enter values in the [L*], [a*], and [b*] fields.
Click [OK].
The spot color is stored in the custom spot color library.
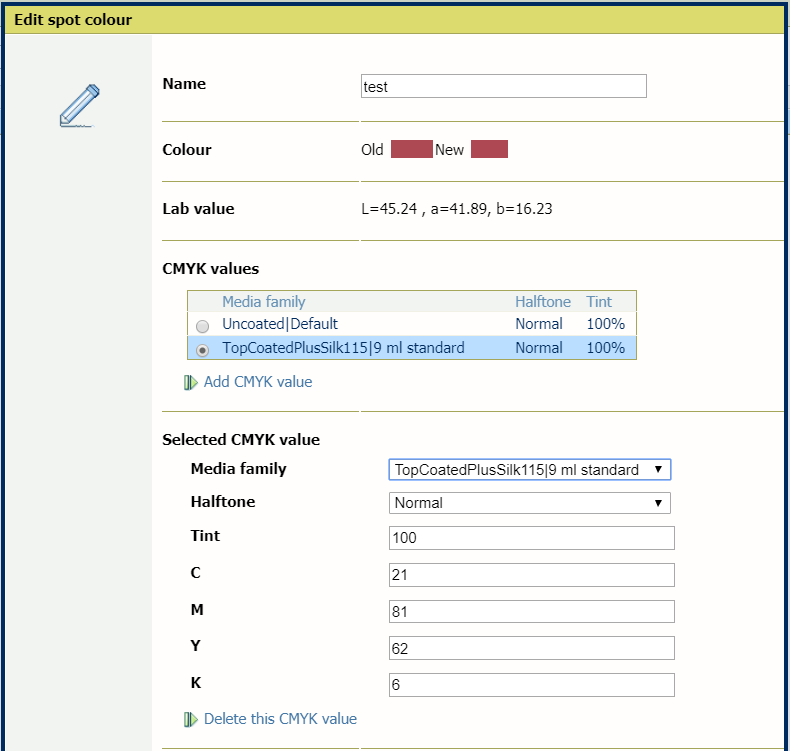
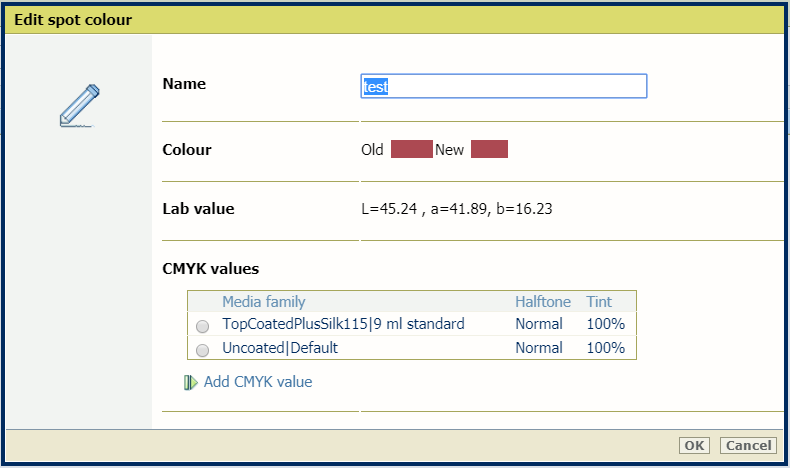
You can add [CMYK] values to a spot color to apply to a specific media family - media print mode combination.
Select [Custom library] in the library drop-down list.
Click the [CMYK] spot color.

Click [Edit].
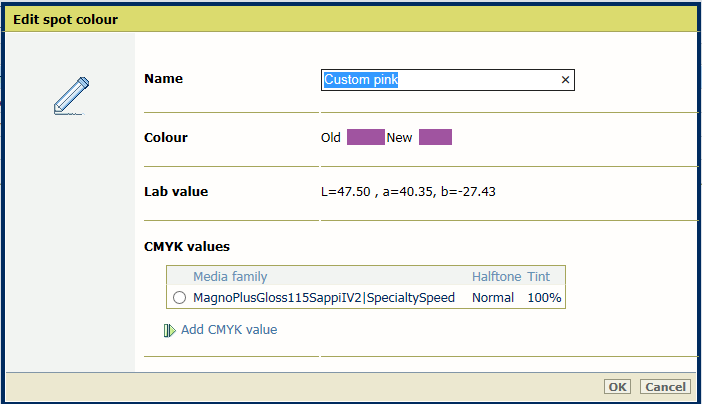 Lab values of a spot color
Click [Add CMYK value].
Select a new media family - media print mode combination.
The new combination is listed.
Enter a value (%) in the [Tint] field.
Click [OK].
The media family - media print mode combination is added.
The [Old] color patch is the color rendering of the Lab definition. The [New] color patch shows the rendering of the CMYK values for the media family - media print mode combination.
You can only delete custom spot colors.
To evaluate the CMYK values, use the [Test print] setting.
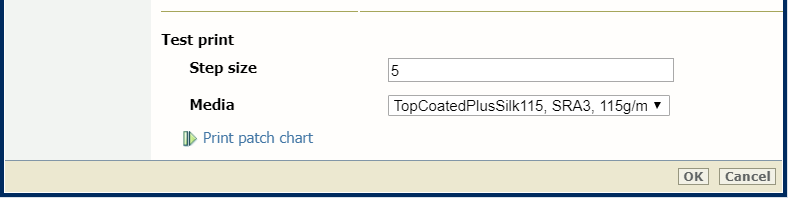 Print patch chart
Use the [Step size] setting to define the degree of patch variations.
Use the [Media] drop-down list to select the media for the media family - media print mode combination.
Click [Print patch chart] to print the chart.