
Media must be loaded in optimal condition and according to load instructions.
A job also needs media to print quality control sheets. These media can be job media, or alternative media if the job media are not appropriate quality control sheets. These alternative media are loaded in the paper tray configured for that purpose.
The sheets in the paper module are separated via the air separation technique. The air separation technique has two modes to guarantee optimal separation for all media weights. These modes are automatically configured when media are assigned.
If sheet separation errors occur for heavy media (>270 g/m² / 100 lb cover), it is advised to insert a metal inlay platen into the paper tray. For more information about how to avoid sheet separation errors and how to insert the metal inlay platen, see Heavy media that cause sheet separation errors.
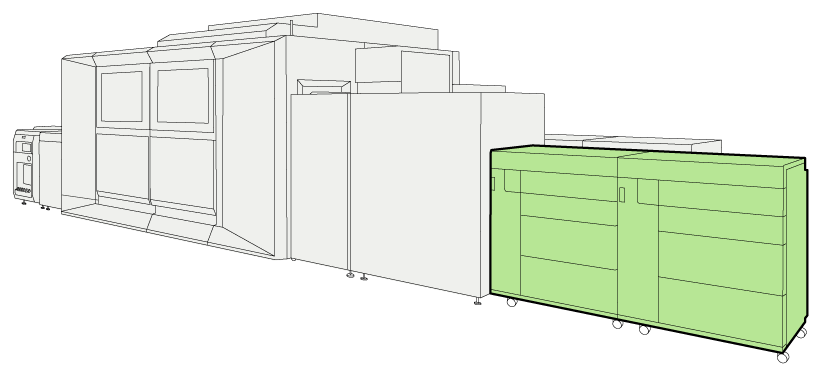 Location of the paper module (front view)
You can leave the media in the paper trays when the printer is in sleep mode.
Re-wrap all loaded media in the original package or other moisture proof material before the printer goes in shut-down mode.
Carefully unpack and check one ream of media or a stack of approximately 500 sheets (80 g/m² / 20 lb bond).
Load media as soon as possible after unpacking.
This maintenance action is recorded, click here to view the instruction video.
|
Action |
|||
|---|---|---|---|
|
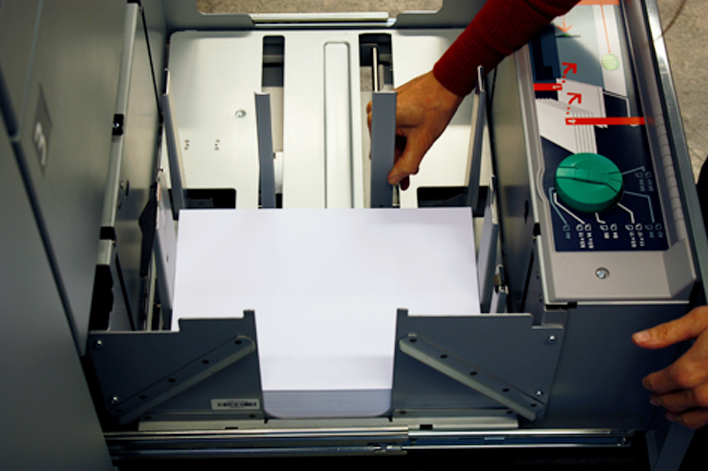
1 |
Open the paper tray via the schedule, the trays view or the button on the control panel of the paper module. Only one tray can be open at the same time. You can open a paper tray when the printer is printing. The paper tray opens as soon as possible. When the same media are also available in an other paper tray, the print process continues. When there are no other paper trays that hold these media, the print process stops. |
||
|
2 |
When the paper tray does not contain media, continue with step 6. When media have a different size than the latest loaded media, continue with step 3. When media have a same size as the latest loaded media, continue with step 10. |
||
|
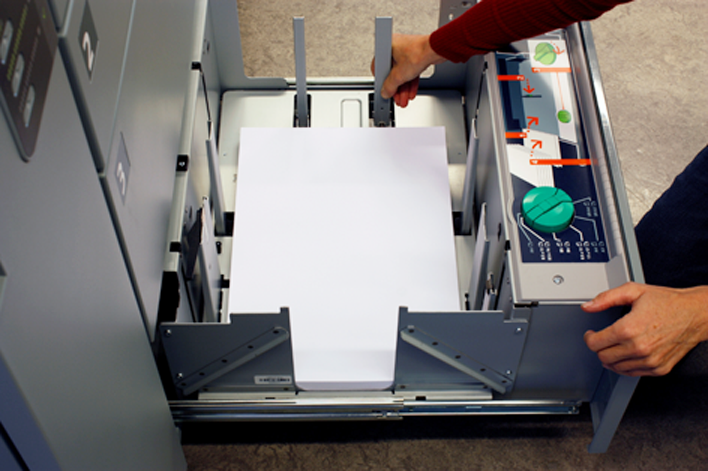
3 |
Turn the knob counterclockwise to move the side sliders away from the loaded stack. |

|
|
|
4 |
Squeeze the green handle of the front slider to move the trailer-edge sliders away from the stack. |
|
|
|
5 |
Remove the stack. Carefully re-wrap the remaining media in the original package material or other moisture proof material. Use the original package orientation. |
||
|
6 |
Take a new stack of media for loading. First take a small stack to adjust the sliders. Use the direction of the arrow on the packaging label to load the sheets face-up in the paper tray. Carefully put the stack in the middle of the paper tray, aligned against the left-hand guide plate. |
|
|
|
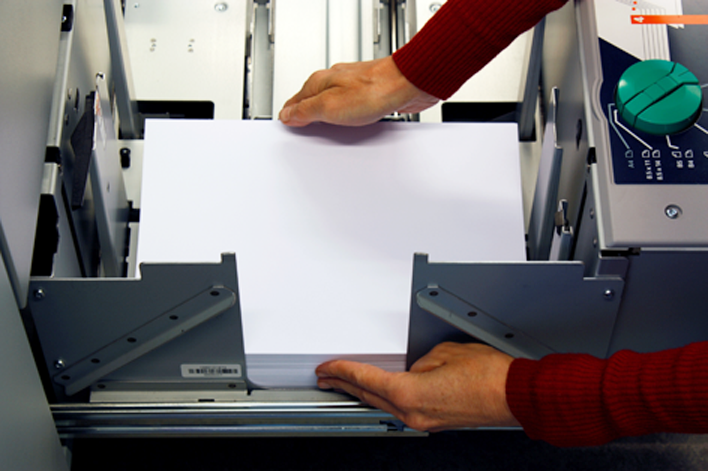
7 |
Slowly turn the knob clockwise until the side sliders touch the stack without damaging it. |

|
|
|
8 |
Squeeze the green handle of the front slider to move the trailer-edge sliders carefully against the stack without damaging it. |
|
|
|
9 |
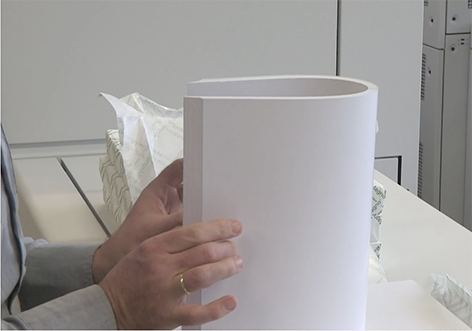
If paper is loaded into paper tray 1 or 2, continue with the next step. If paper is loaded in paper tray 3 or 4, fan the stack in the following way:
|
|
|
|
10 |
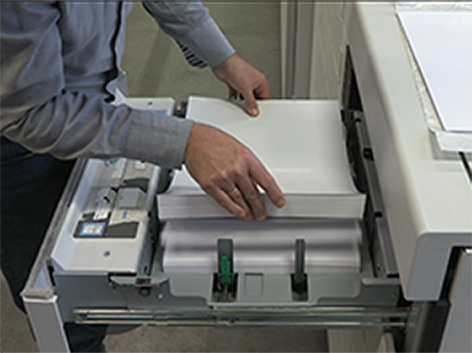
Take the next stack of media. Do not load more than 500 sheets (80 g/m² / 20 lb bond) at the same time. Paper trays 1 and 2 can hold one ream (approximately 500 sheets (80 g/m² / 20 lb bond)). Paper trays 3 and 4 can hold three reams. Carefully put the new stack on the already loaded stack without adjusting the sliders. |
|
|
|
11 |
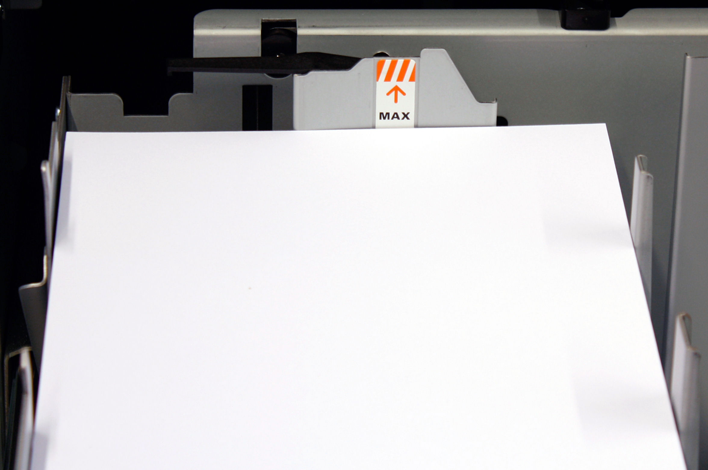
Ensure that the loaded media stack does not exceed the loading limit mark on the back slider. Then the loaded media stack is maximum 63 mm / 2.48" (paper trays 1 and 2) or 181 mm / 7.13" (paper trays 3 and 4). |
||
|
12 |
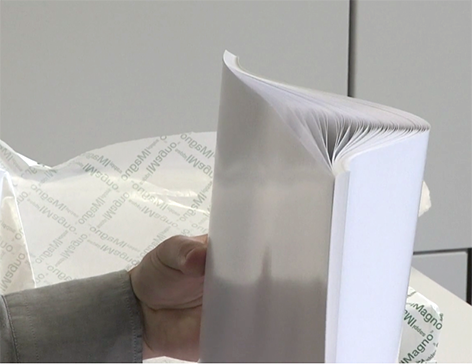
Fan the stack for paper tray 1 or 2:
|
|
|
|
13 |
Gently push the paper tray back until it clicks into place. |

|
|
It can happen that damaged or deformed sheets come on the paper path. The sentry is able to detect these imperfect sheets and purge them to the sentry tray. There are guidelines how to prevent sentry tray output.