
This topic describes how to load rigid media.
Before you load rigid media:
Attach the tables for rigid printing. See Attach the tables to the printer.
Make sure you have added a media profile with the correct media type via the RIP.
Check that the media width matches with the submitted print job.
Wear gloves to avoid pollution of the media by your fingerprints.
|
1 |
To print on rigid media, you must remove the media edge guards:
 NOTE NOTE
Be careful not to bend the media edge guards. |
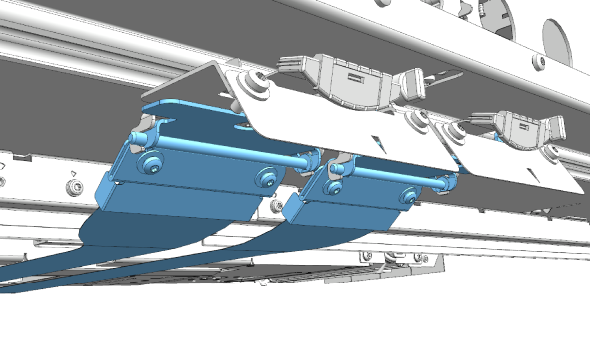
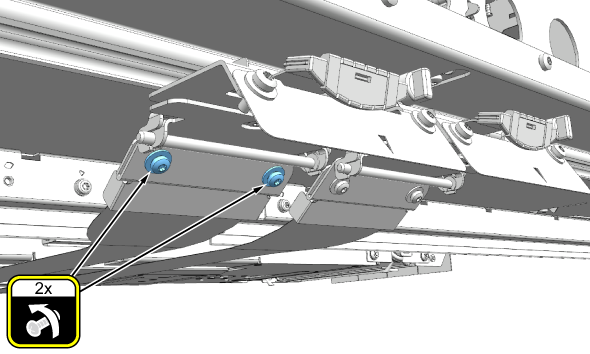
|
|
2 |
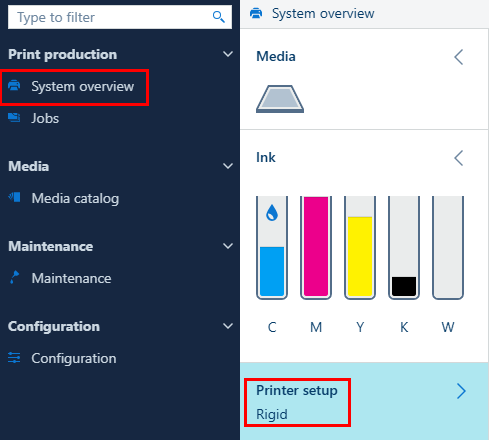
On the user interface, go to the [System overview] app. Under [Printer setup], make sure [Rigid] is enabled. |
|
|
3 |
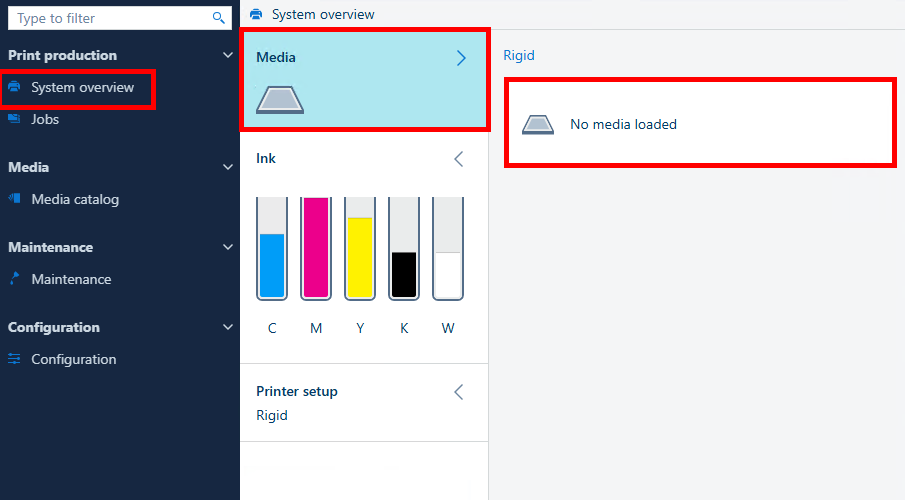
On the user interface, go to the [System overview] app. Select [Media], then select the [Rigid] tile. A dialog will open. |
|
|
4 |
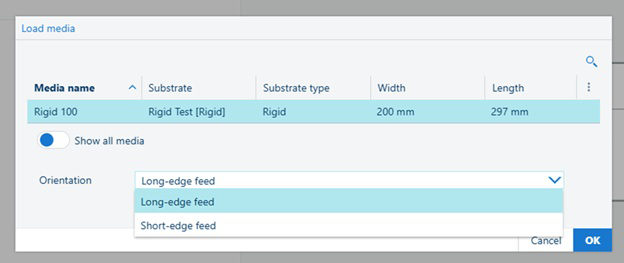
From the list, select the media that you want to print on. Select the media from the list. If the media does not appear on the list, you have to create it first. See Manage media profiles in ONYX. |
|
|
5 |
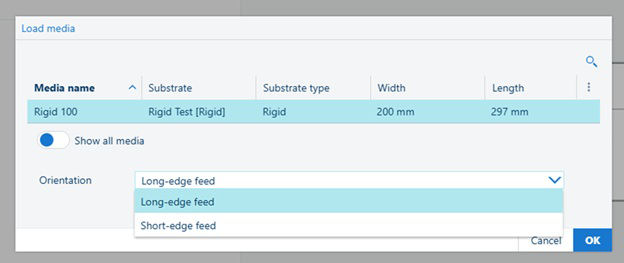
Select the loading orientation:
|
|
|
6 |
Click [Ok]. |
|
|
7 |
You can now start a print job on rigid media. See Print on rigid media. |