
You can define printer calibration defaults.
Open the Settings Editor and go to: .
 [Color calibration] tab
Go to the [Printer calibration] section.
 [Printer calibration] section
Use the [Shading correction timer] setting to set the required time interval.
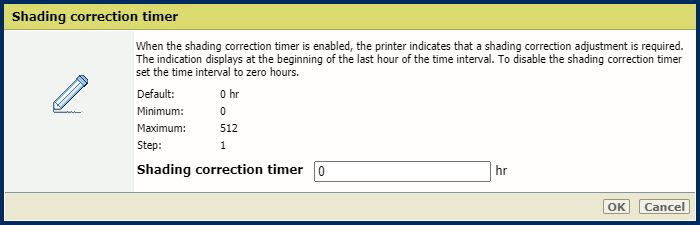 [Shading correction timer] setting
Click [OK].
Go to the [Printer calibration] section.
[Printer calibration] sectionUse the [Media for Auto Gradation Adjustment] setting to define which media must be used for automatic gradation adjustment.
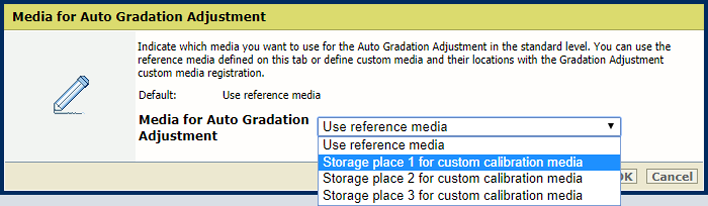 [Media for Auto Gradation Adjustment] setting
Click [OK].
The higher number of sheets increases the print quality. However, the duration of the procedure is extended.
Go to the [Printer calibration] section.
[Printer calibration] sectionUse the [Number of sheets for Auto Gradation Adjustment] setting to indicate the number of sheets for auto gradation adjustment.
The total number of charts printed is the indicated number of sheets plus three.
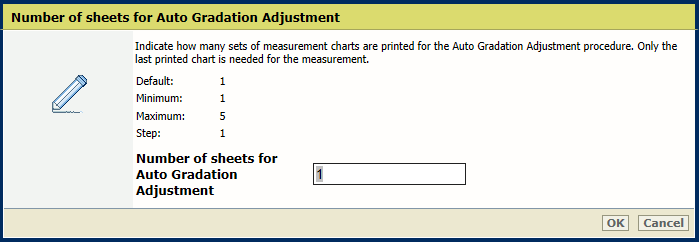 [Number of sheets for Auto Gradation Adjustment] setting
Click [OK].
Go to the [Printer calibration] section.
[Printer calibration] sectionUse the [Auto Gradation Adjustment timer] setting to define the required time interval between the procedures. It is recommended to set the time interval so that you get a reminder to perform the automatic gradation adjustment every day.
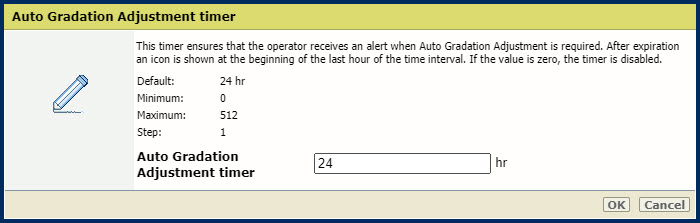 [Auto Gradation Adjustment timer] setting
Click [OK].
Go to the [Default calibration media] section.
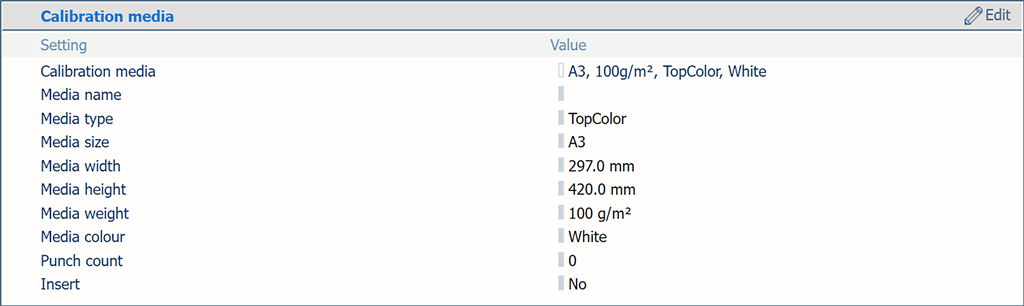 [Default calibration media] section
Use the [Default calibration media] setting to select the media for printer calibration.
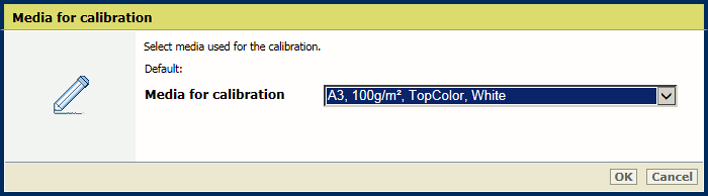 [Default calibration media] setting
Click [OK].
Go to the [Media family calibration] section.
 [Media family calibration] section
Use the [Calibration of media family halftones] setting to indicate how the media family calibration uses the halftones.
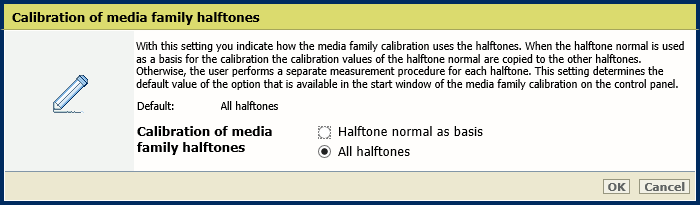 [Calibration of media family halftones] setting
Click [OK].
Only the service operator can change this setting.
Go to the [Media family calibration] section.
[Media family calibration] sectionUse the [Evaluation of media family calibration] setting to indicate if you want to show the results of the media family calibration on the control panel at the end of the procedure.
 [Evaluation of media family calibration] setting
Click [OK].
Go to the [G7®] section.
 [G7®] section
Use the [G7® support] setting to enable G7 calibration.

Click [OK].
You can only disable G7 support when all G7 media families are removed.