
You can use the printer discovery tool to easily add printers to PRISMAprepare. The newly added printer is not automatically available in PRISMAprepare. You have to close and open PRISMAprepare to load the printer in the application.
With this printer discover tool, you can detect printers on your network and get the configuration of the printers by standard SNMP protocol. The SNMP protocol must be enabled on the printers. When SNMP is not enabled, you can still add printers manually.
You can discover printers on the network either by broadcast, by scanning a range of IP addresses or by defining a subnet mask. By default, the range of IP addresses and the subnet mask are retrieved from the local IP address and the local Windows subnet mask.
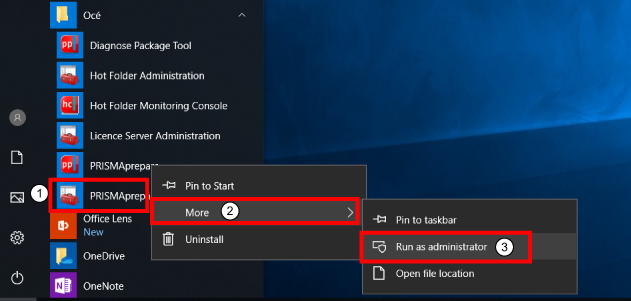
Open the [PRISMAprepare Administration] from the Windows Start menu. Run the [PRISMAprepare Administration] as administrator.
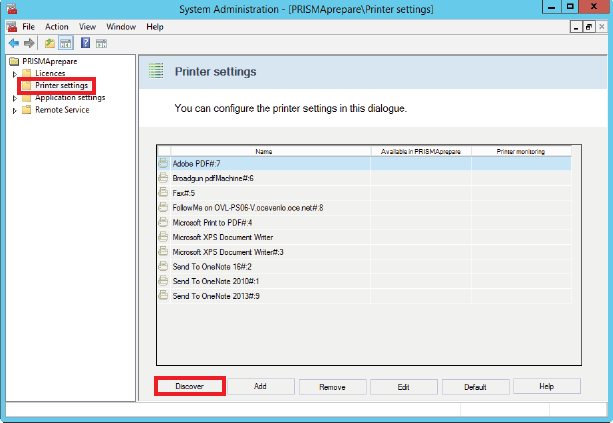
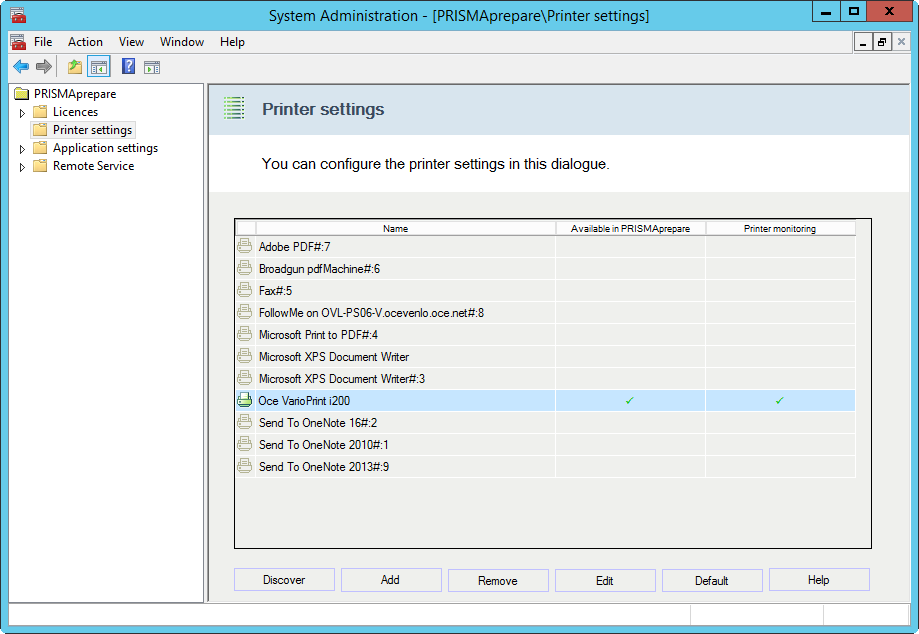
Select [Printer settings].
Click the [Discover] button to launch the [Printer discovery tool].
Check on which network your printers reside and select the concerning option to discover your printers. In this example, you printers are on your local network.
|
Discovery method |
Description |
|---|---|
|
[Broadcast to local network] |
Use this discovery method when printers are connected to the local network. SNMP enabled printers that recognise this type of broadcast will respond. Not all SNMP enabled printers respond to the broadcast. |
|
[Scan range] |
Use this discovery method when printers are connected to another subnet of the network than the local network. When you have multiple network cards in your system you should use the scan range discovery method. Scan a range of IP addresses for SNMP enabled printers from the lowest to the highest IP address. |
|
[Scan subnet] |
Use this discovery method when you network is divided into sub networks. Scan the defined subnet for SNMP enabled printers. The system uses the subnet mask to determine the scan range. You can change the subnet mask. |
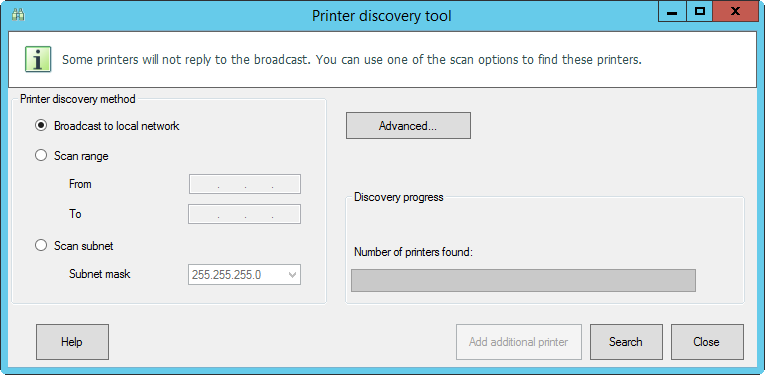
Click [Search] to start the discovery of printers.
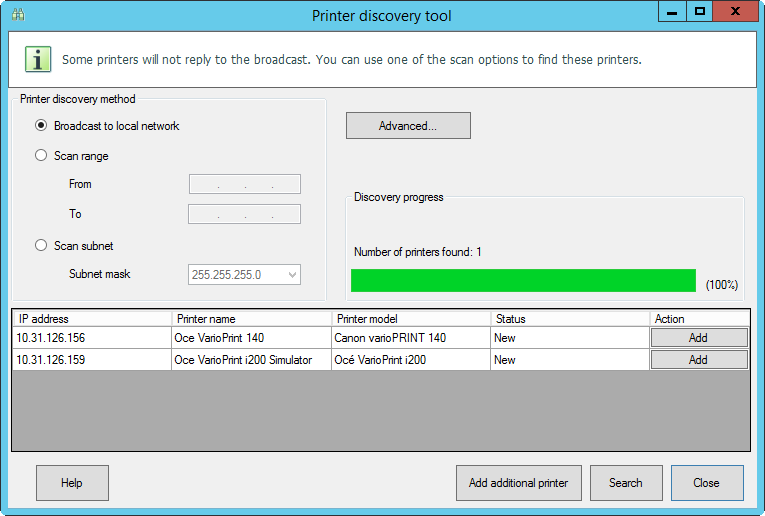
To add one of the found printers, continue with the next step.
However, when no printer has been found, or when you want to add a different printer manually, you can click button [Add additional printer] to add a printer manually. For example, SNMP is not enabled on a printer. Therefore, the printer discovery tool cannot find the printer. Start with step 4 in procedure Add a printer manually.
Click [Add] to add your printer to PRISMAprepare. In this example, you want to add the "Oce VarioPrint i200".
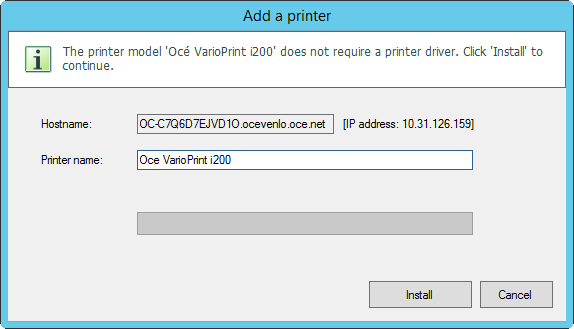
Click [Install].
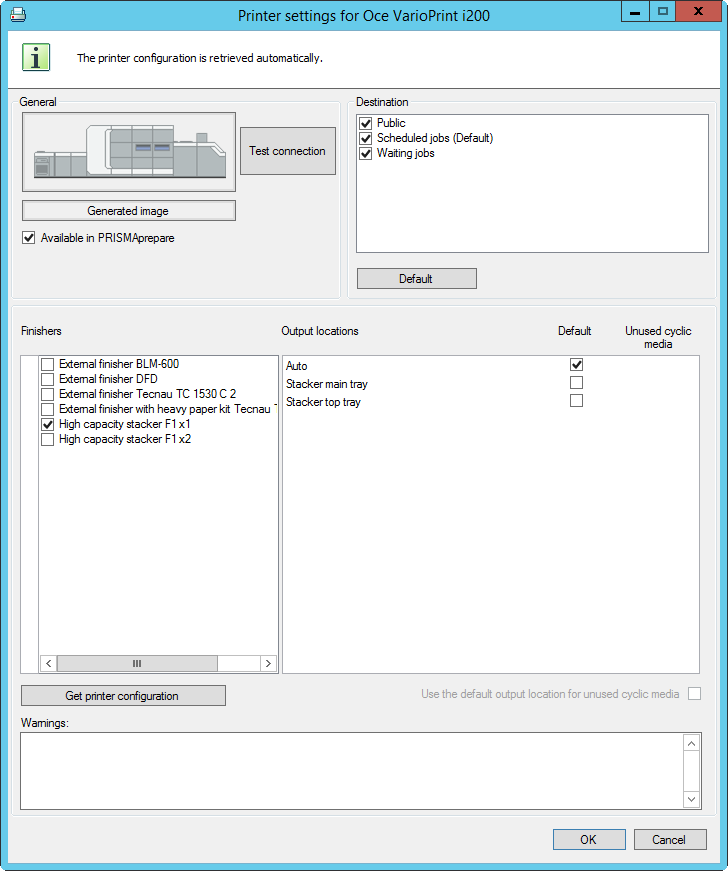
You can configure the printer when the printer is installed and available for PRISMAprepare. For example, you can select the print queues (Destination), the finishers and the output locations of the finishers.
Click [OK], then close the [Printer discovery tool]. The printer is now available to PRISMAprepare.
If the automatic discovery of printers did not found all your printers you can also add them manually: Add a printer manually .