Loading

Create a new application in PRISMAguide XL Engine

Introduction

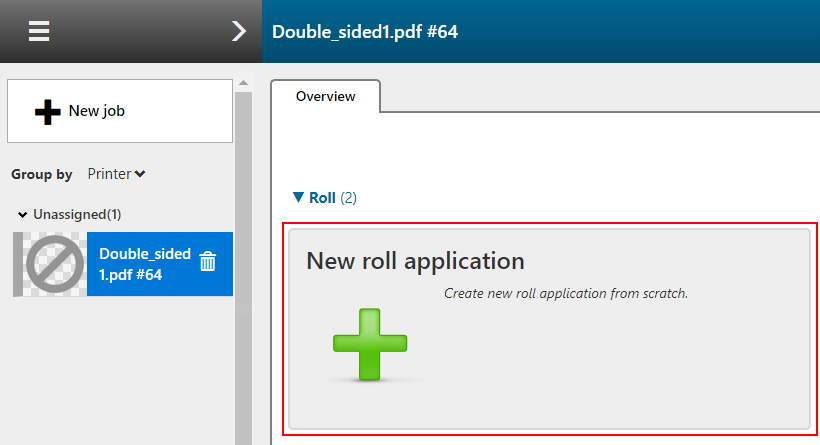
This topic describes how you can create a new application. You can store this application as a recipe.

As example we create a double sided application with a logo on the front side.

Procedure

  1. Open a PDF file in ONYX Thrive.
  2. Select the PDF file and click on [PRISMAguide].
  3. Select the PDF file in the job list and click on [New application] .
  4. A new PRISMAguide XL Engine job is created. The file has two layers, one intended for the front and one for the back side. Also we want to add a watermark on the front side.
  5. Open the [Files] tab.

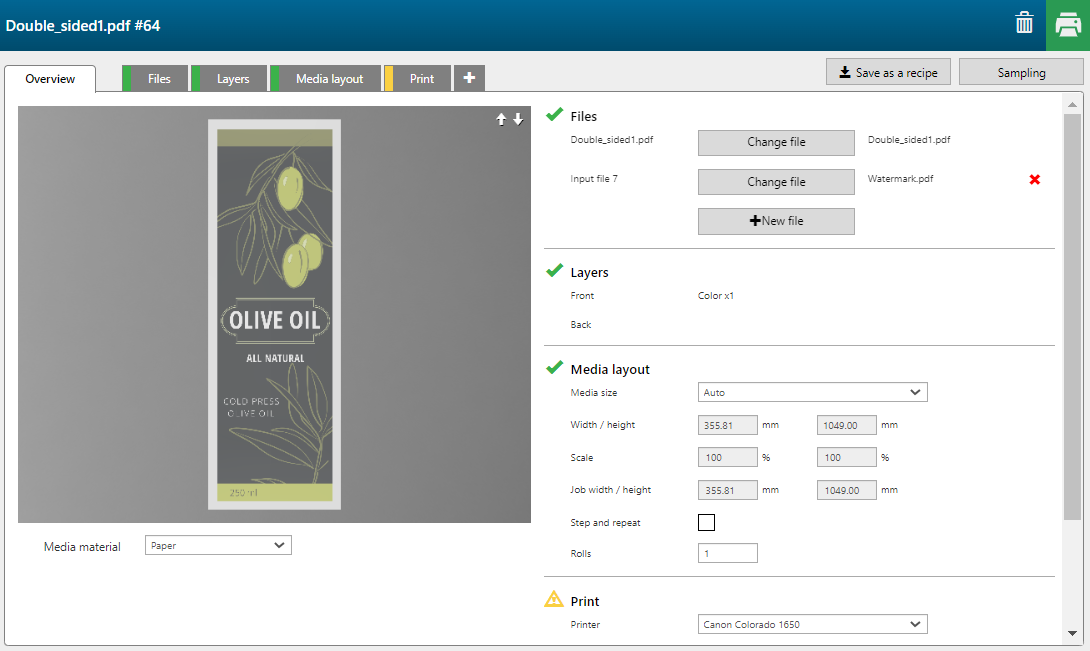
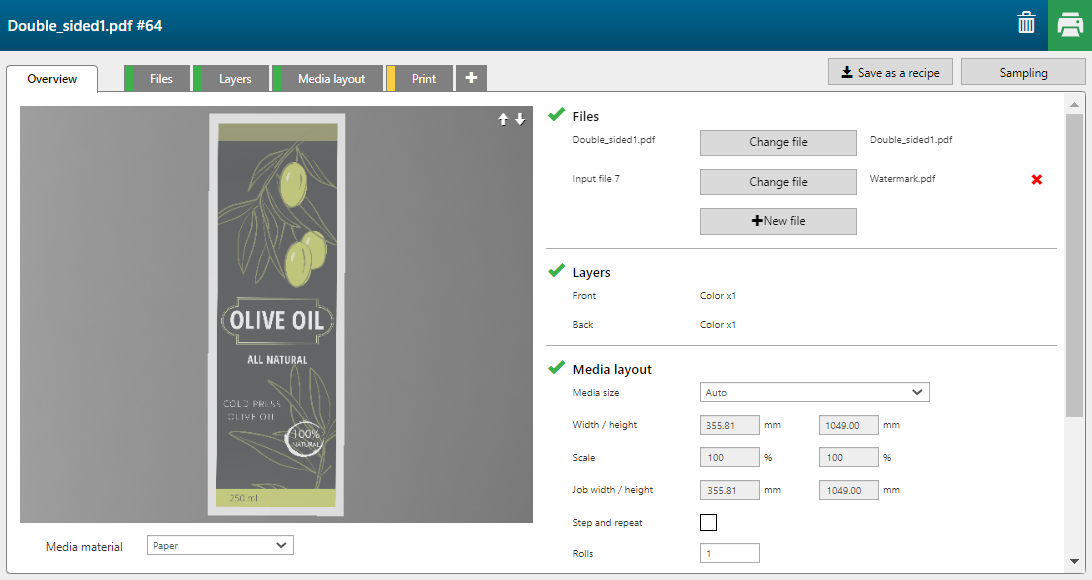
    Click on the button [New file] to add a file to the application.

  6. Click on the icon to import the file.

    In this example we added Watermark.pdf to the application.

  7. Open the [Layers] tab.

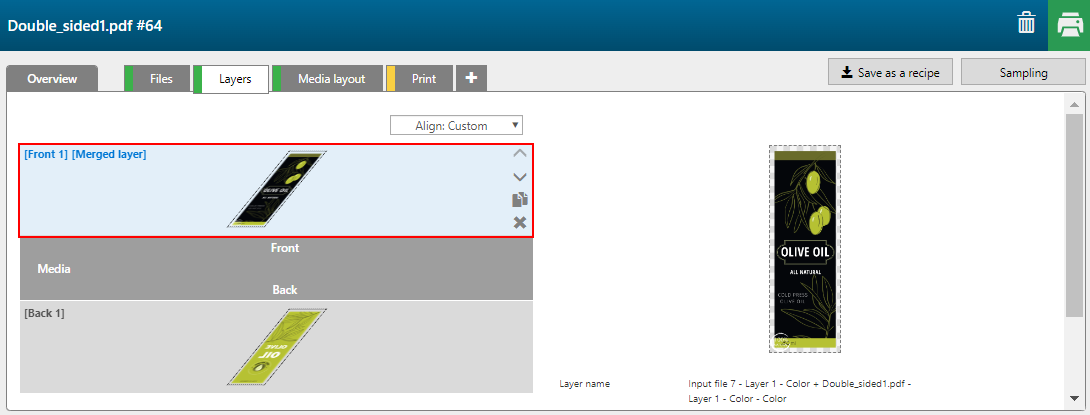
    Click on the duplicate button to create 2 extra layers.

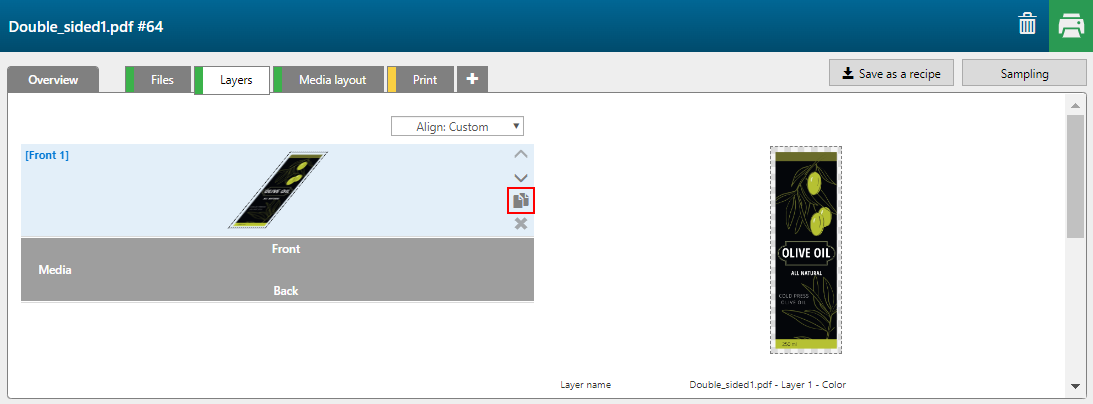
    We want to create 2 [Front] layers and one [Back] layer.

  8. Move one layer to the back and define the [Layer source].

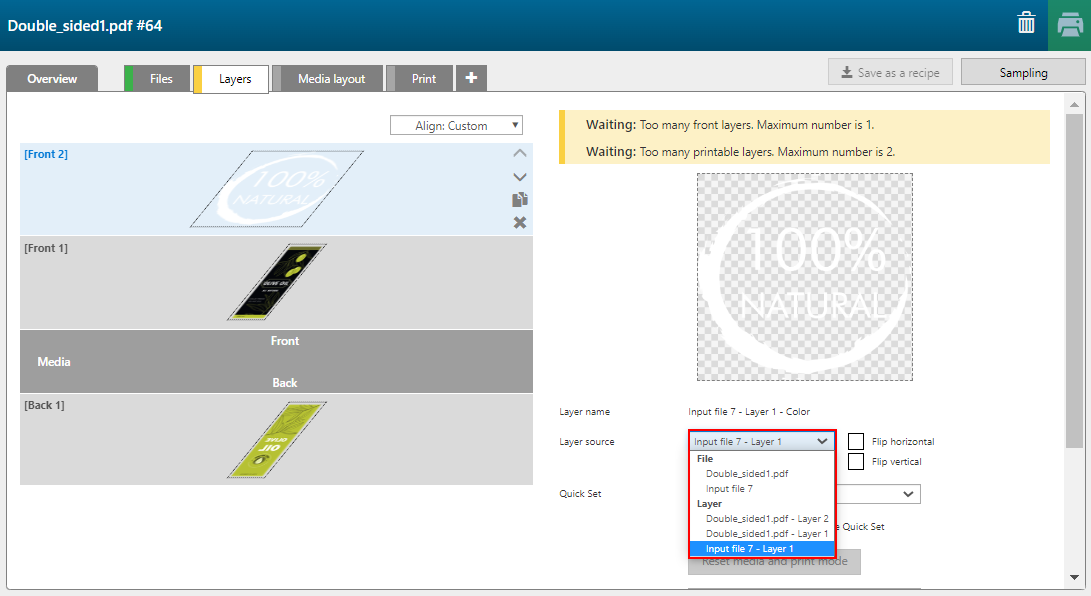
    You can assign pages, layers or spot colors, present in the input file(s) as input to a print layer.

    Select the following [Layer source] for each layer:

    • Front 2: Input file-Layer-1

    • Front 1: Double_sided.pdf-Layer-1

    • Back 1: Double_sided.pdf-Layer-2

  9. Set the offset values for the input file.

    Define the place of the watermark on the front side.

  10. Select [Front] 1 and [Front] 2 layer and click [Merge selected layers].
    NOTE

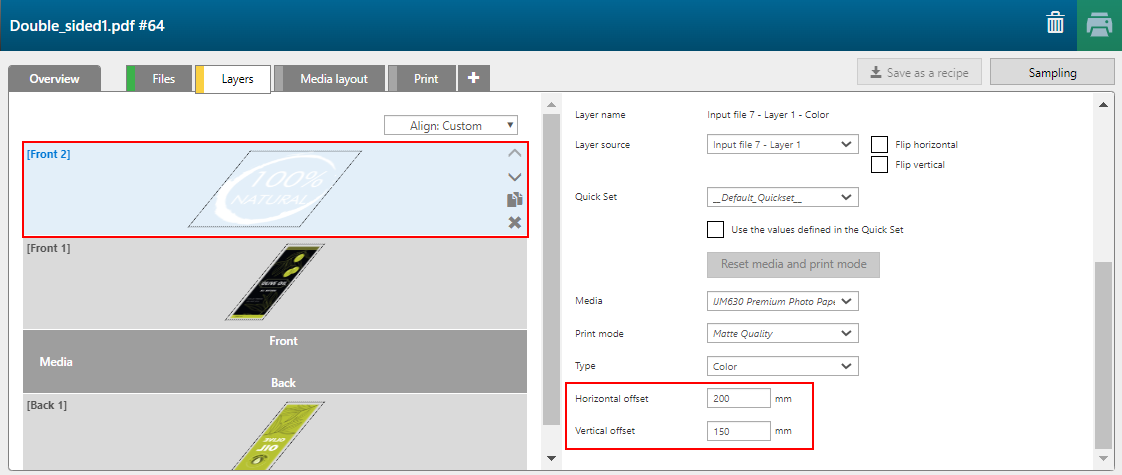
    A roll application can only have one layer for the front and one for the back side.

  11. Open the [Overview] tab. Click-and-hold the left mouse button to rotate the 3D view to check the application. Notice that the watermark is visible on the front side of the application
  12. Define the [Media layout] and [Print] specifications, then click on the [Print] button.
    NOTE

    You can save the application as a recipe for future use. See: Save an application as a recipe