You can register your non-PRISMAsync and plotWAVE, colorWAVE and imagePROGRAF printers in PRISMA Home with the help of Cloud Proxy.
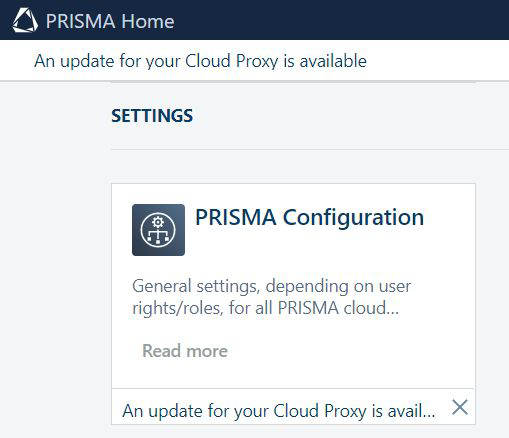
You must always use the most recent version of the Cloud Proxy, Whenever a newer version is made available, you will get invited to update. This update is mandatory.
Setup Cloud Proxy and add devices.
Obtain the most recent version of the Cloud Proxy.
In PRISMA Configuration, navigate to the . The bottom of the panel titled [List of devices] contains the links for the installation kit for the Cloud Proxy for all supported operating systems.
The supported operating systems are 64-bit architecture. Only the last two released versions can be used, for both MS windows or Apple iOS.
Download the Cloud Proxy on your workstation.
Install the Cloud Proxy on your workstation.
This action requires administrative privileges. Furthermore, you need to remember that Cloud Proxy needs to be running whenever you want to use PRISMA Home.
More information: Cloud Proxy installation procedure
If you connect via a VPN, you also need to configure the VPN connection.
Use Cloud Proxy to register devices for PRISMA Home.
You can add the devices one by one or supply a range of IP addresses and let Cloud Proxy discover all of them at once.
It is important to use a static IP address. Dynamic IP addresses are not supported.
Allow the application to use the newly added device(s).
Go to PRISMA Home .
For each registered device you want the application to access, you’ll need to complete the following steps:
In the [Details] panel on the right, click on the device and check the checkbox next to the name of the application you want to enable for that device.
Sometimes you need to scroll down until you see the [Applications] list.
Repeat for each device you want to enable.
 PRISMAlytics Dashboard checkmark in PRISMA Configuration
The above image shows both PRISMAlytics Dashboard and PRISMAlytics Accounting checkmark has been added in PRISMA Configuration which means these printer tools are now receiving the necessary data.
Video: Enabling applications
It is important to keep the Cloud Proxy updated. When a new version is released, a notification will be shown in the header of the page, as well as in the card for starting the [Configuration].