
Configure the settings for the connection to the ProCut Server.
PRISMAguide XL Connector must be installed and configured. See Install the PRISMAguide XL Connector for the details.
PRISMAguide XL Engine 2.1 (or higher) and ProCut Server must be installed.
Open PRISMAguide XL Engine
Click on the [Menu] and go to [Settings]

Fill out the settings in the ProCut section
[Host/IP] (IP address where PRISMAguide XL Connector is installed)
[Port] (the port defined in PRISMAguide XL Connector)
[API key] (copy from the PRISMAguide XL Connector Settings page)
Check out: [Auto print]. All jobs from ProCut will be printed automatically.
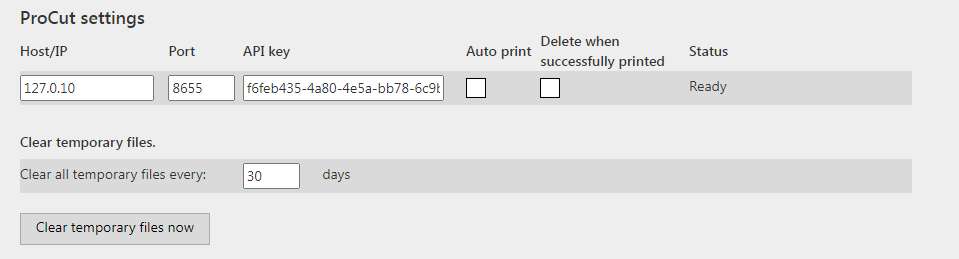
When IP address, port and certificate are correct, the status will change to [Ready].
If the status indicates: [Invalid certificate], click on [Import new certificate] in the [Connection security] section to import a certificate or check the check box [Bypass certificate validation (self-signed)] to generate a (self-signed) certificate.

Click on [Back to active jobs], to close [Settings].

Click on the [Menu] and go to [Settings]
Click on [Add new hot folder] in the Hot folders section

Define the settings for the hot folder

Add the path to the hot folder
Select the recipe in the drop-down list.
Use a recipe that is compliant with ProCut submission. It must contain a cut path mapped with the recipe.
In [Auto submit] select ProCut
Select the ProCut automation for auto nesting.
Click Save

When the settings are correct, the status will change to ready.

Click on [Back to active jobs], to close [Settings].