
This topic contains the following instructions.
Create a new CMYK spot color
Create a new CIELAB spot color
Measure CIELAB spot color values
Add CMYK values to a spot color
Print a patch chart
Spot colors realize a consistent color and are often used in logos and house style colors.
Below you find the instructions for creating a spot color on the control panel.
Touch .
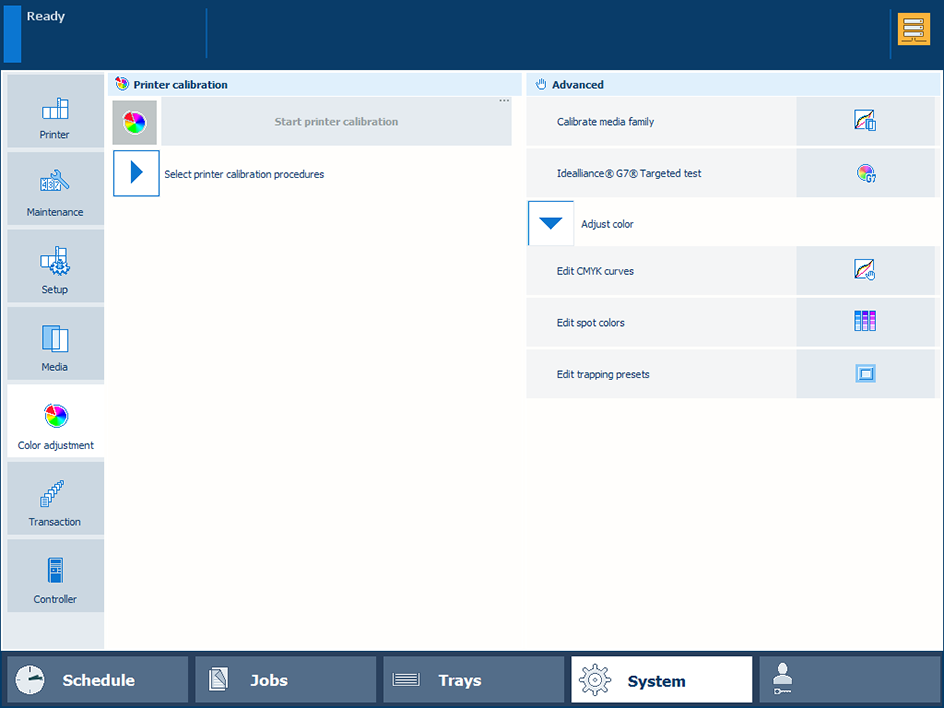 Color adjustments
To find a spot color, touch the [Search] button and enter a search string.
 [Search] button
Press [Add].
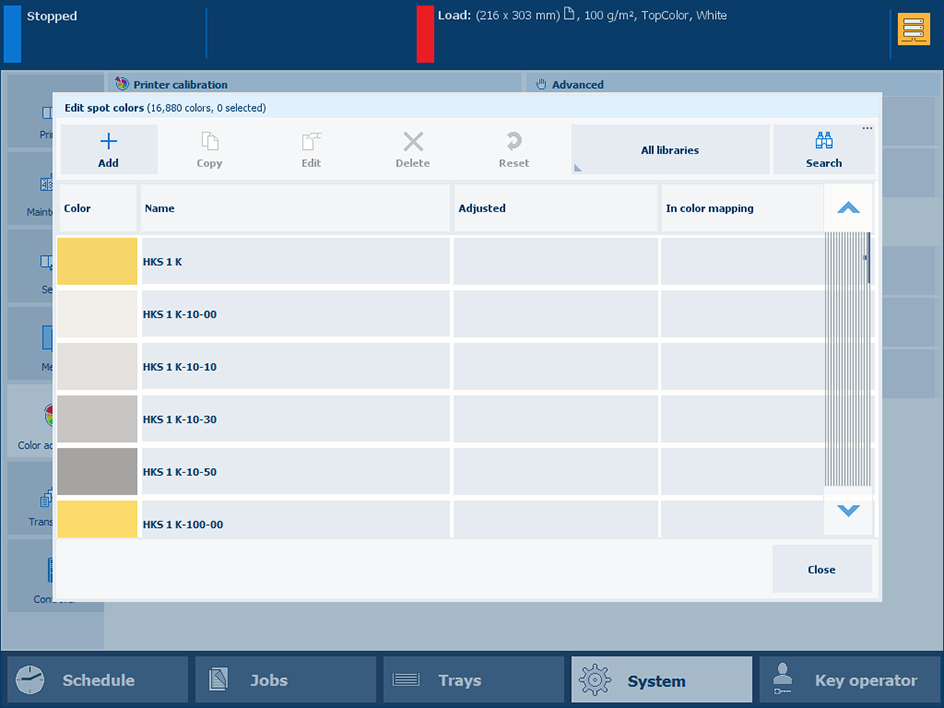
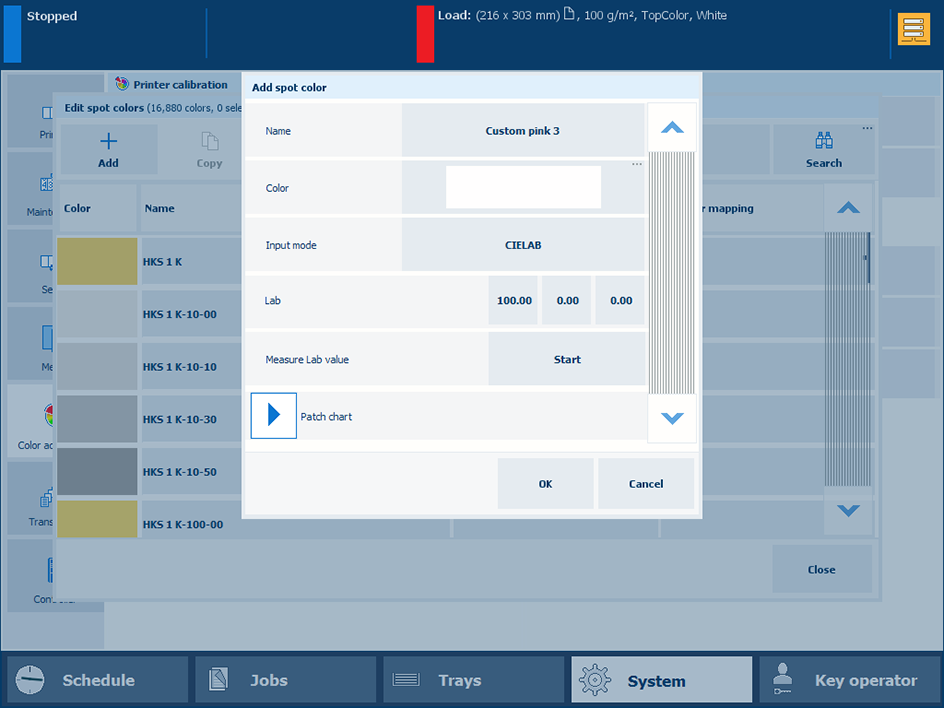
Enter a name for the spot color
 Add a spot color
Use the [Input mode] setting to select [CMYK].
Use the [Media family] drop-down list to select the media family - media print mode combination.
Use the [Tint] setting to enter a tint value (%).
Enter the C, M, Y, and K values in the [CMYK value] fields.
Touch [OK].
The spot color definition is stored in the custom spot color library.
With the spot color measurement procedure, you measure three locations of a sample of the spot color. The printer calculates and returns the average Lab value and reports a ∆E to indicate the differences. The reported ∆E value is the largest difference between each individual measured value and the average of all measured values. A ∆E larger than 3 means a large difference. In that case you are advised to measure the spot color again.
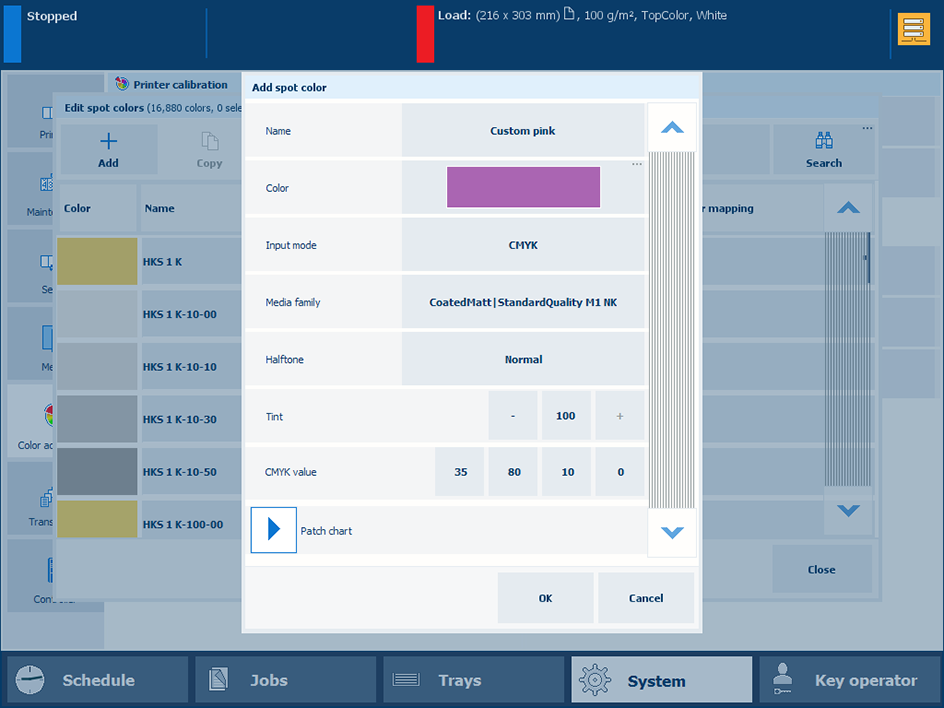
Press [Add].
Select [CIELAB].
 [CIELAB]
 Enter the [L*], [a*], and [b*] values in the [Lab] setting.
Touch [OK].
The spot color is stored in the custom spot color library.
With the spot color measurement procedure, you measure three locations of a sample of the spot color. The printer calculates and returns the average Lab value and reports a ∆E to indicate the differences. The reported ∆E value is the largest difference between each individual measured value and the average of all measured values. A ∆E larger than 3 means a large difference. In that case you are advised to measure the spot color again.
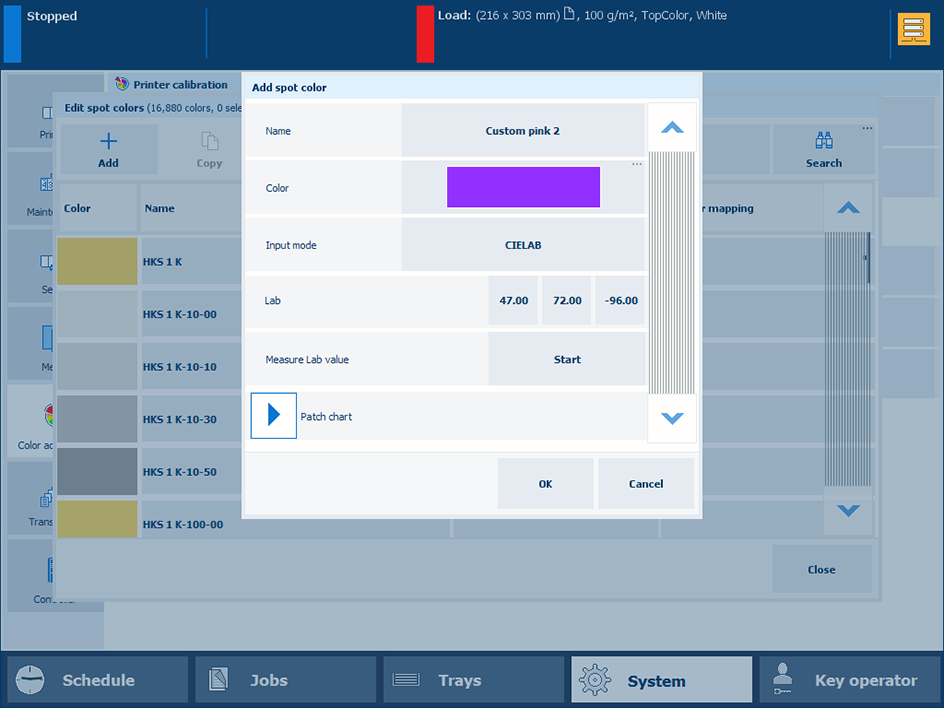
Press [Add].
Select [CIELAB].
 Measure Lab value
Press [Start].
Follow the wizard instructions how to measure the color.
If ∆E is larger than 3, you are advised to measure the spot color again.
Touch [OK].
The spot color is stored in the custom spot color library.
You can add [CMYK] values to a spot color to apply to a specific media family - media print mode combination.
Select the spot color library and search the spot color.
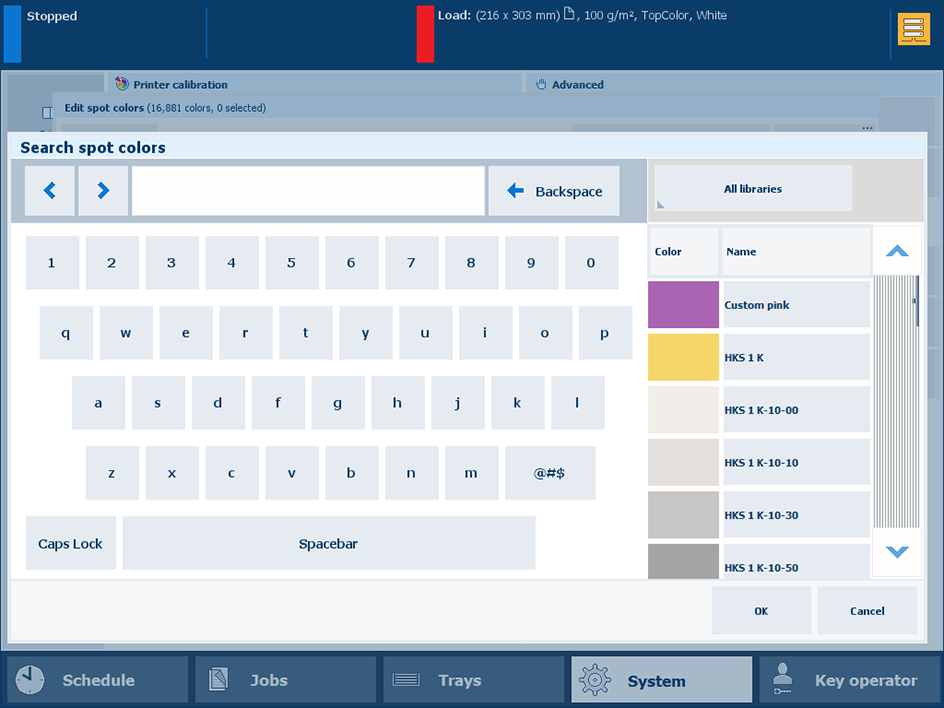 Search spot colors
Select the spot color and touch [Edit].
Press [Add].
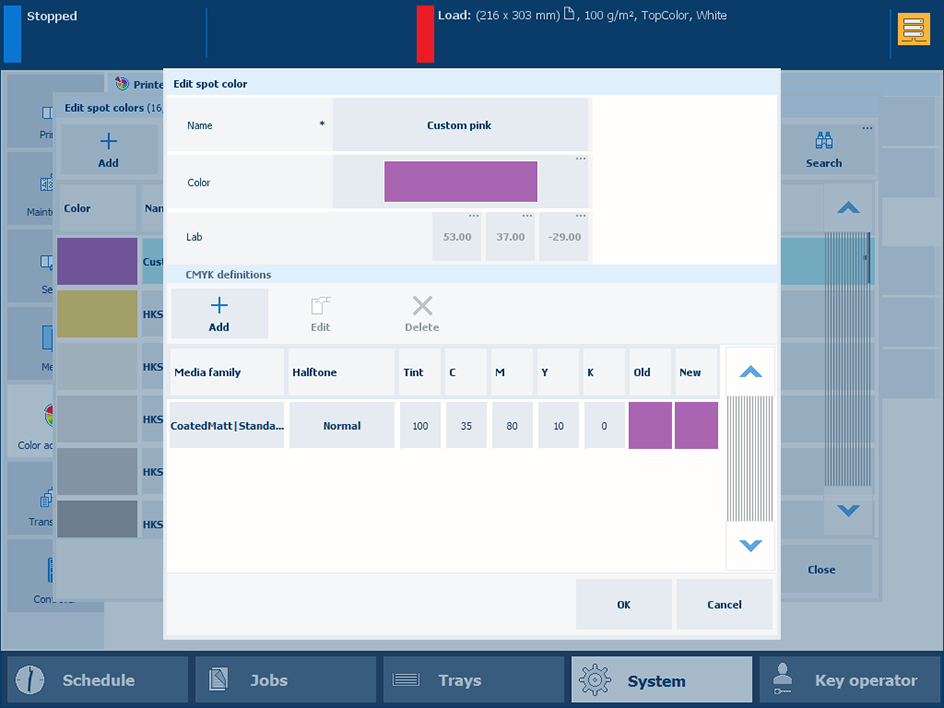 Edit spot color
Use the [Media family] drop-down list to select the media family - media print mode combination.
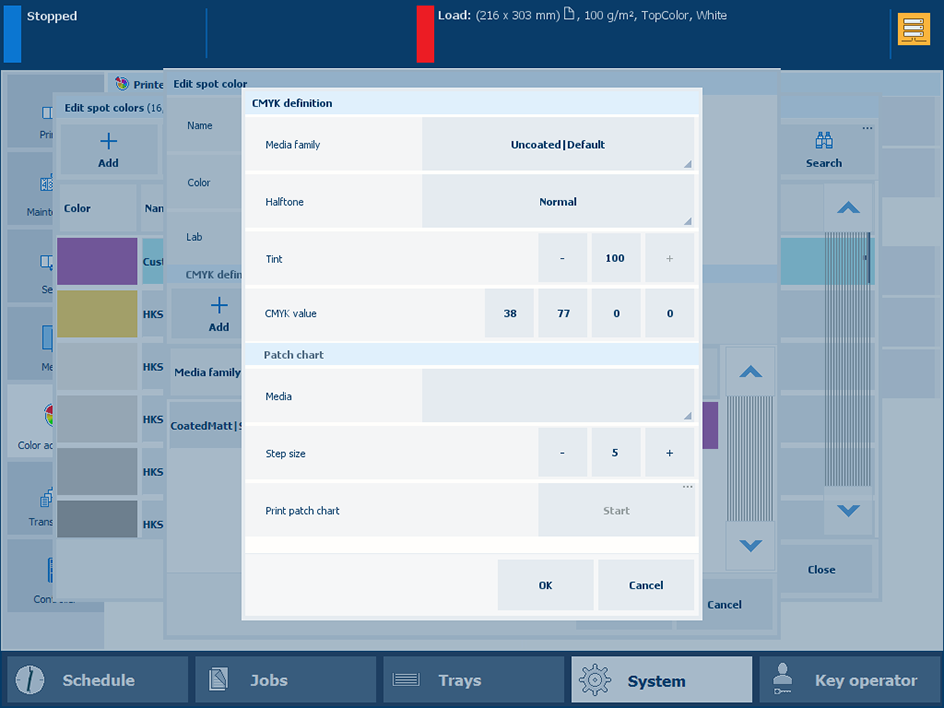 Select the media family
Use the [Tint] setting to enter a tint value (%).
Enter the C, M, Y, and K values in the [CMYK value] fields.
Touch [OK].
The new combination is listed.
The [Old] color patch is the color rendering of the Lab definition. The [New] color patch shows the rendering of the CMYK values for the media family - media print mode combination.
Old and new color patchesTouch [OK].
To evaluate the CMYK values print a chart on media for the media family - media print mode combination.
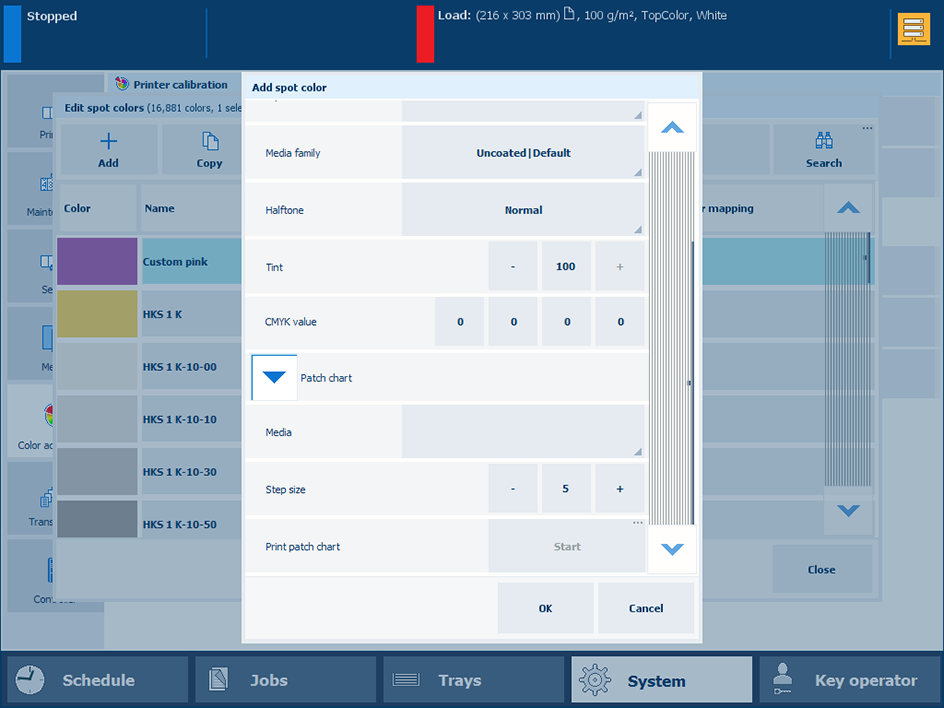 Print patch chart
Expand the [Patch chart] setting.
Use the [Media] drop-down list to select the media for the media family - media print mode combination.
Use the [Step size] setting to define the degree of patch variations.
In the [Print patch chart] field, touch [Start].